Initial Research
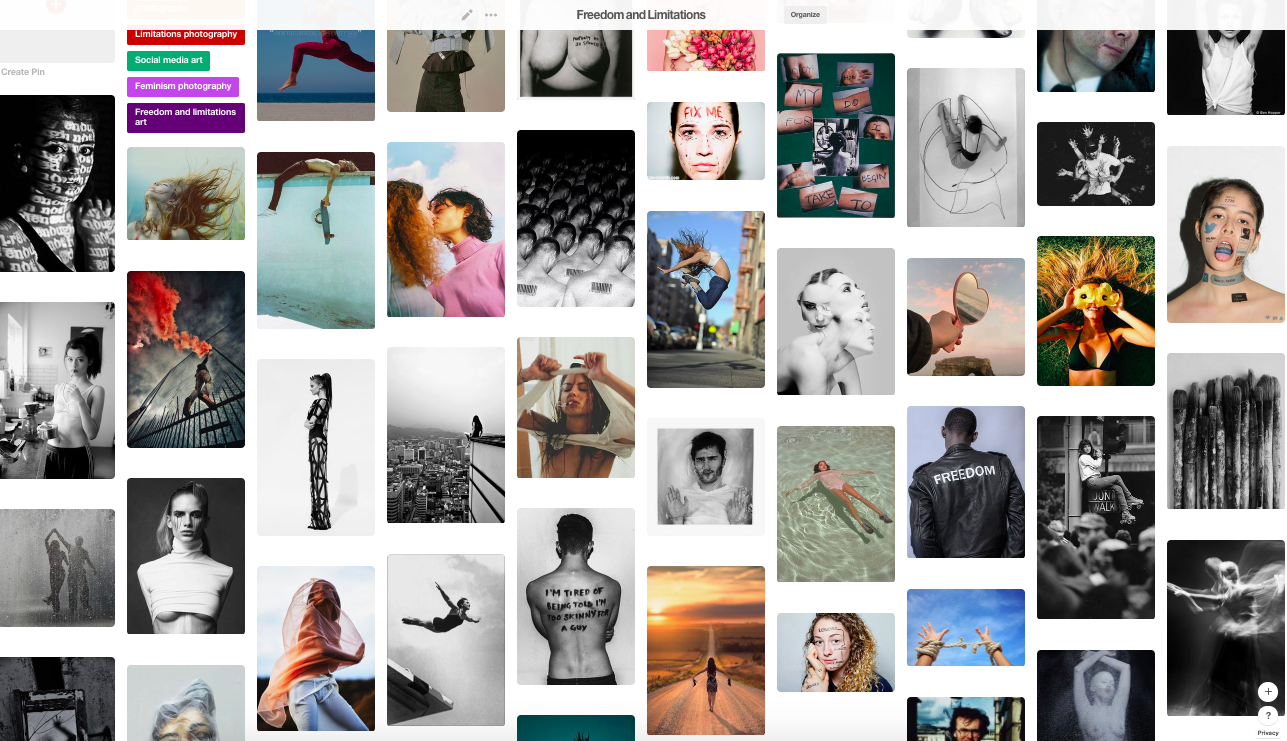
Pinterest Board
Practical Task 1: Artwork that Challenges Generally Accepted Behaviour in Your Local Area.
"Free the Nipple Campaign"
FREE THE NIPPLE IS A GLOBAL CAMPAIGN OF CHANGE, FOCUSED ON THE EQUALITY, EMPOWERMENT, AND FREEDOM OF ALL HUMAN BEINGS. FREE THE NIPPLE HAS BECOME A PREMIERE VOICE FOR GENDER EQUALITY, UTILIZING ALL FORMS OF MODERN MEDIA, TO RAISE AWARENESS AND EFFECT CHANGE ON VARIOUS SOCIAL ISSUES, AND INJUSTICES.
THE MISSION BEHIND FREE THE NIPPLE IS TO RAISE AWARENESS, AND AFFECT CHANGE, IN THE AREAS OF THE INEQUALITY OF MEN AND WOMEN THAT ARE STILL BEING EXPERIENCED IN THE WORLD TODAY.
IN 2012, A FEATURE FILM WAS TITLED “FREE THE NIPPLE”, WHICH FOLLOWED LINA ESCO AND A SMALL GROUP OF WOMEN IN THEIR EFFORT TO RAISE AWARENESS ON THIS ISSUE. THE FILM QUICKLY SPARKED WHAT HAS BECOME AN INTERNATIONAL MOVEMENT THAT SEEKS THE EQUALITY, EMPOWERMENT, AND FREEDOM OF ALL HUMAN BEINGS.
THE FREE THE NIPPLE MOVEMENT IS NOW RAISING AWARENESS AND IMPACTING CHANGE IN COUNTRIES ACROSS THE WORLD.
VEMEN


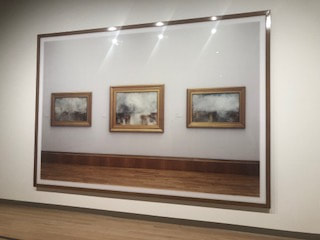
Exhibition Visit
The Gursky at the Haywood Centre
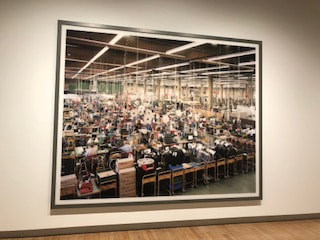
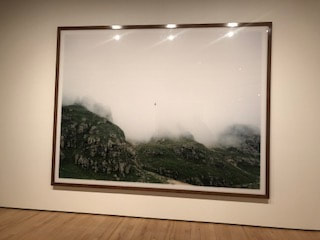
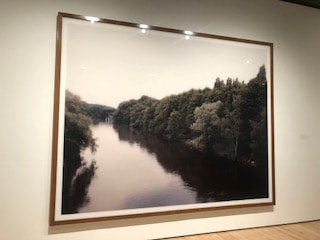
Hayward Gallery reopens with the first major UK retrospective of the work of acclaimed German photographer Andreas Gursky. He was well known for for his large-scale, often spectacular pictures that portray emblematic sites and scenes of the global economy and contemporary life, he is widely regarded as one of the most significant photographers of our time.
Driven by an interest and insight into ‘the way that the world is constituted’, as well as what he describes as ‘the pure joy of seeing’, Gursky makes photographs that are not just depictions of places or situations, but reflections on the nature of image-making and the limits of human perception. Often taken from a high vantage point, these images make use of a ‘democratic’ perspective that gives equal importance to all elements of his highly detailed scenes.


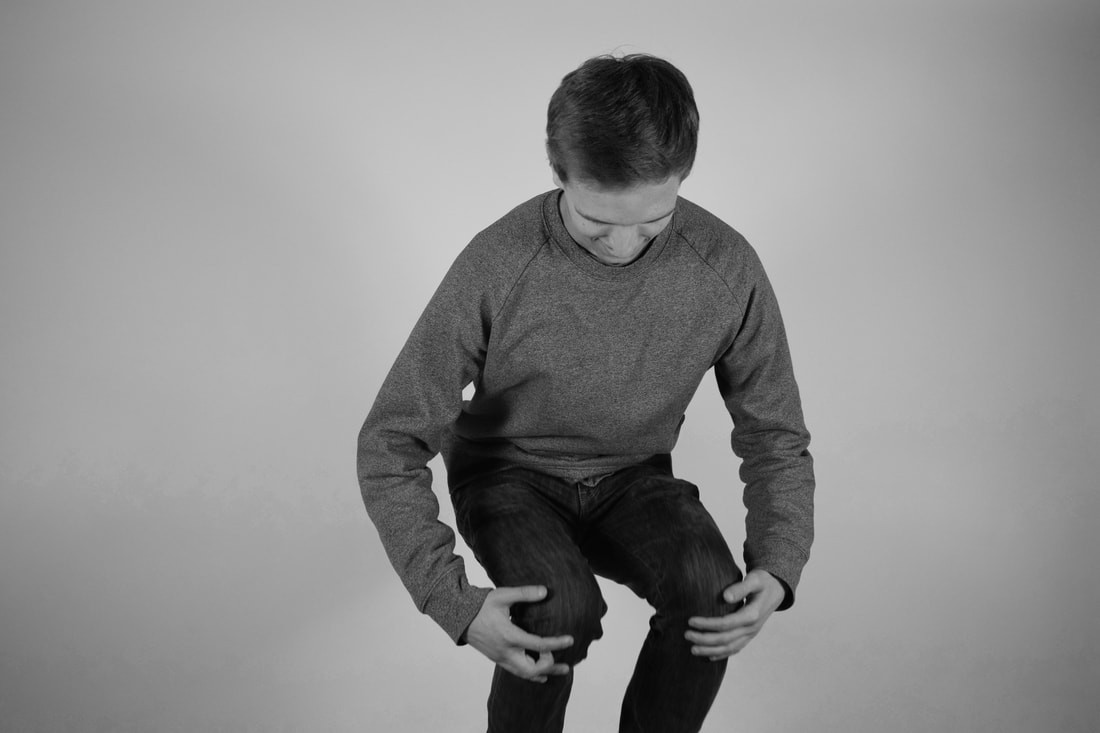
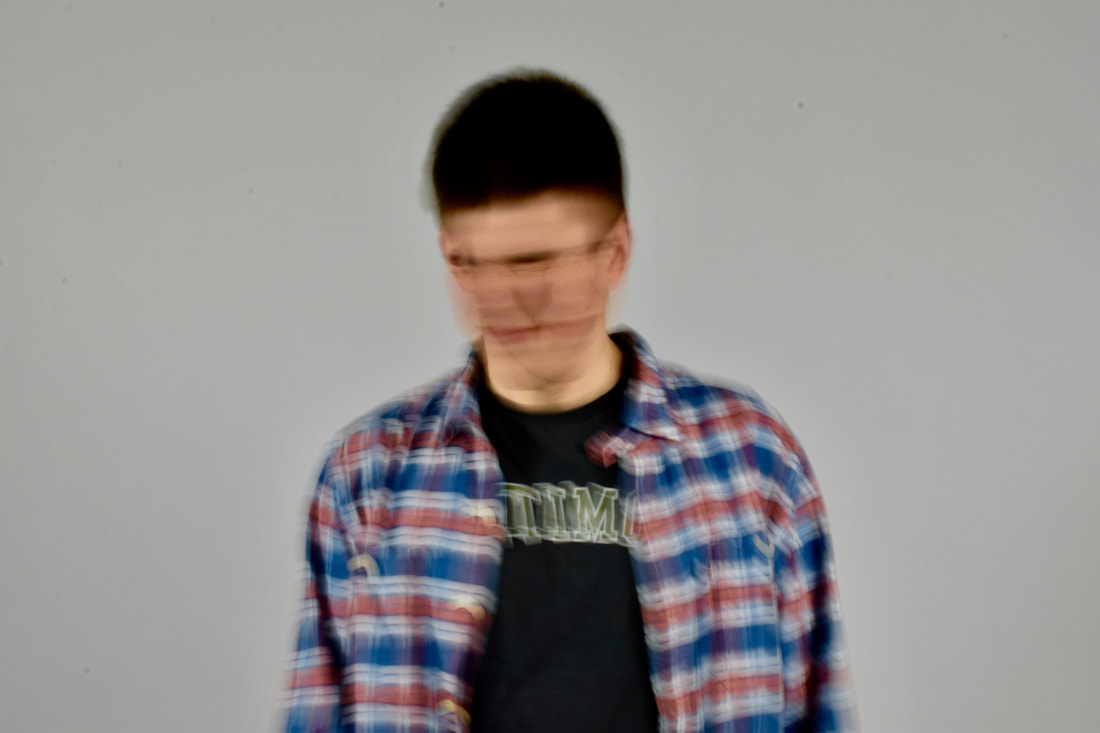
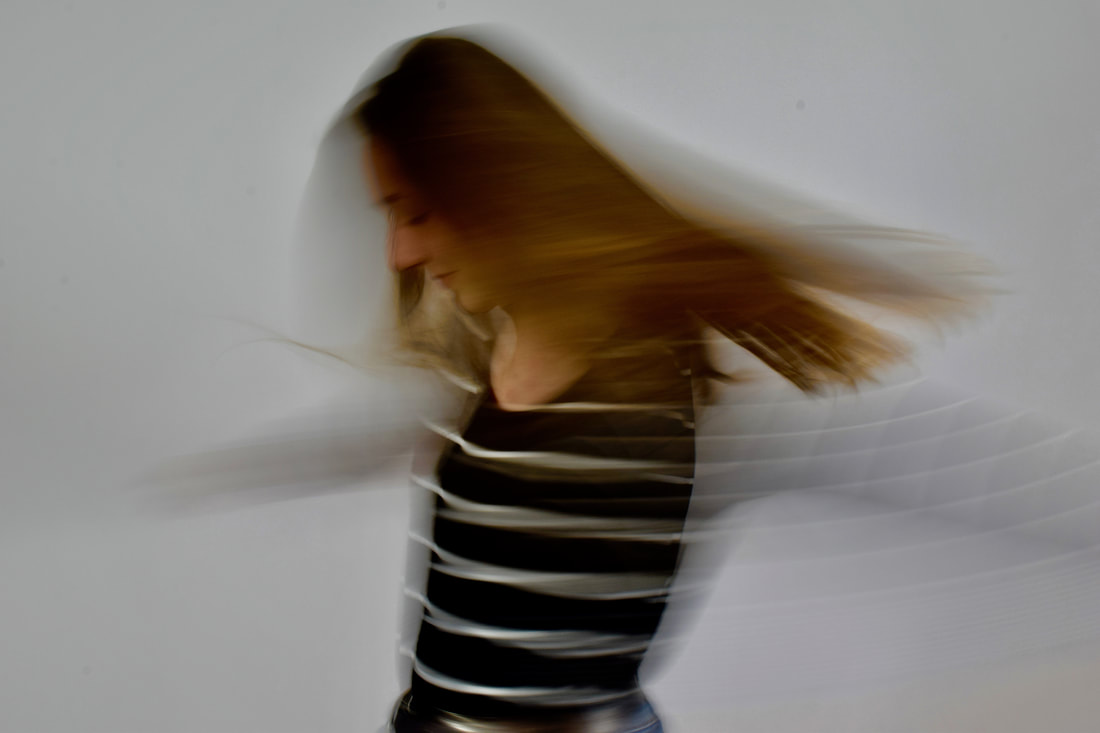
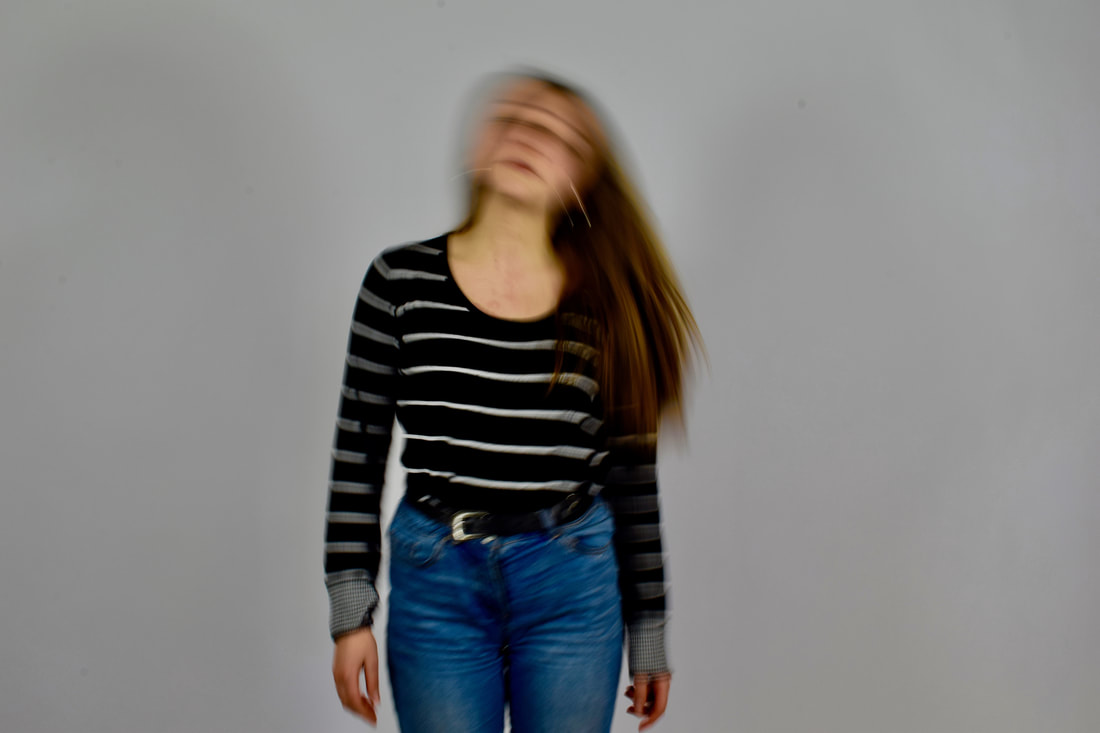
Movement
The shutter and aperture controls of a camera limit the exposure time and the outcome of a photographic image. These controls can capture movement in different ways. How you capture movement can give the impression of freedom or freeze a moment, trapping the figure in a still that appears to imprison them.
Fast- Shutter Speed
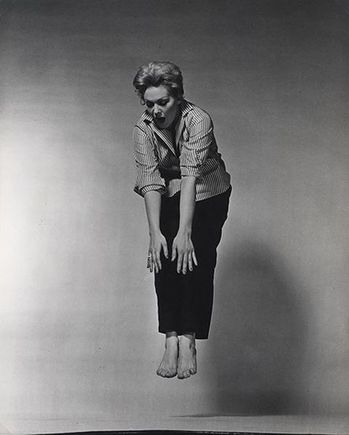
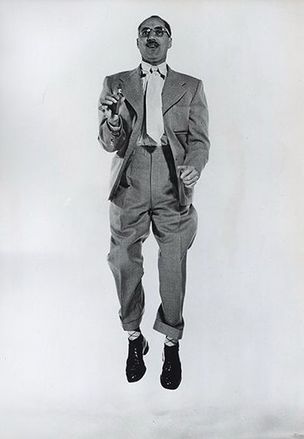
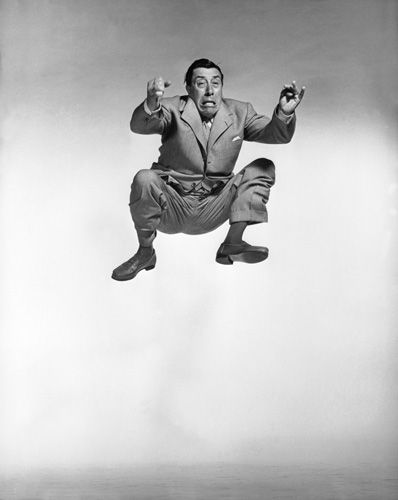
Artist Inspiration: Philippe Halsmann
He was friends with Albert Einstein, and shot the front cover for 101 issues of Life magazine, and collaborated on numerous occasions with Salvador Dalí. Despite never having receiving any photographic training, Philippe Halsman was to become one of the most memorable portrait photographers of his time. Born in Latvia in 1906, Halsman studied electrical engineering in Dresden, and first discovered photography after finding his father’s camera and developing glass plates in the family’s bathroom sink. He described the process as a “miracle,” and quickly took to the craft.
He says:
"Starting in the early 1950s I asked every famous or important person I photographed to jump for me. I was motivated by a genuine curiosity. After all, life has taught us to control and disguise our facial expressions, but it has not taught us to control our jumps. I wanted to see famous people reveal in a jump their ambition or their lack of it, their self-importance or their insecurity, and many other traits."
|
|
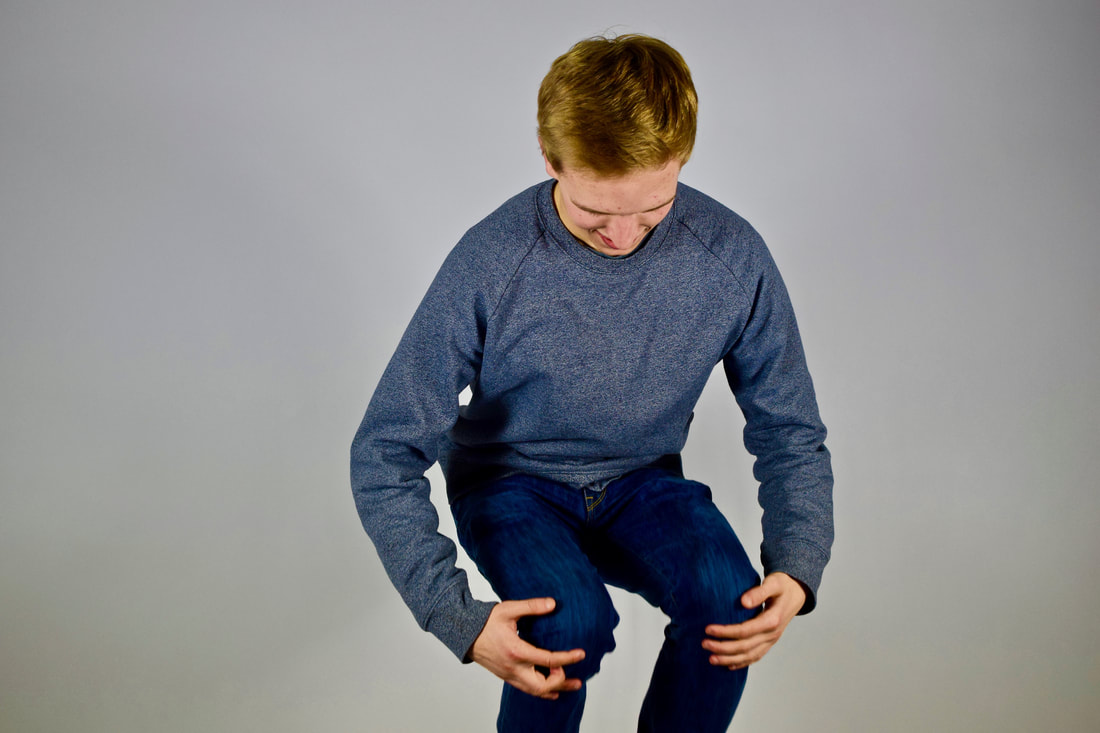
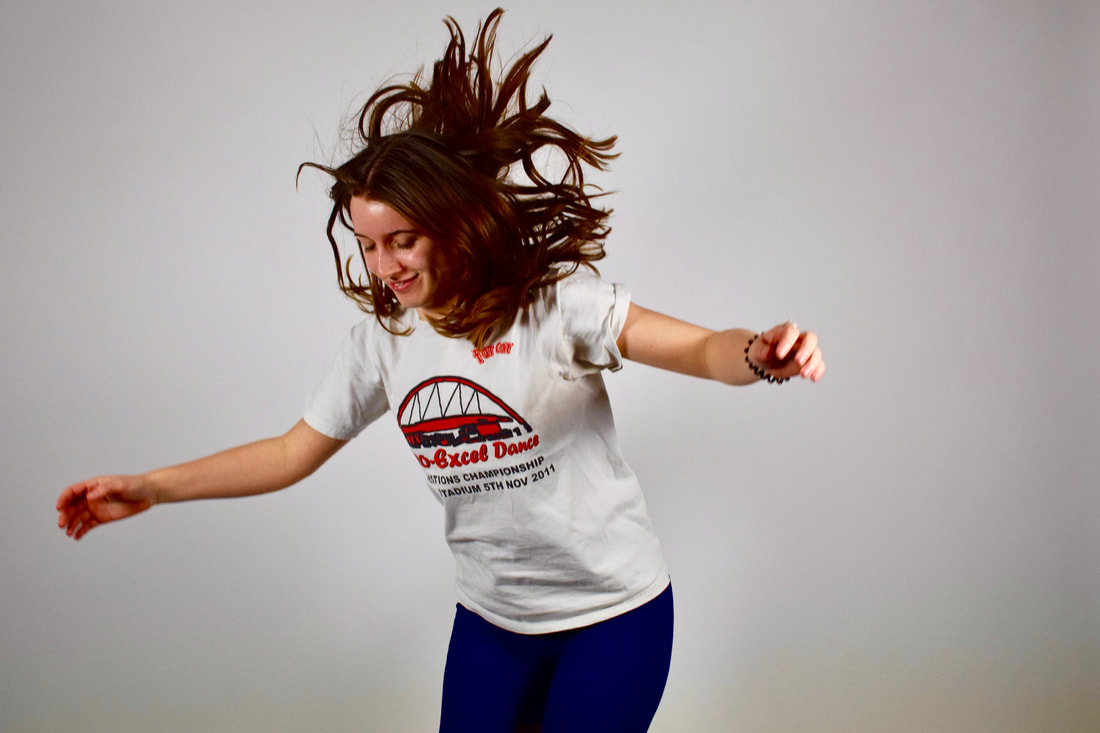


I felt the colour and quality of the photographs is what worked well in this development, if I was to do it again I would look more closely into Halsmann's photographs, and get my models to copy the poses his did and get them to have more expression on their faces, to create a more bold and memorable photos.
Artist and Me
Slow- Shutter Speed
Artist Inspiration: Laurence Demaison
The photographic work of Laurence Demaison is constituted by self-portraits from 1993 to 2009. Since 2010 she occasionally uses mannequins or dolls. The used techniques – shot, development, print – are analogicals and realized by the author.

Pushing the Limits of Photography
Expectation 1: Focus
What do we expect from a photograph? Focus, strong composition, good exposure? Do we value an image less if it lacks any of these elements? The aim is to create images that challenge these preconceptions.
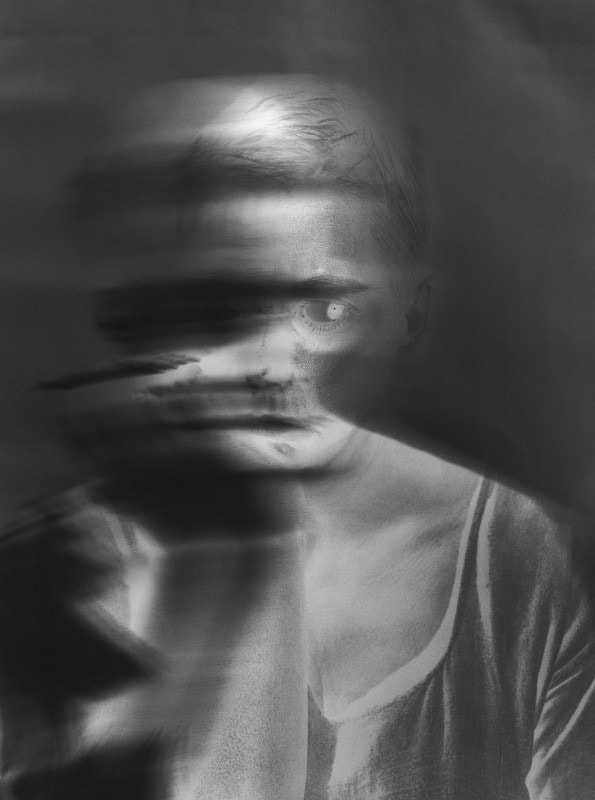
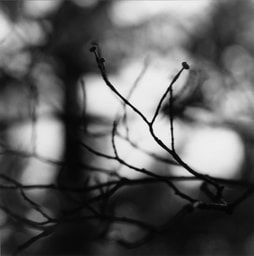
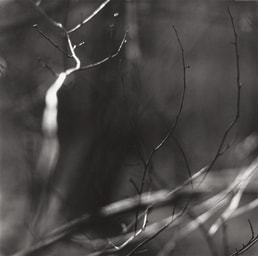
Artist Inspiration: Ralph Eugene Meatyard
Ralph Eugene Meatyard made his living as an optician. He experimented with various strategies including multiple exposures, depth of field, motion blur, and other methods of photographic abstraction. Two of his series are particularly concerned with focus and depth of field, both stretching the expressive potential of photography, film and cameras when looking with the ordinary world.
What do we expect from a photograph? Focus, strong composition, good exposure? Do we value an image less if it lacks any of these elements? The aim is to create images that challenge these preconceptions.
Artist Inspiration: Ralph Eugene Meatyard
Ralph Eugene Meatyard made his living as an optician. He experimented with various strategies including multiple exposures, depth of field, motion blur, and other methods of photographic abstraction. Two of his series are particularly concerned with focus and depth of field, both stretching the expressive potential of photography, film and cameras when looking with the ordinary world.
|
|
|
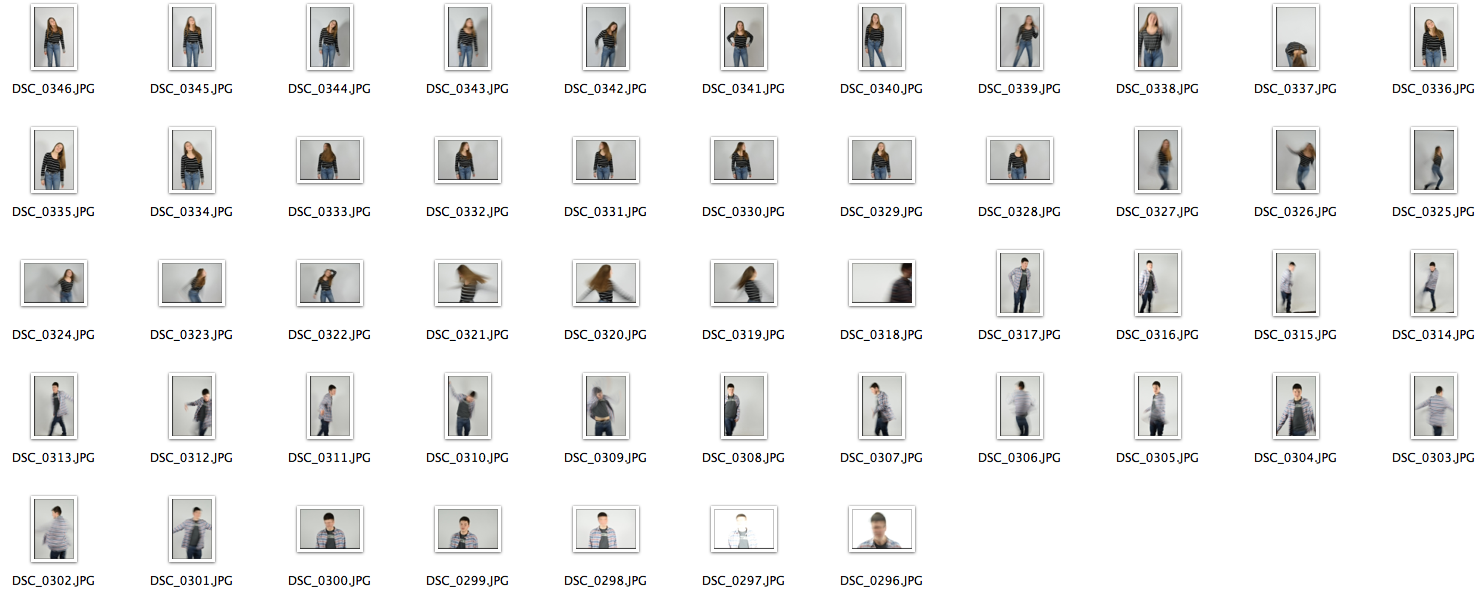
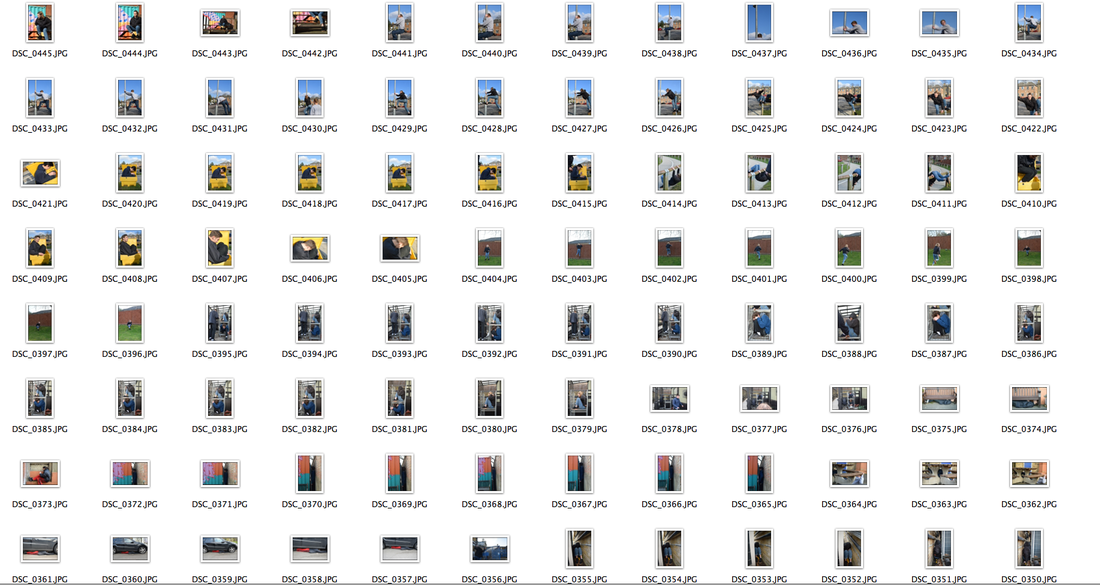
CONTACT SHEET:
Selected Images
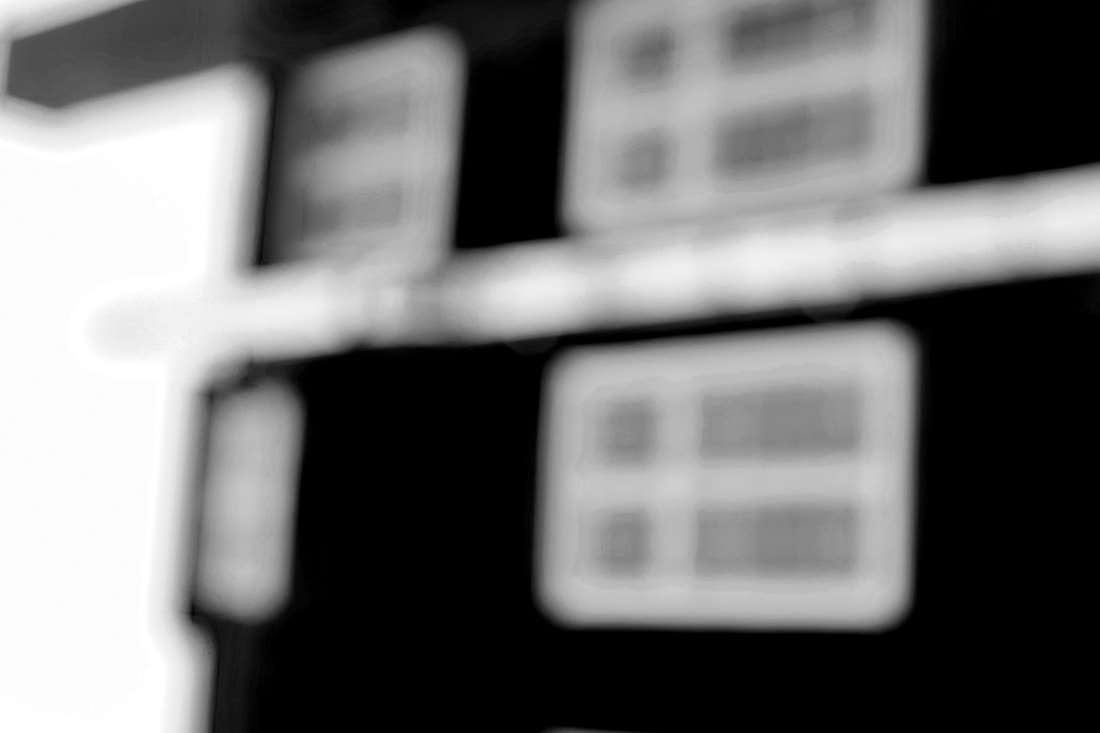

I was very pleased with how the 'focus' photographs turned out, due to the composition and abstractness, especially in photograph one. If I would to do it again I would focus more on nature, and get the photos even more out of focus so the viewer may not be able to even see what it is.
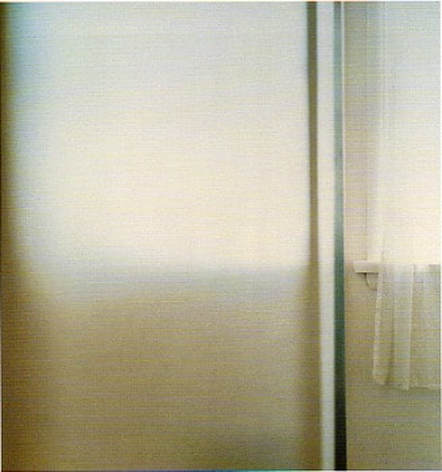
Expectation 2: Exposure
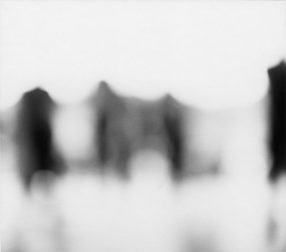
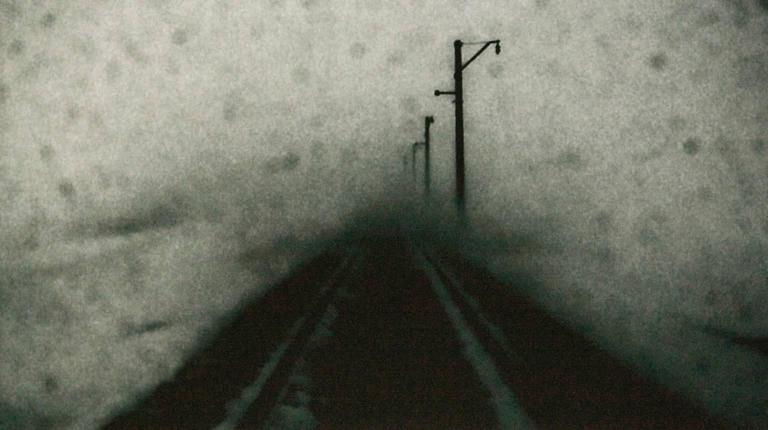
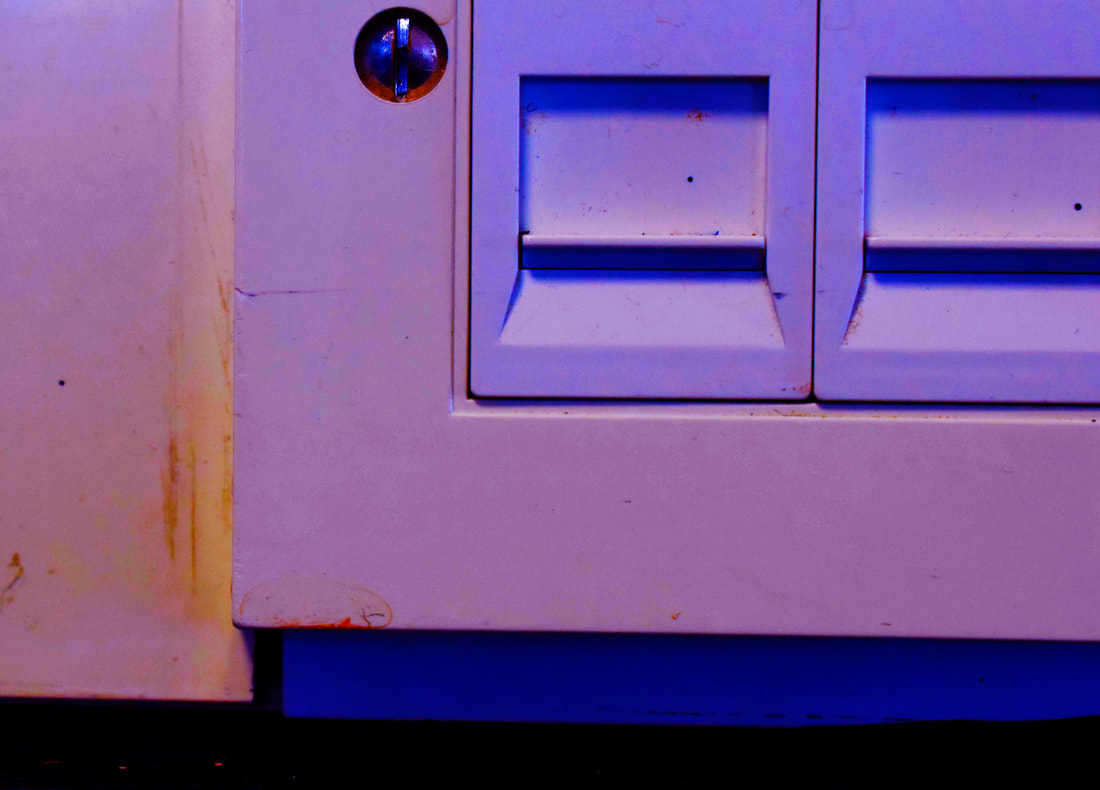
We are taught to pay attention to the light meter and adjust our exposure accordingly. What happens if we manipulate the exposure to over and under expose our photographs?
Artist Inspiration: Darren Almond
Darren Almond’s diverse practice incorporates film, installation, sculpture and photography, to produce evocative meditations on time and duration as well as the themes of personal and historical memory. Darren Almond was born in 1971 in Wigan, UK. He lives and works in London. Almond is interested in the notions of geographical limits and the means of getting there – in particular, culturally specific points of arrival and departure. Since 1998, Almond has been making a series of landscape photographs known as the Fullmoons.


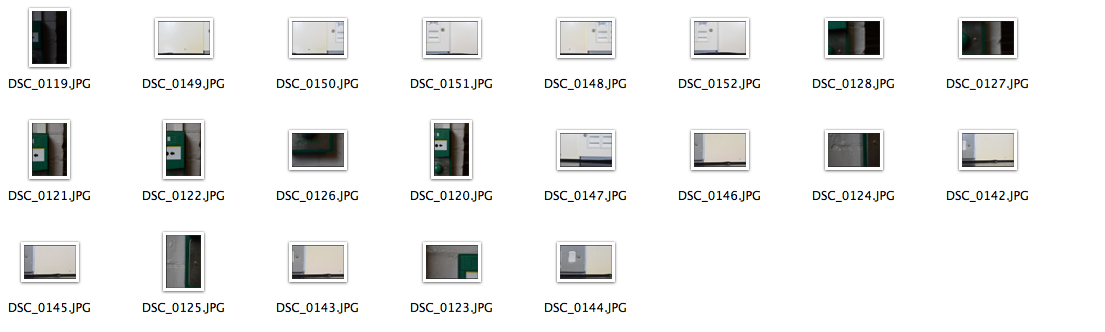
CONTACT SHEET:
|
|
Expectation 3: Composition
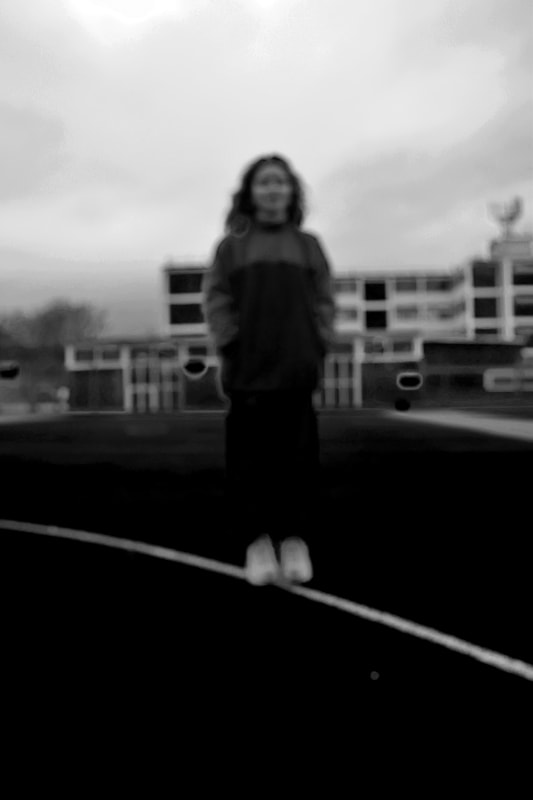
We expect there to be a subject to a photograph. What happens when the focal point is out of shot? Do we feel hard done by? Does it open other possibilities in terms of interpreting the image?
Artist Inspiration 1: Ute Barth
Uta Barth (born 1958 in Berlin, Germany) is a contemporary photographer who lives and works in Los Angeles, California. Barth is a 2012 MacArthur Fellow and a recipient of the John Simon Guggenheim Fellowship in 2004‑05

Artist Inspiration 2: Mark Borthwick
London-born, New York based photographer Mark Borthwick molds love, art, life, music and even food into the other to create work that is like no other. He forgoes digitized perfection to capture intimate moments in the lives of his models, family and friends, usually in the throes of happiness and love. By experimenting with overexposing film, he creates an almost otherworldly light that saturates the images. Borthwick was a defining photographer of the 90’s, helping then-fledgling magazines like Purple, Self Service and AnOther traverse the interstitial territories between art and fashion that’s almost taken for granted today. He celebrated the recent release of his retrospective monograph with Rizzoli, ‘Not In Fashion’ with a weeklong series of performances at the Journal Gallery in New York that mixed poetry readings with live performances in a way that generated a communal intimacy, much like his work doe.
London-born, New York based photographer Mark Borthwick molds love, art, life, music and even food into the other to create work that is like no other. He forgoes digitized perfection to capture intimate moments in the lives of his models, family and friends, usually in the throes of happiness and love. By experimenting with overexposing film, he creates an almost otherworldly light that saturates the images. Borthwick was a defining photographer of the 90’s, helping then-fledgling magazines like Purple, Self Service and AnOther traverse the interstitial territories between art and fashion that’s almost taken for granted today. He celebrated the recent release of his retrospective monograph with Rizzoli, ‘Not In Fashion’ with a weeklong series of performances at the Journal Gallery in New York that mixed poetry readings with live performances in a way that generated a communal intimacy, much like his work doe.

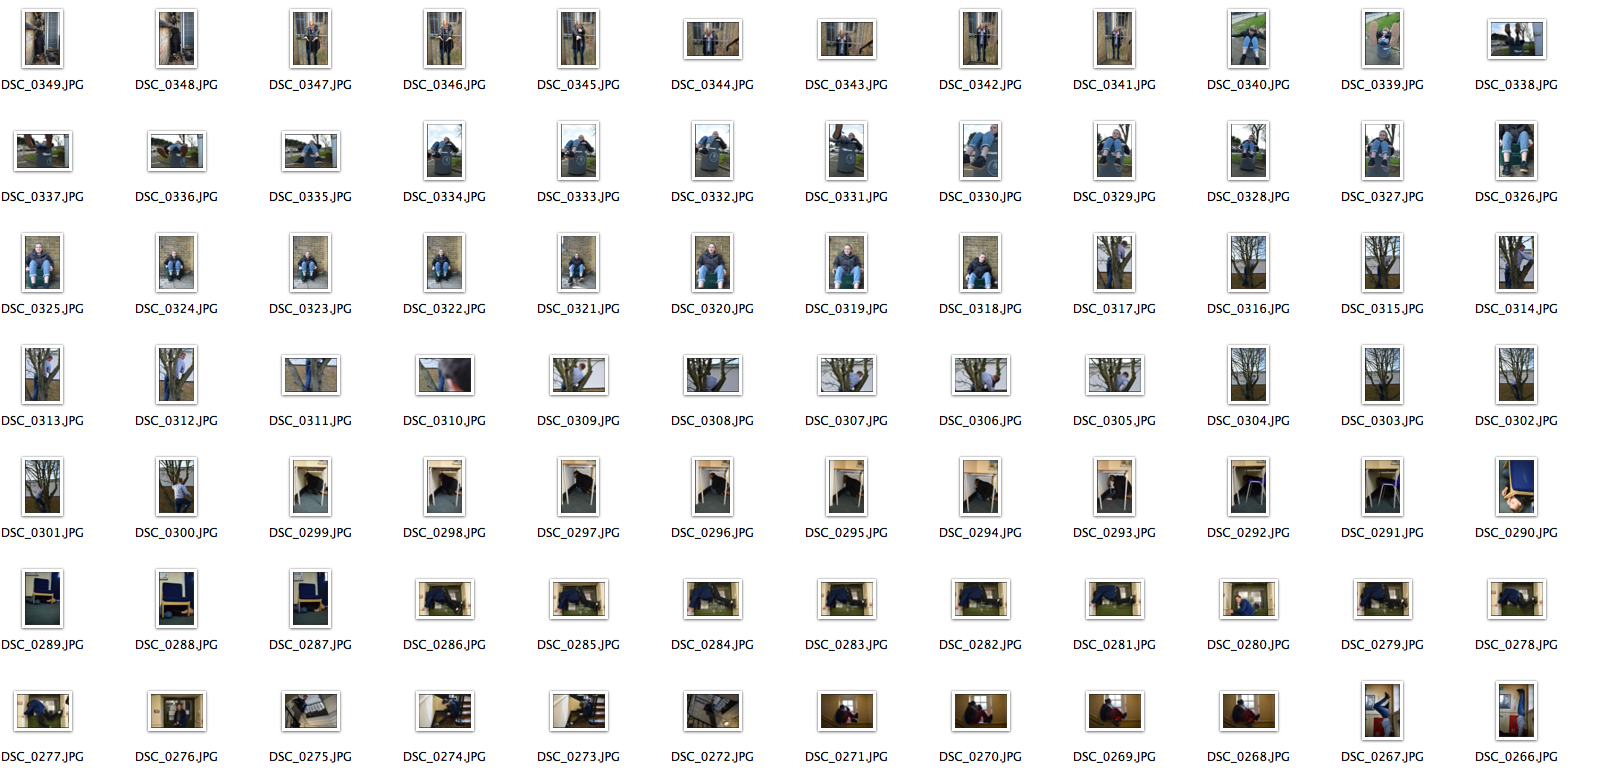
CONTACT SHEET:

I wasn't as pleased with how these photographs turned out, I think the composition is good but however if I was to do this again I would go out of the school environments and find more unique compositions on the streets of London.
Limiting Space
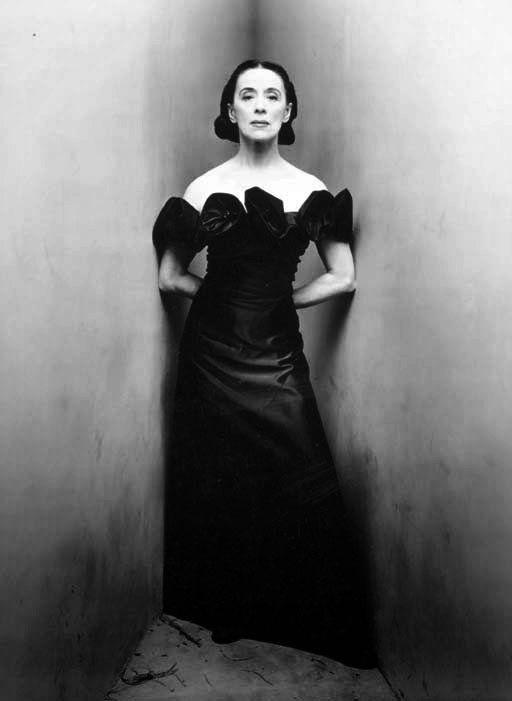
Around 1948, photographer Irving Penn began making unusual portraits of a number of writers, artists, musicians, politicians, dancers and other celebrities. Each one was asked to position in a small corner (sharper than 90°) created with two studio flats pushed together and a carpet on the floor.
The photographic studio was no longer a neutral environment but became an active agent in the creation of the photographic reality. Irving Penn had already allowed the studio to have a presence in his images. In some of his other studio images we see electrical cables and photographic material scattered on the floor. In the portrait of Georgia O'Keefe (below) we see the supports for the corner flats.
Within the corner portraits, the studio becomes an architectural limiter of the subject movements and the resulting compressed and claustrophobic environment isolates the subjects’ personalities in an abstract, artificial corner of the world.
He once explained. “The walls were a surface to lean on or push against. For me the picture possibilities were interesting; limiting the subjects movements seemed to relieve me of part of the problem of holding onto them.”


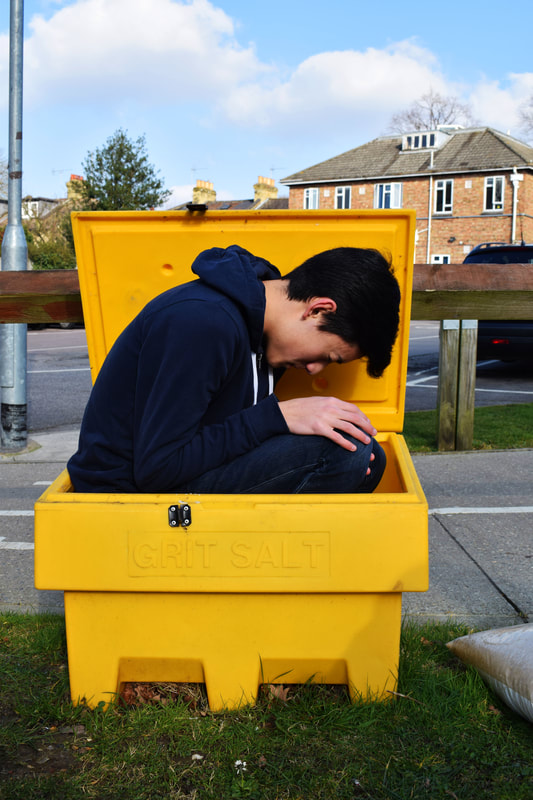
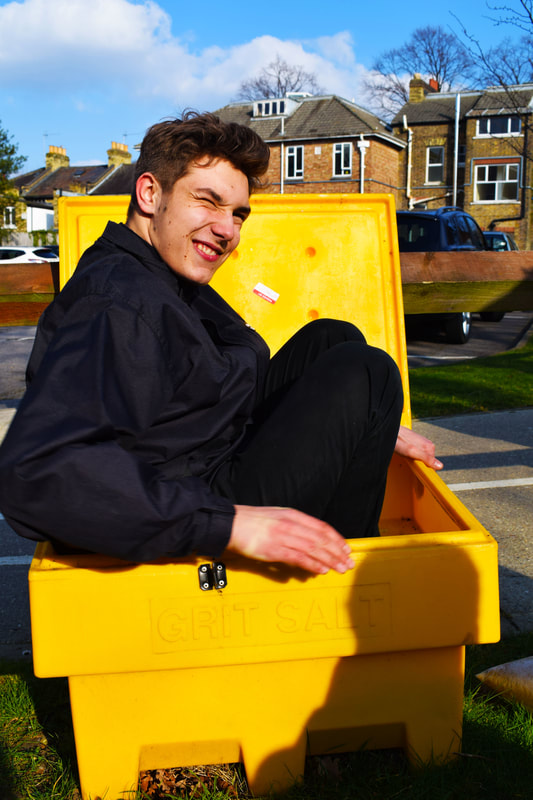
I am extremely please at how this set task came out, the weather was good that day which made the lighting better, which you can see clearly in the photographs. I think the compositions of these photographs are interesting and in the last photo think the vibrance of the yellow and the facial expression adds to the atmosphere created.
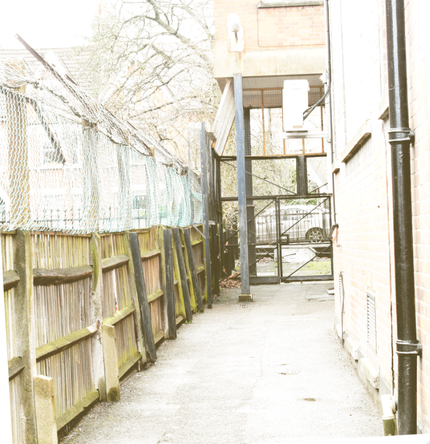
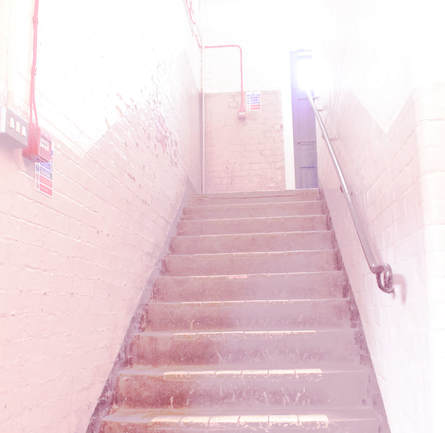
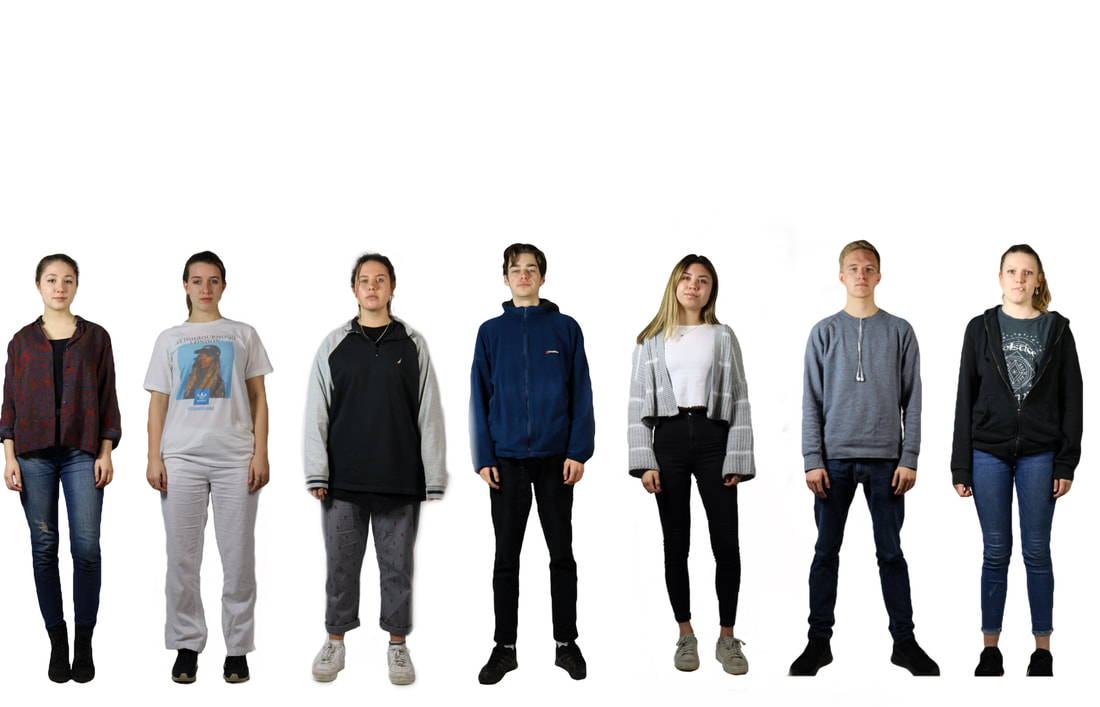
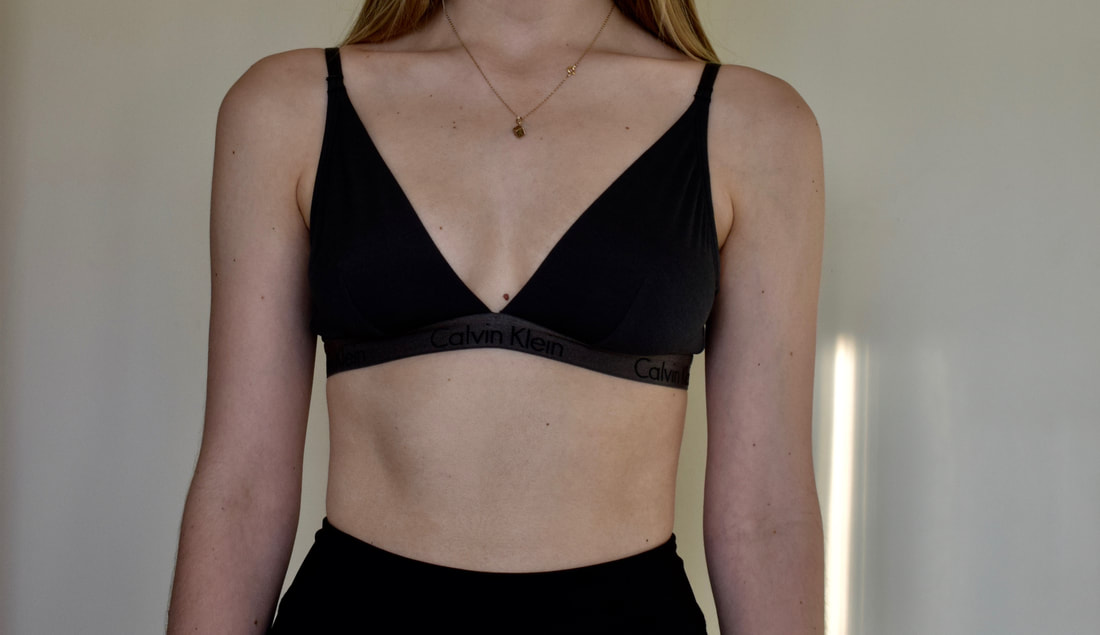
Strand 1: Freedom and Limitations of Clothing
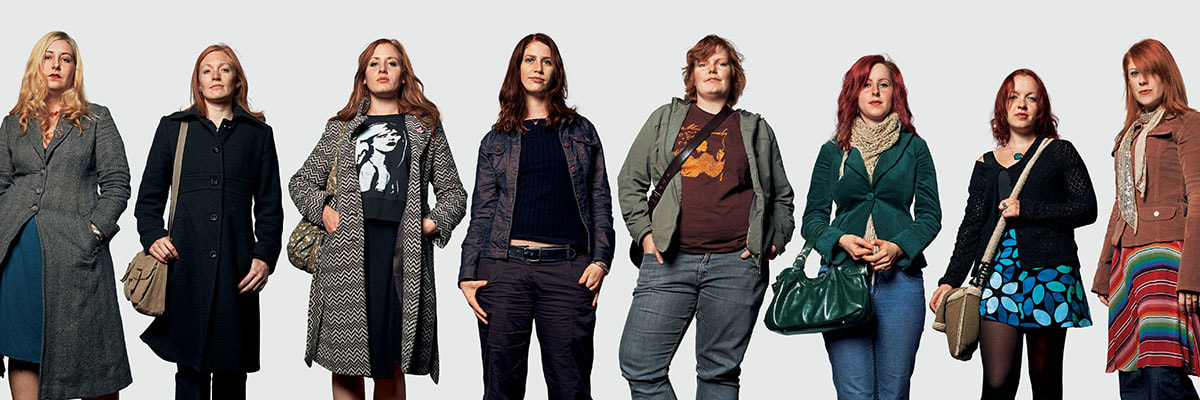
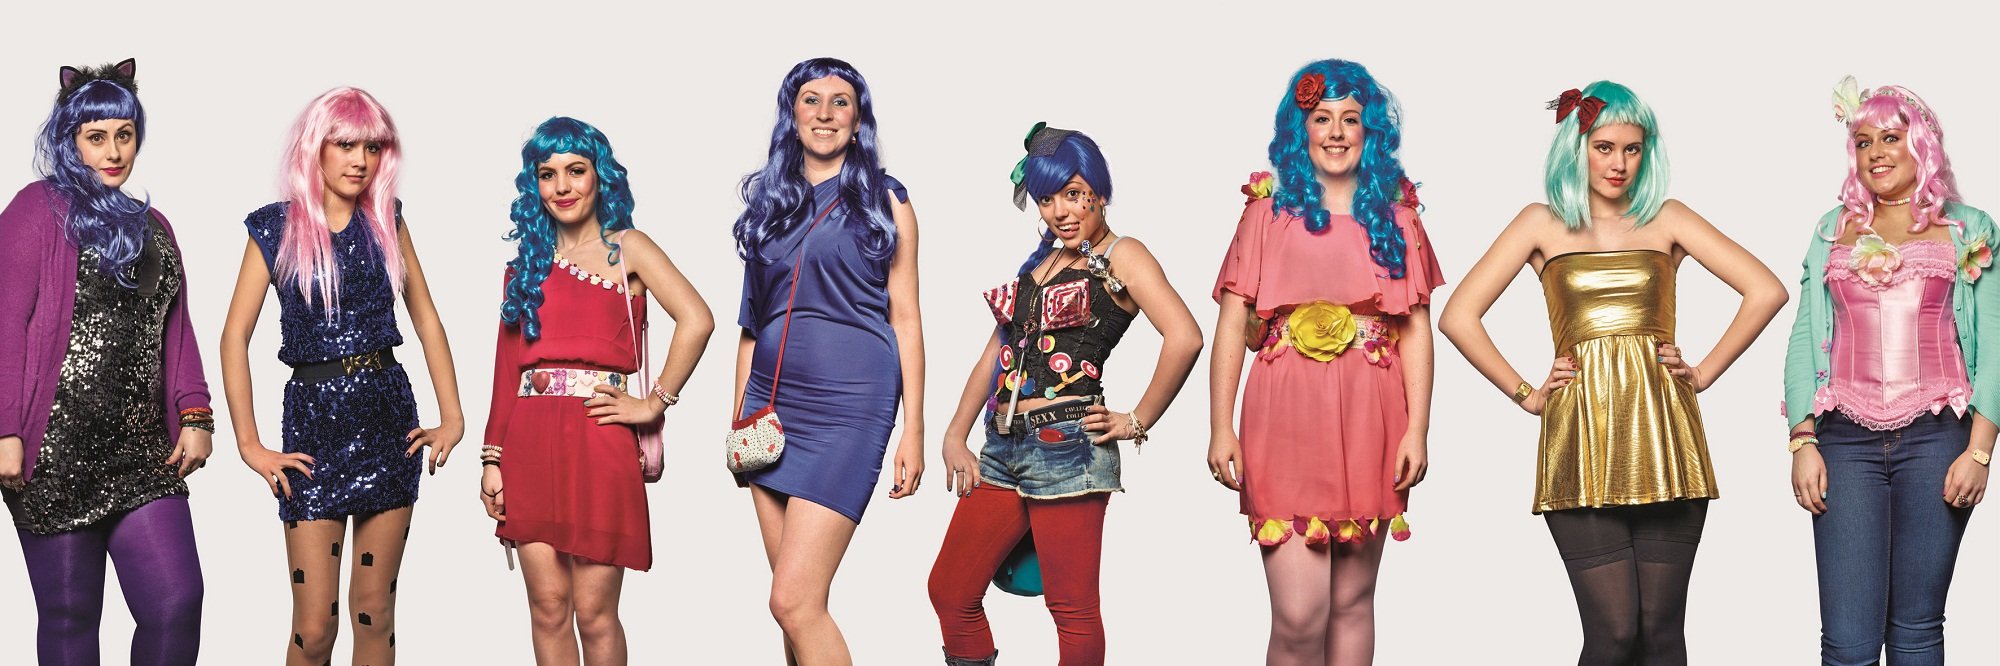
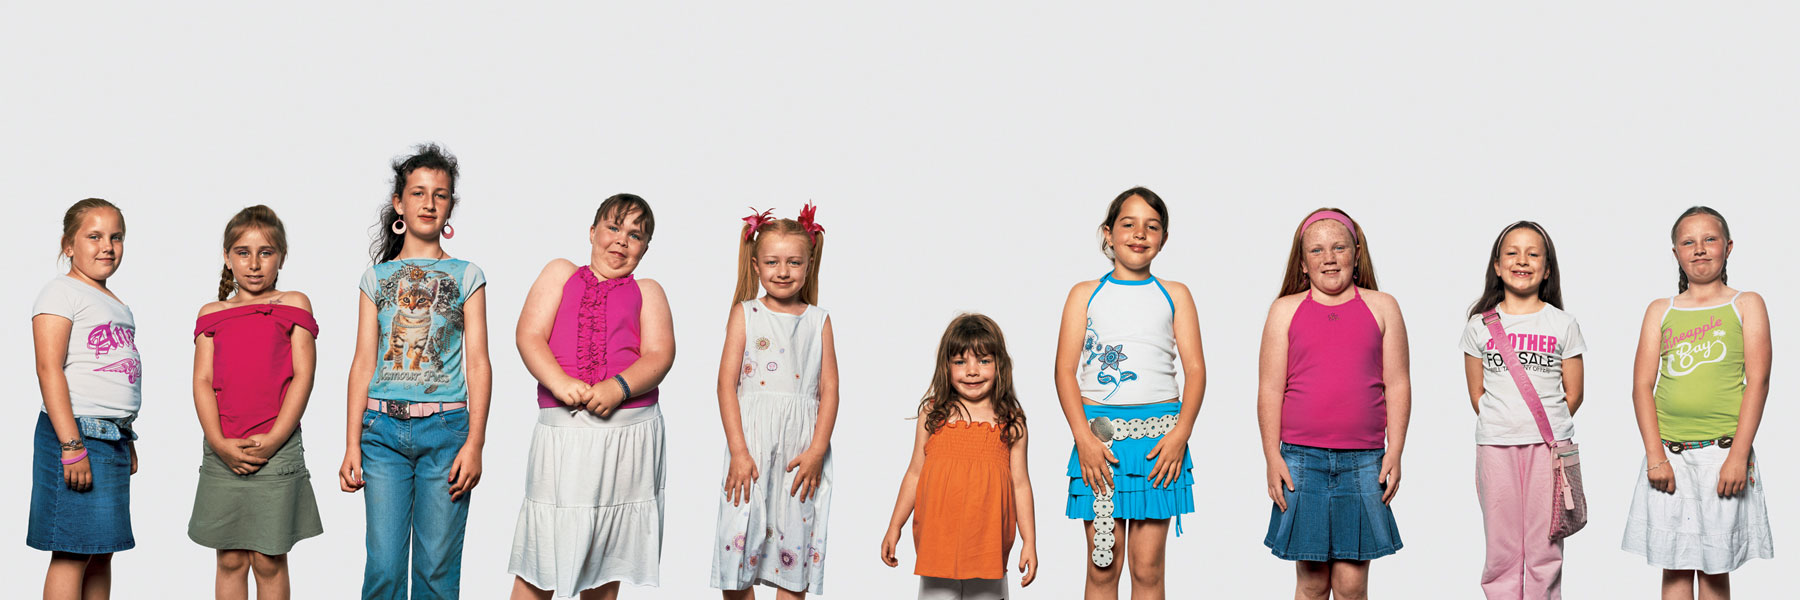
Artist Inspiration: James Mollison
Over three years, Mollison photographed fans outside different concerts. He was fascinated by the different tribes of people that attended them, and how people emulate celebrity to for, their identity. As he photographed the project, he saw how the concerts became events for people to come together with surrogate 'families', a chance to relive their youth or try and be part of a scene that happened before they were born.
Over three years, Mollison photographed fans outside different concerts. He was fascinated by the different tribes of people that attended them, and how people emulate celebrity to for, their identity. As he photographed the project, he saw how the concerts became events for people to come together with surrogate 'families', a chance to relive their youth or try and be part of a scene that happened before they were born.
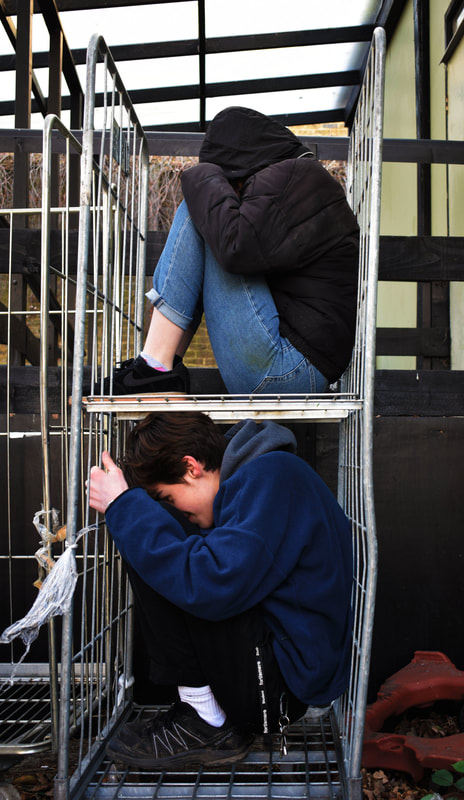
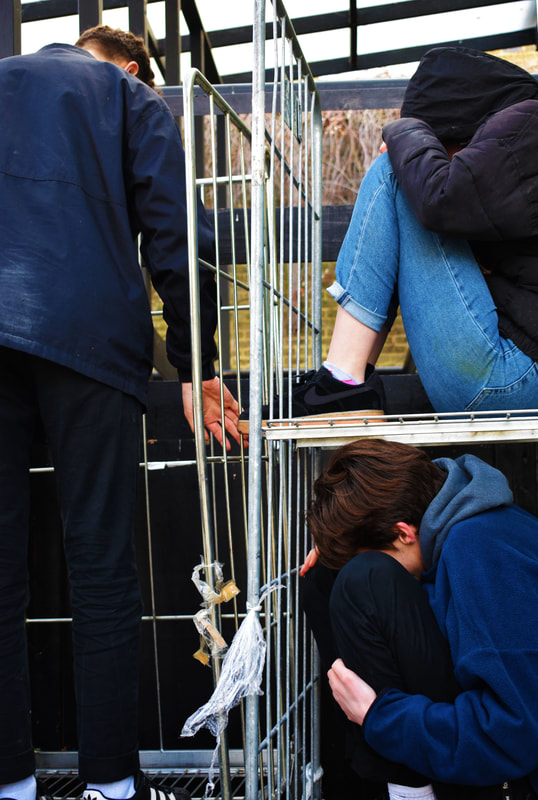
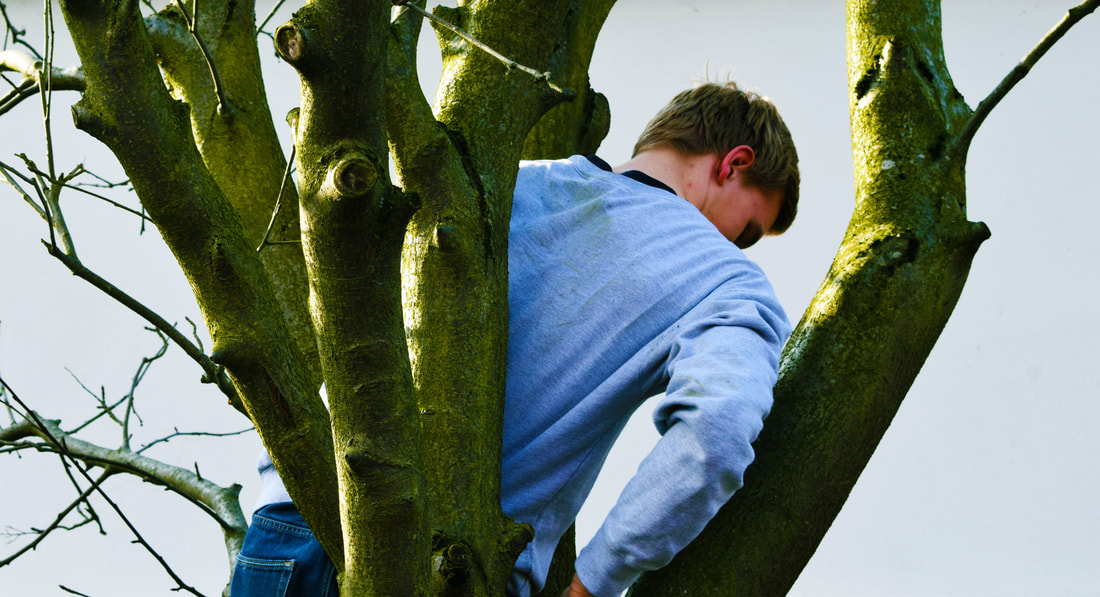
Strand 2: Freedom of the youth/ modern society
To explore this strand which I called 'Freedom of Modern Society' I went to a legal rave and took an old school video camera, to create that glitchy/ old-school vibe I was hoping for. The rave was all day so I have hours of footage, which I went back and re- watched, on iMovie I selected my favourite parts of the footage I took, the footage which helped capture the atmosphere of the freedom of the youth to go out all day and let themselves free and coming together as a society to enjoy music they all have a passion for [Drum and Bass]. I then edited the footage on iMovie and created a short video which you can see below.
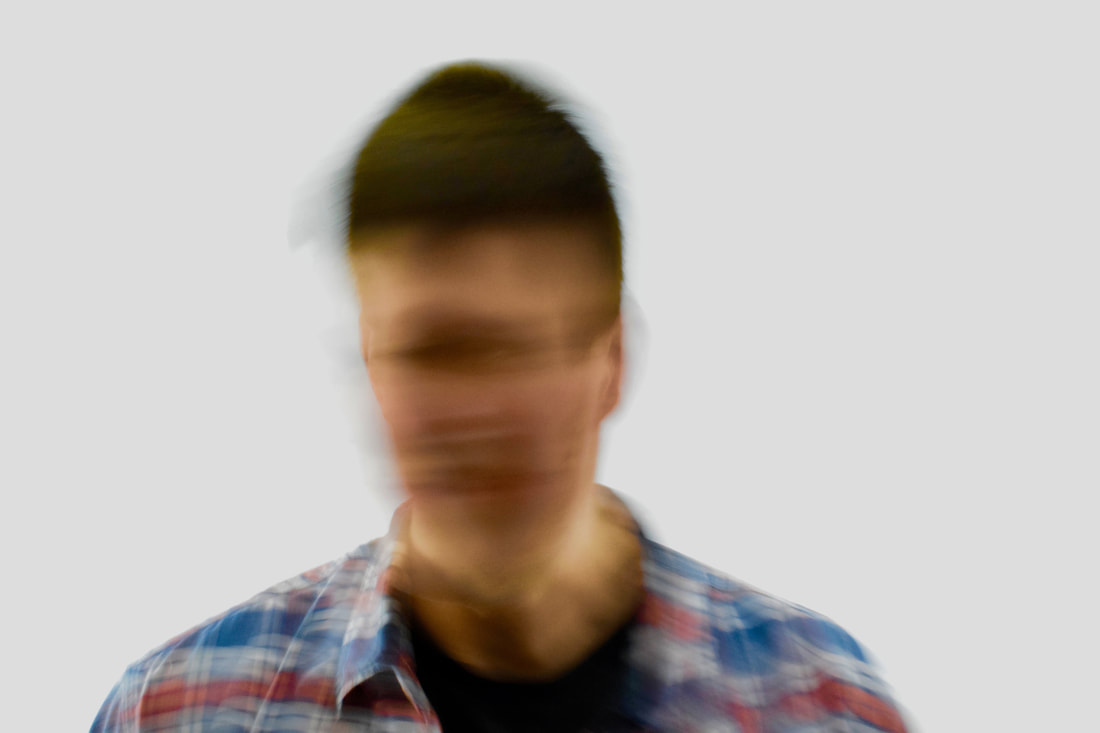
Strand 3: Thoughts trapped inside of you [Inner Thoughts and Opinions] [Mental Stability]
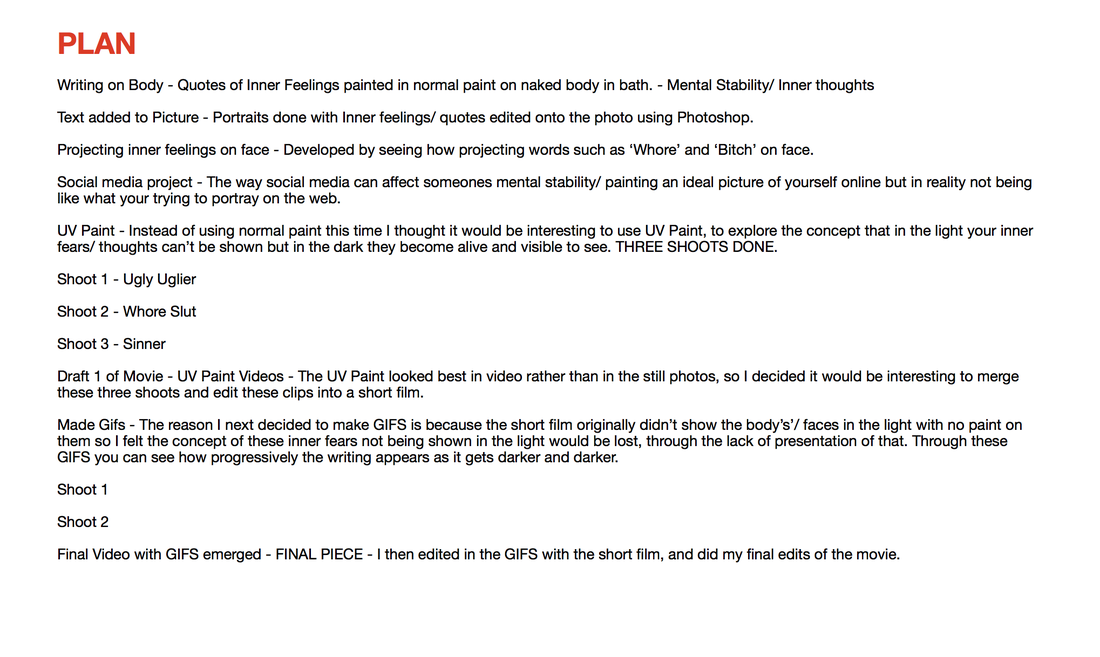
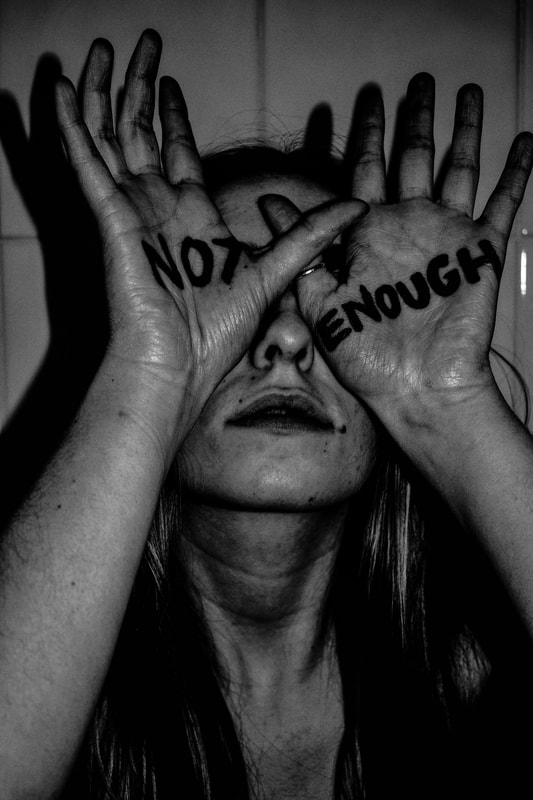
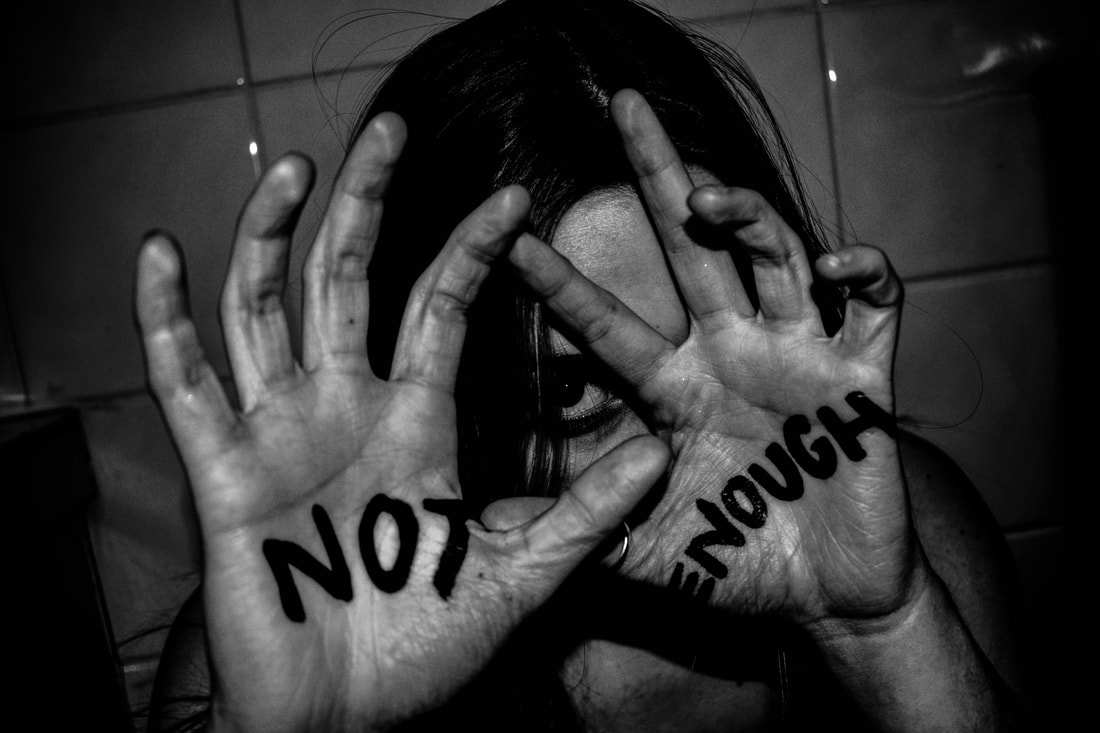
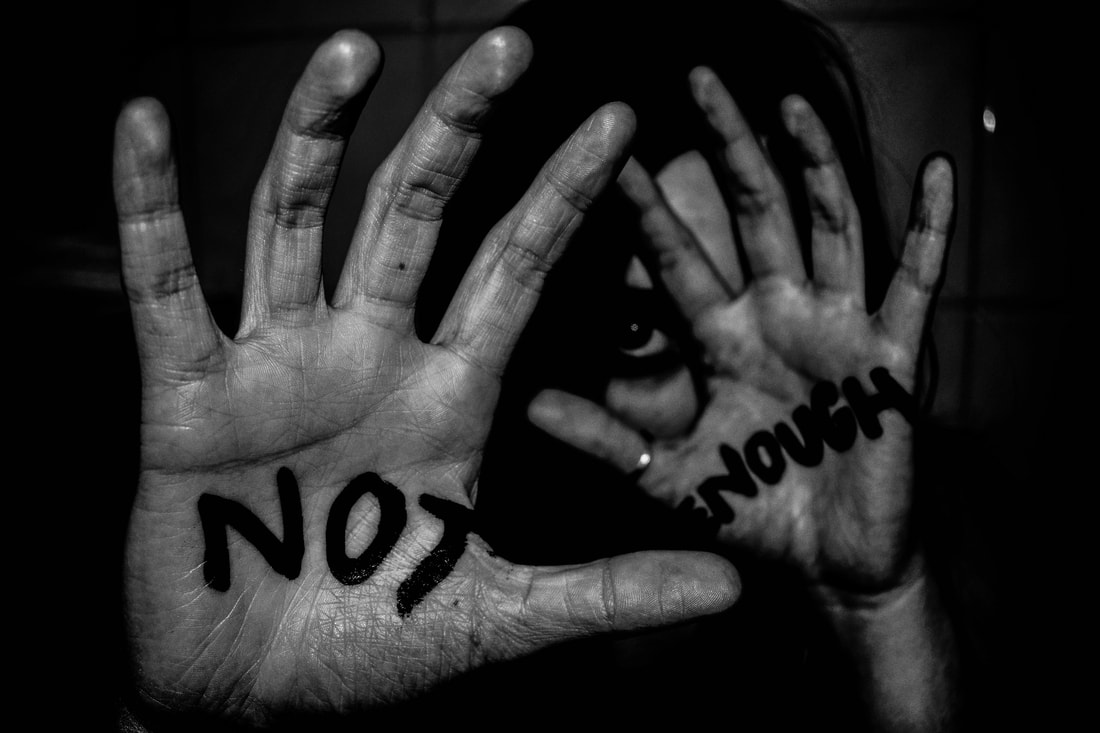
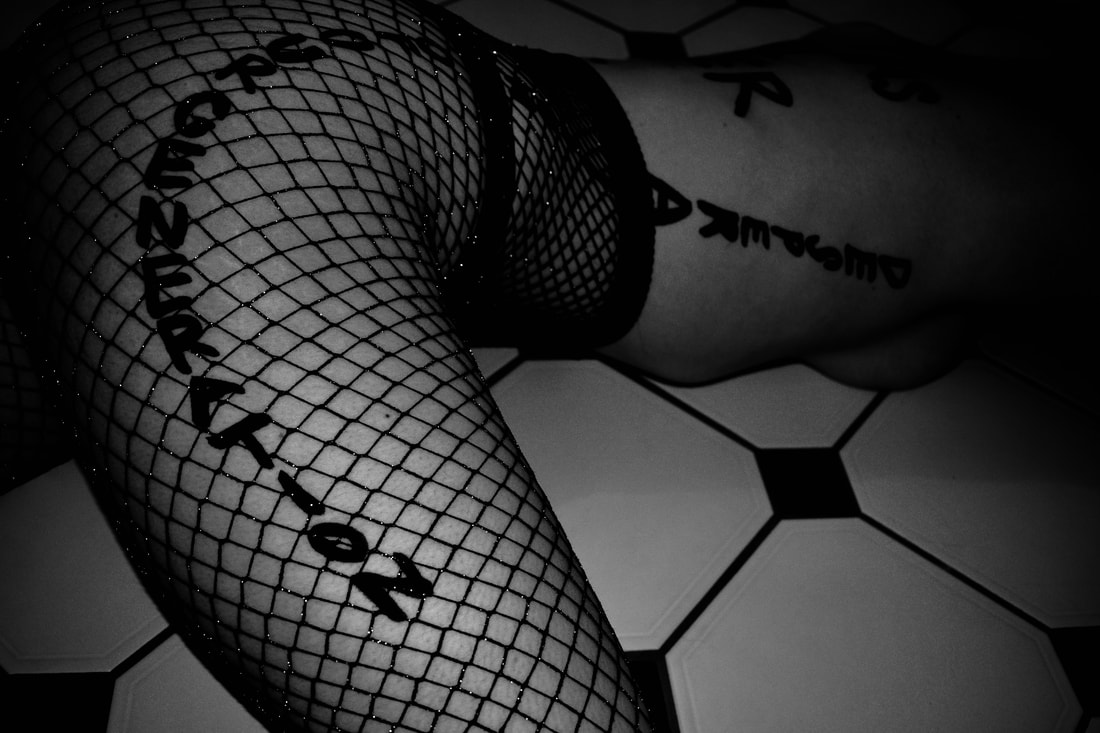
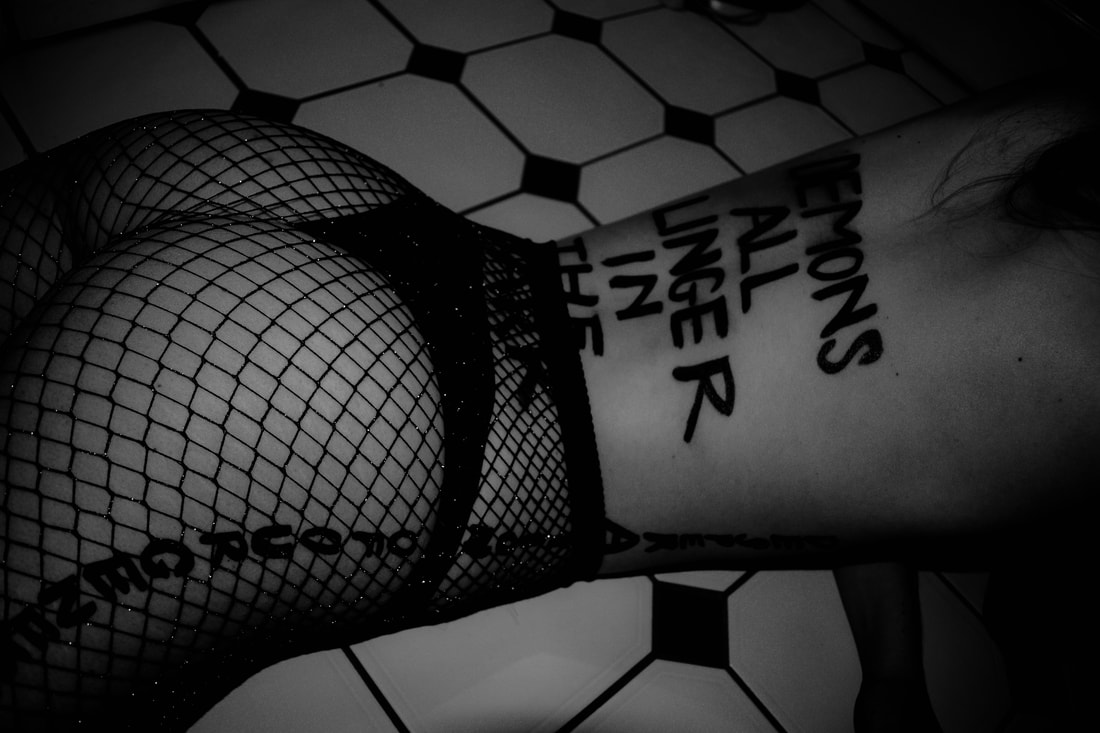
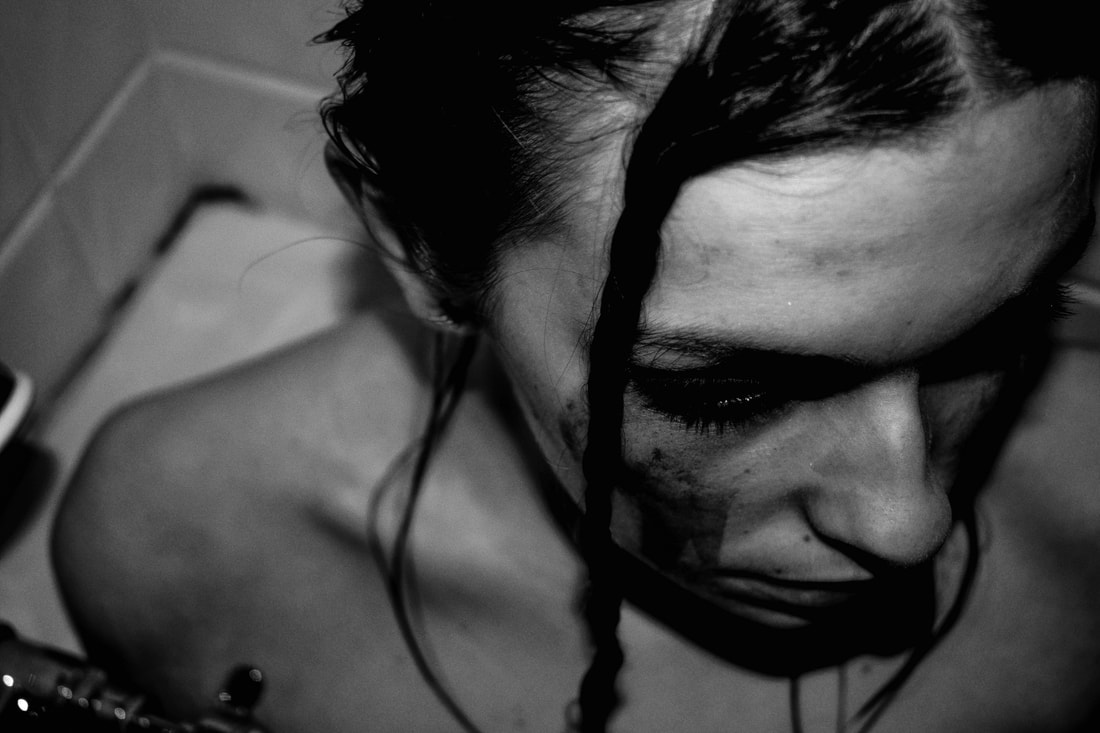
Shoot 1 - Inner Feelings/ Quotes Painted on Naked Body.
Introduction to this Strand:
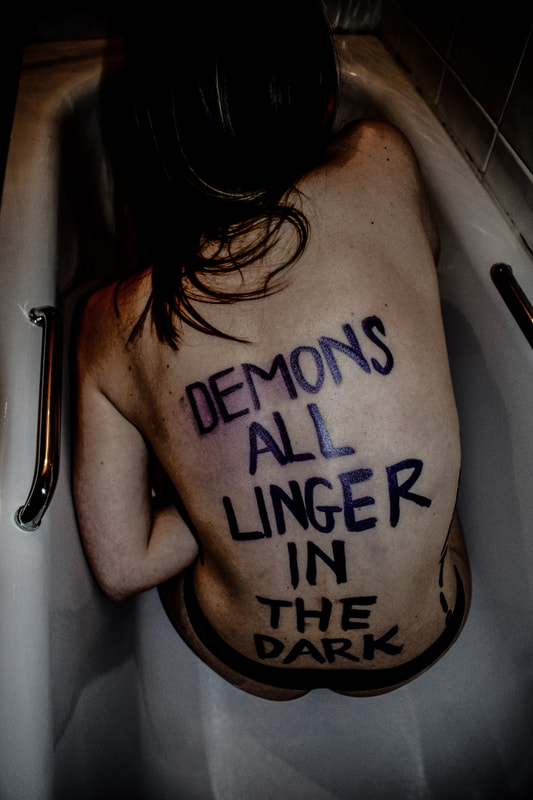
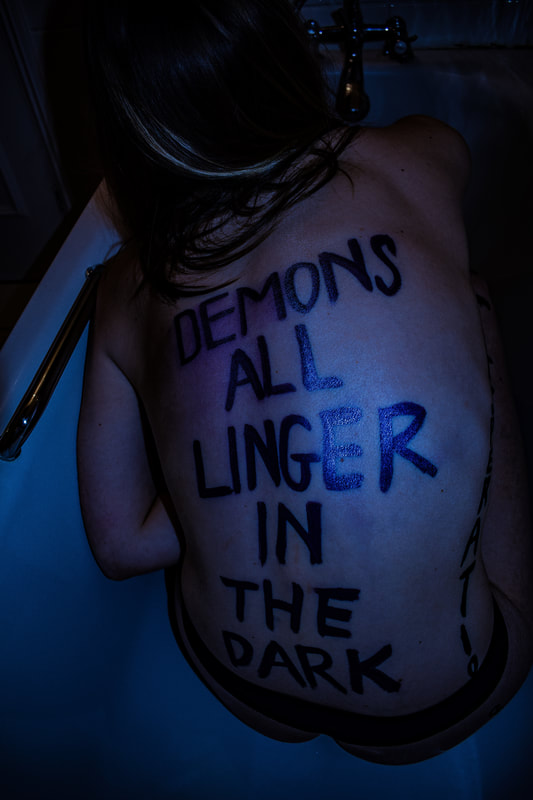
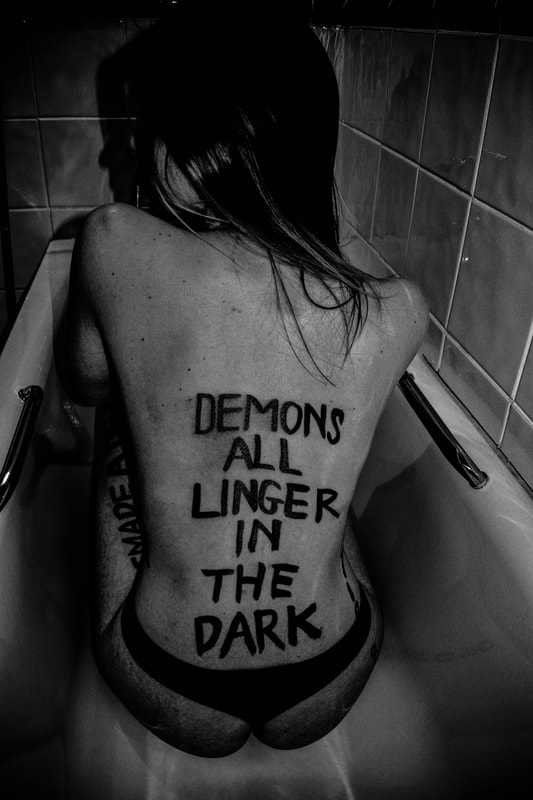
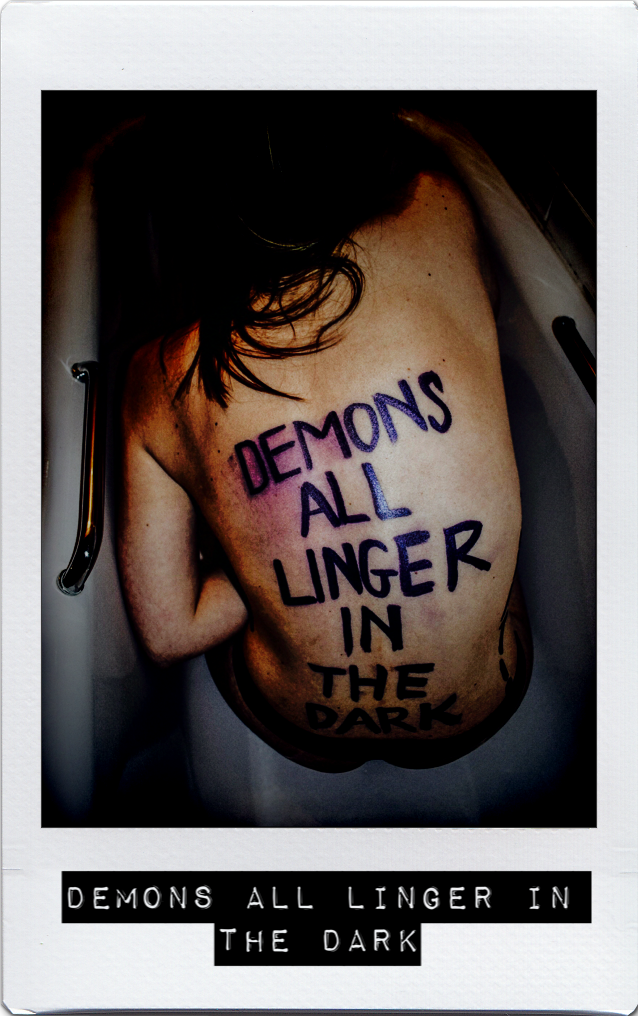
With our exam topic being 'Freedom and Limitations' I thought it would be interesting to research and experiment with the theme of Mental Stability, and people's thoughts being trapped inside of them, also the freedom we have in modern society to express ourselves, and be our inner selfs. In my first development, which you can see below, I have decided to explore the theme of 'Darkness' and your thoughts coming alive in the dark. The use of the bath also contributes to the limitations of a trapped area which I looked into for a set task [above].
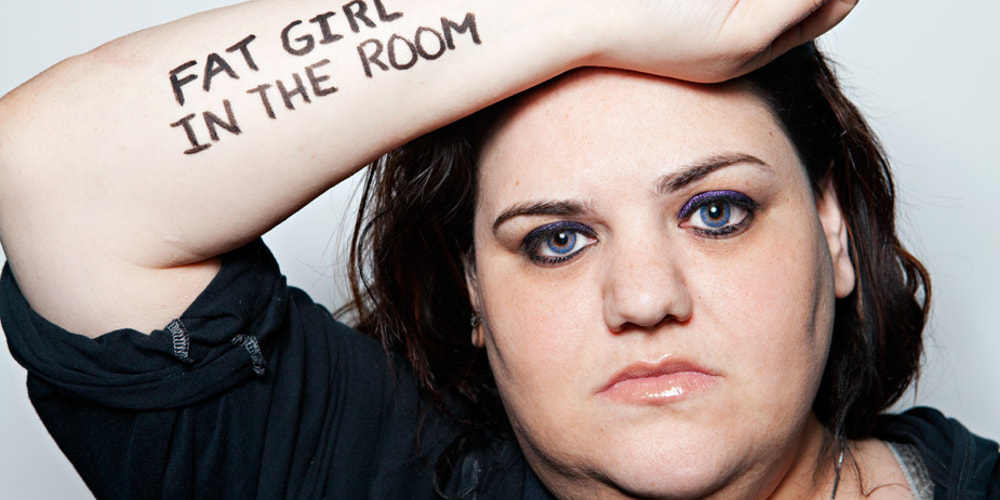
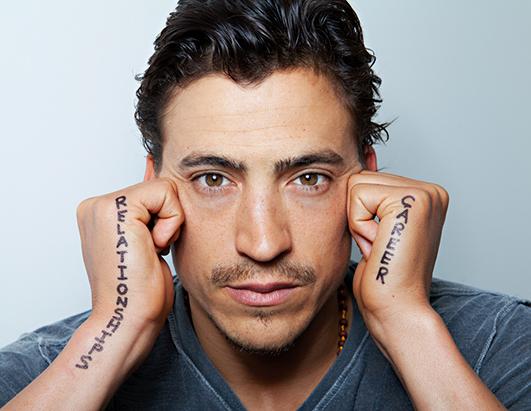
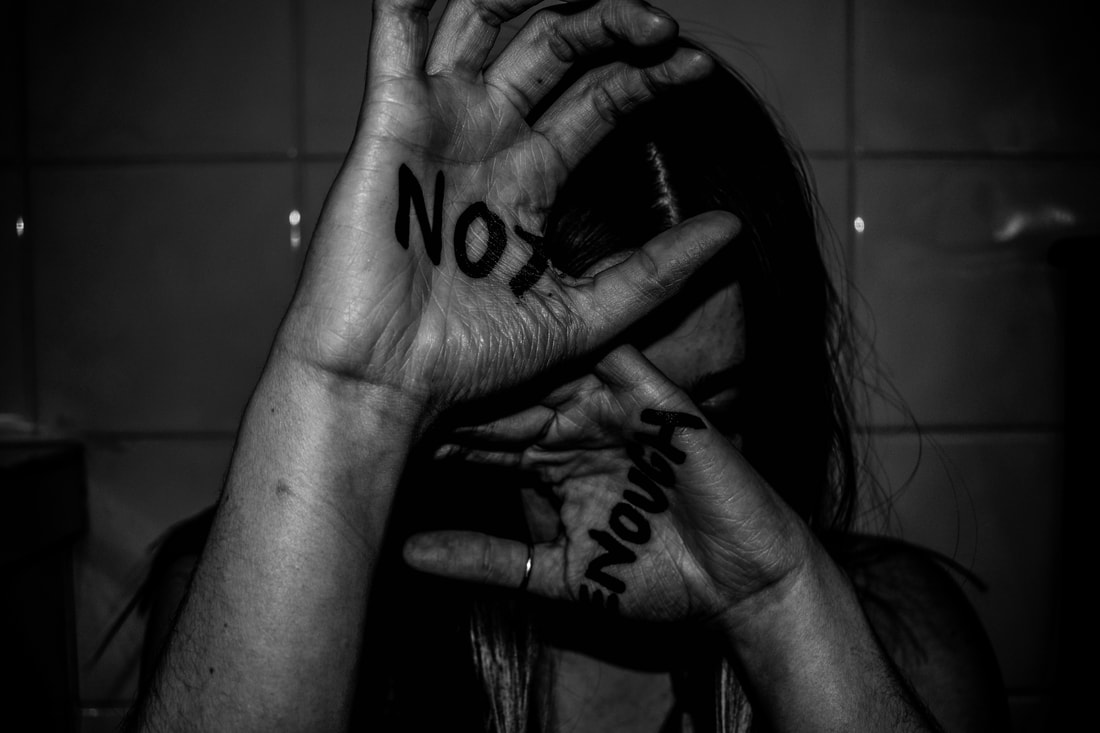
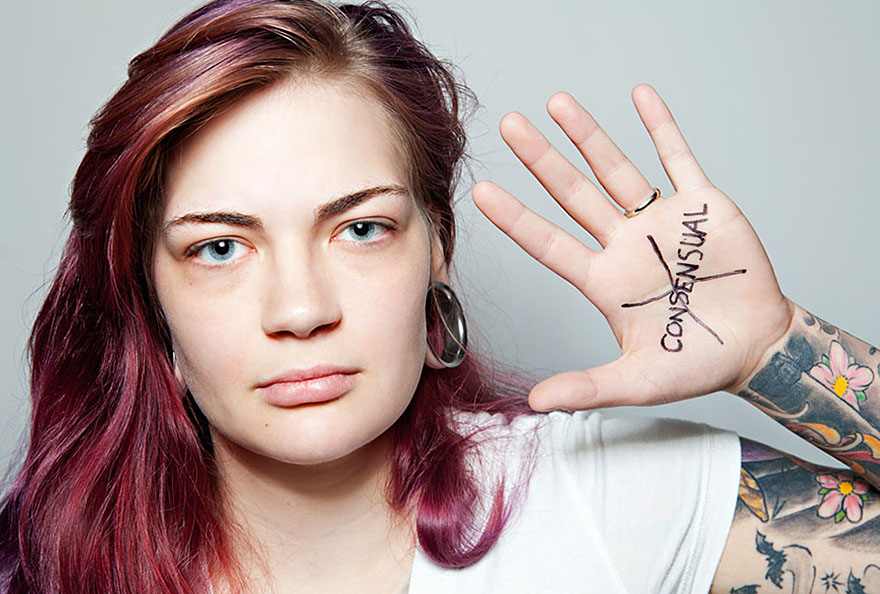
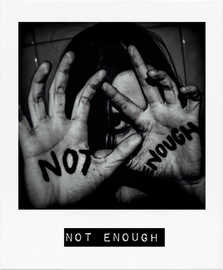
Artist Inspiration: Steve Rosenfield "What I be"
The “What I Be Project” is a social experiment turned into a global movement about honesty and empowerment. In today’s society, we are often told to look or act a certain way. If we differ from these “standards,” we are often judged, bullied and sometimes even killed over them. Rosenfield started this project in hopes to open up the lines of communication, and to help everyone accept diversity with an open mind & heart and empower those who feel they suffer for something they may see as a flaw.
Introduction to this Strand:
With our exam topic being 'Freedom and Limitations' I thought it would be interesting to research and experiment with the theme of Mental Stability, and people's thoughts being trapped inside of them, also the freedom we have in modern society to express ourselves, and be our inner selfs. In my first development, which you can see below, I have decided to explore the theme of 'Darkness' and your thoughts coming alive in the dark. The use of the bath also contributes to the limitations of a trapped area which I looked into for a set task [above].
Artist Inspiration: Steve Rosenfield "What I be"
The “What I Be Project” is a social experiment turned into a global movement about honesty and empowerment. In today’s society, we are often told to look or act a certain way. If we differ from these “standards,” we are often judged, bullied and sometimes even killed over them. Rosenfield started this project in hopes to open up the lines of communication, and to help everyone accept diversity with an open mind & heart and empower those who feel they suffer for something they may see as a flaw.

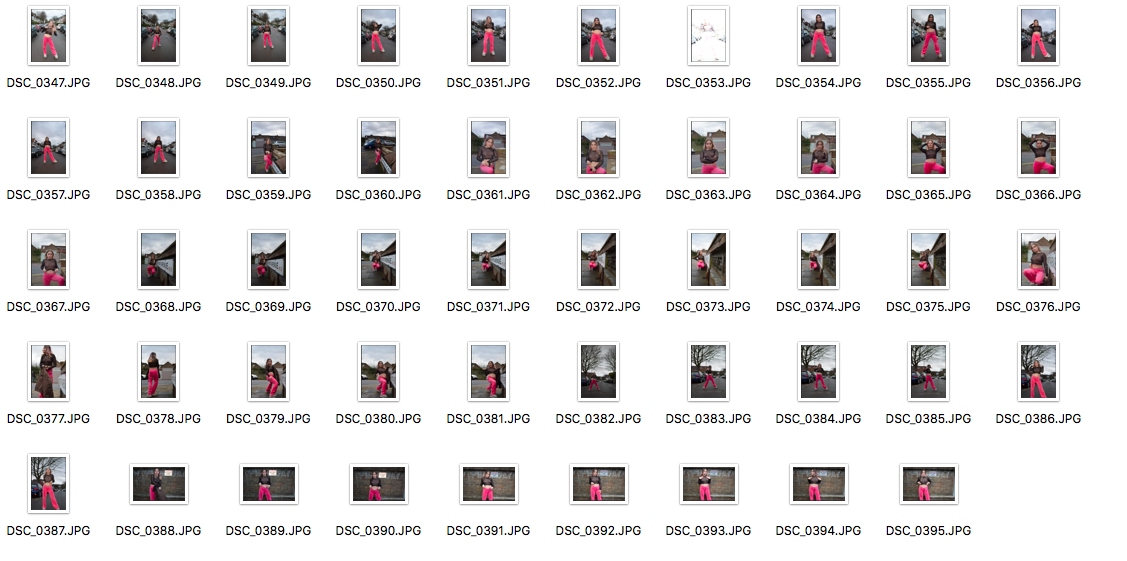
CONTACT SHEET

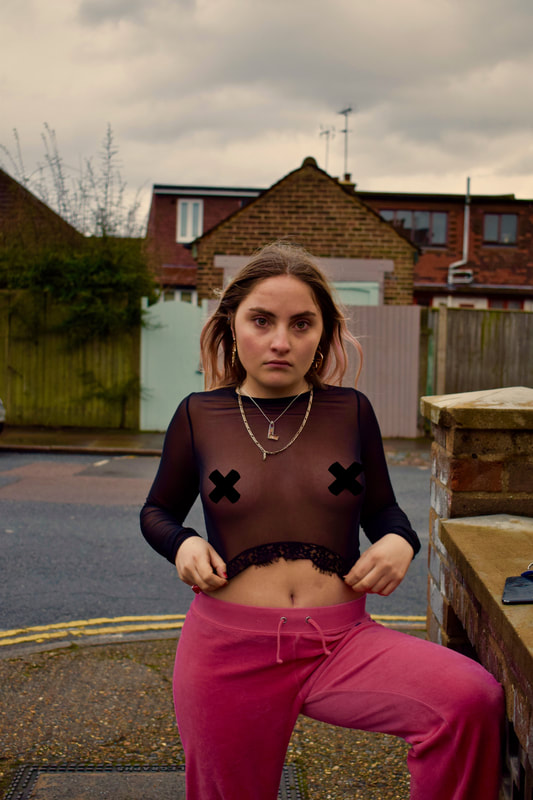
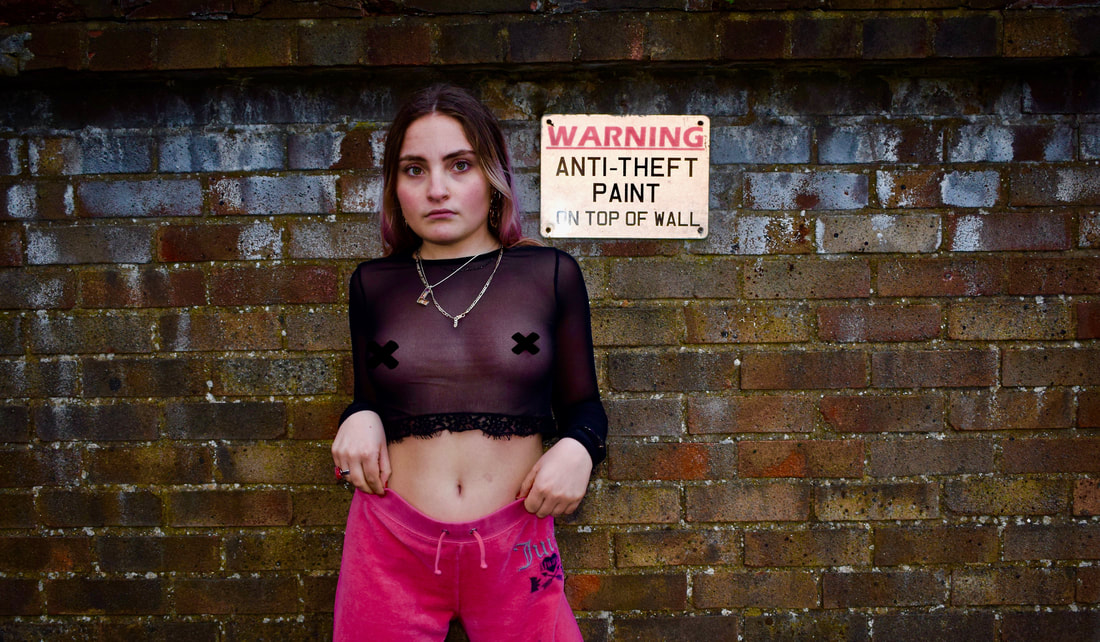
FINAL IMAGES


ARTIST AND ME
|

|
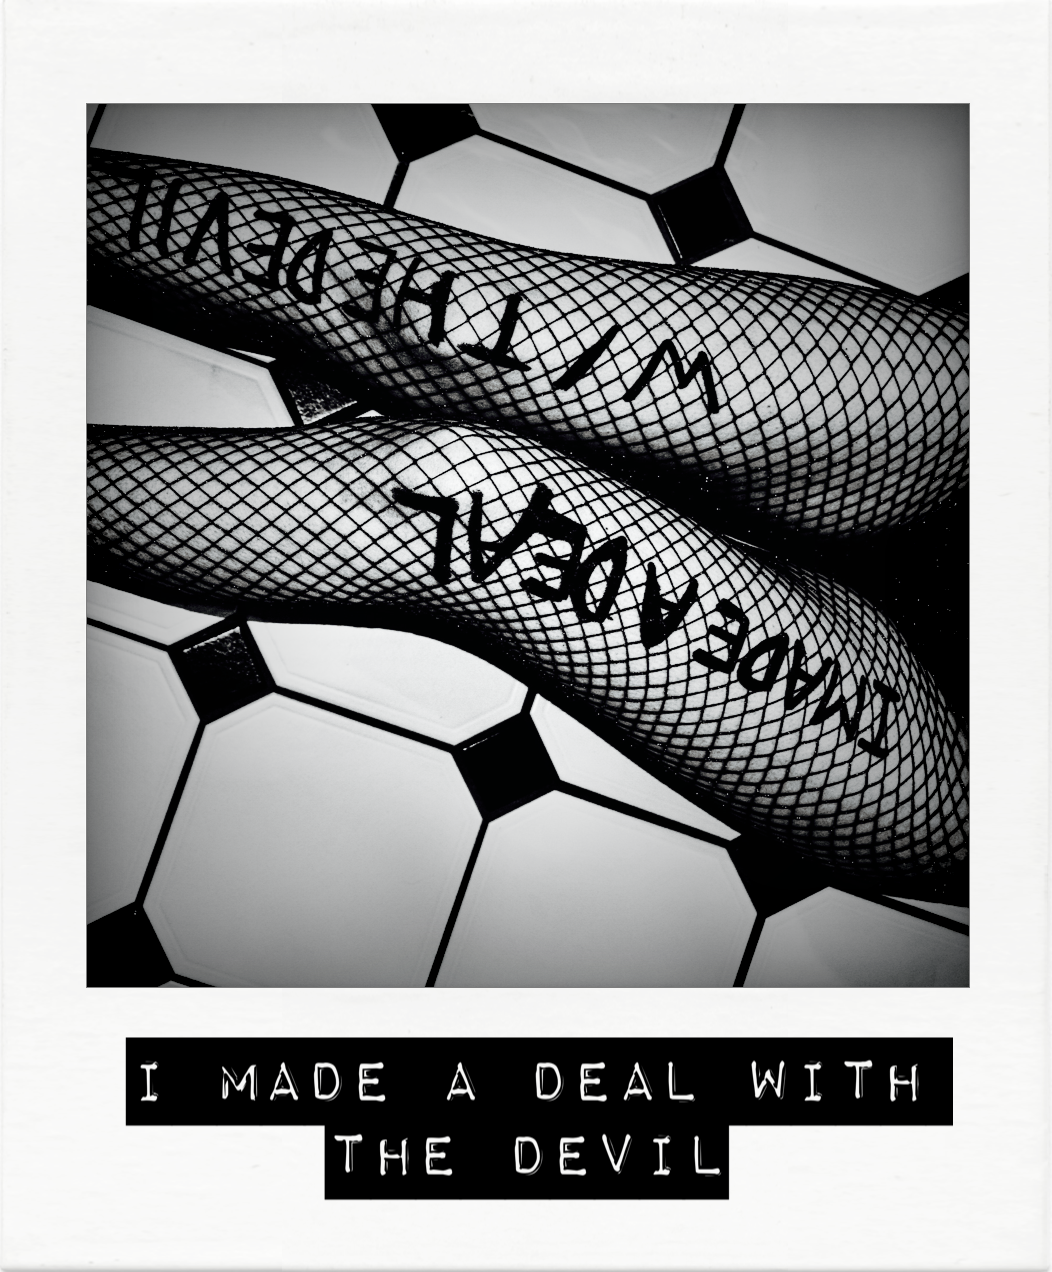
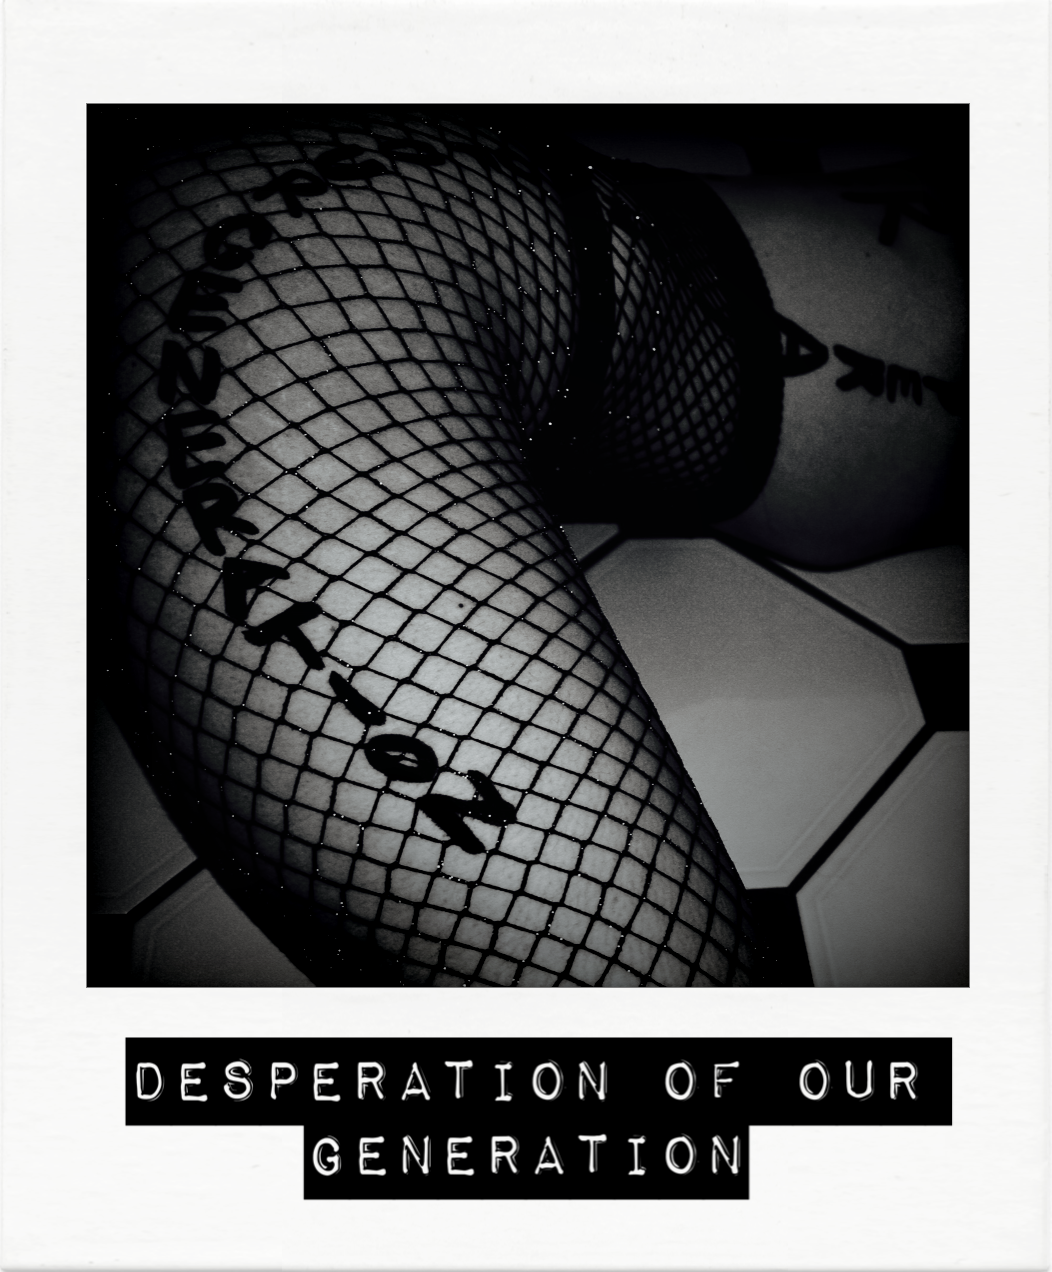
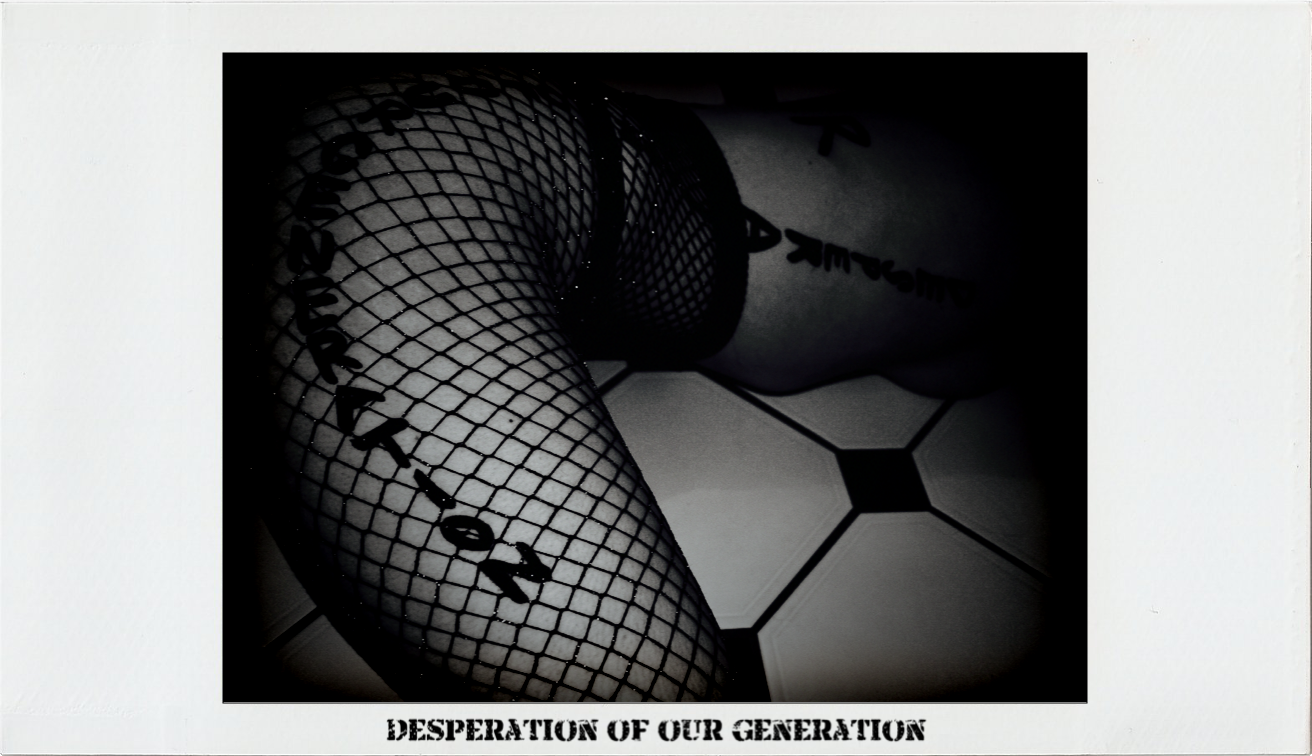
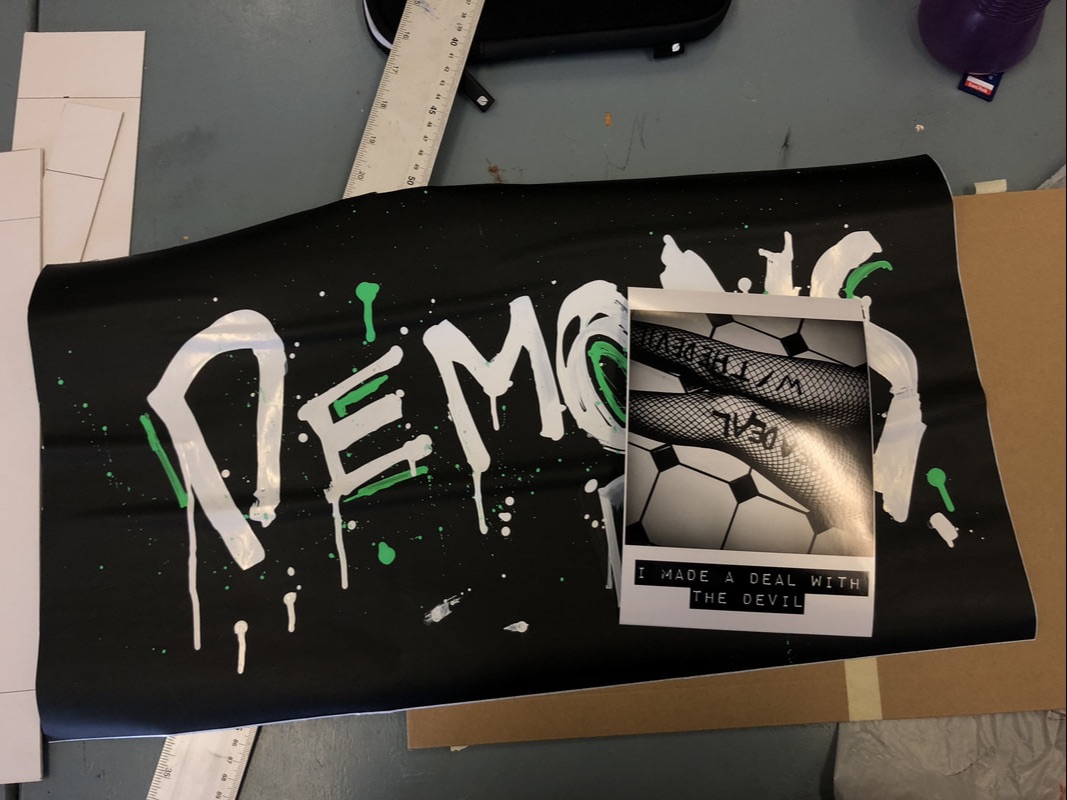
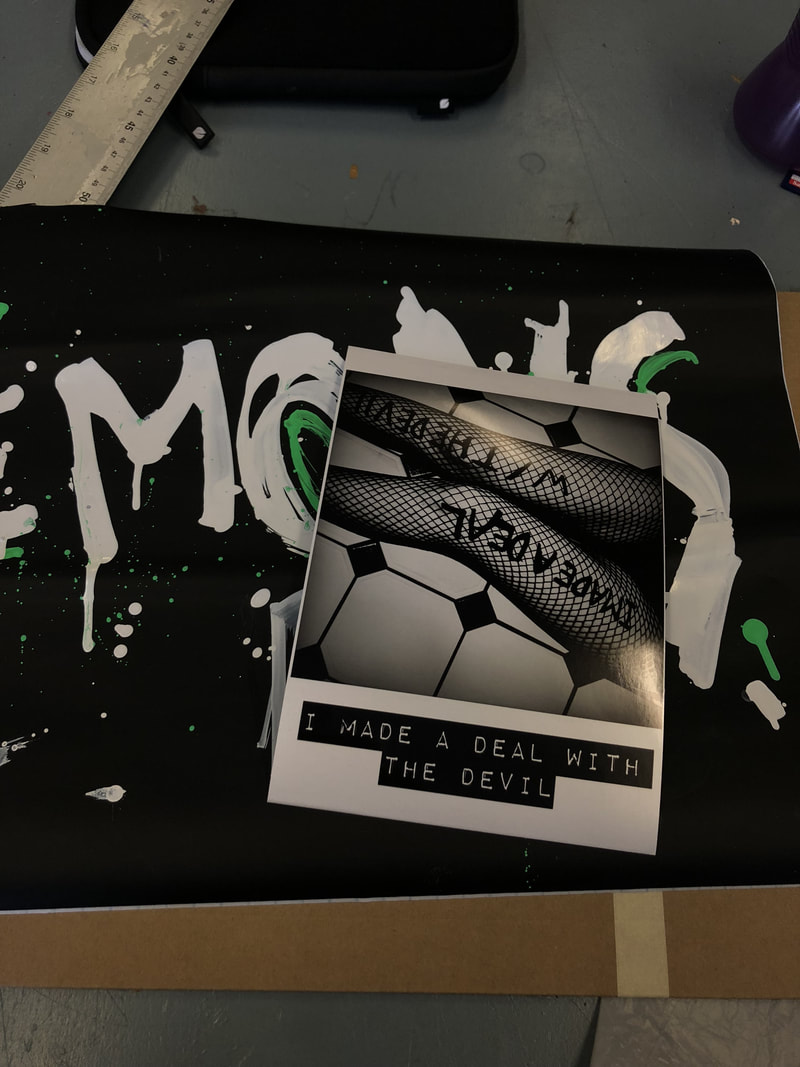
POLAROIDS
I thought it would be interesting to put these photographs in a different formats. The whole theme and message behind the photographs is edgy, so I thought it would work by having them presented as polaroids, reinforcing then edgy and bold atmosphere I originally wanted to create.
I thought it would be interesting to put these photographs in a different formats. The whole theme and message behind the photographs is edgy, so I thought it would work by having them presented as polaroids, reinforcing then edgy and bold atmosphere I originally wanted to create.
|
|
|

|
|
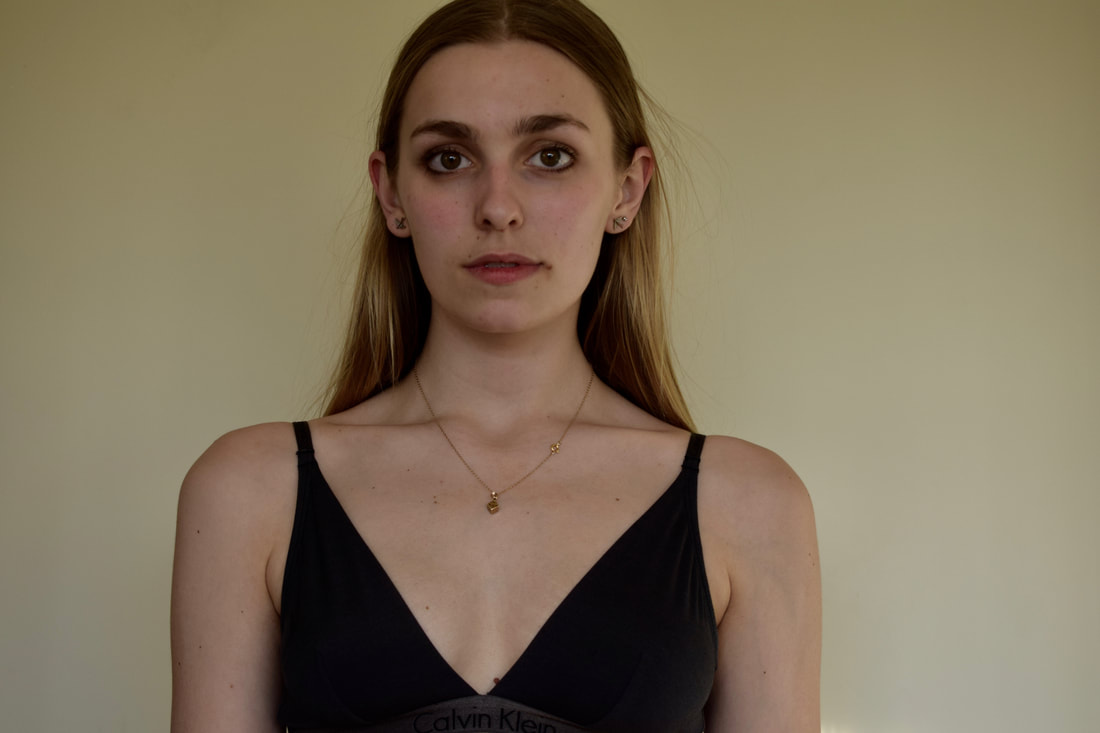
Shoot 2 - Portraits with Inner thoughts/ quotes placed on using Photoshop
Idea behind this Development:
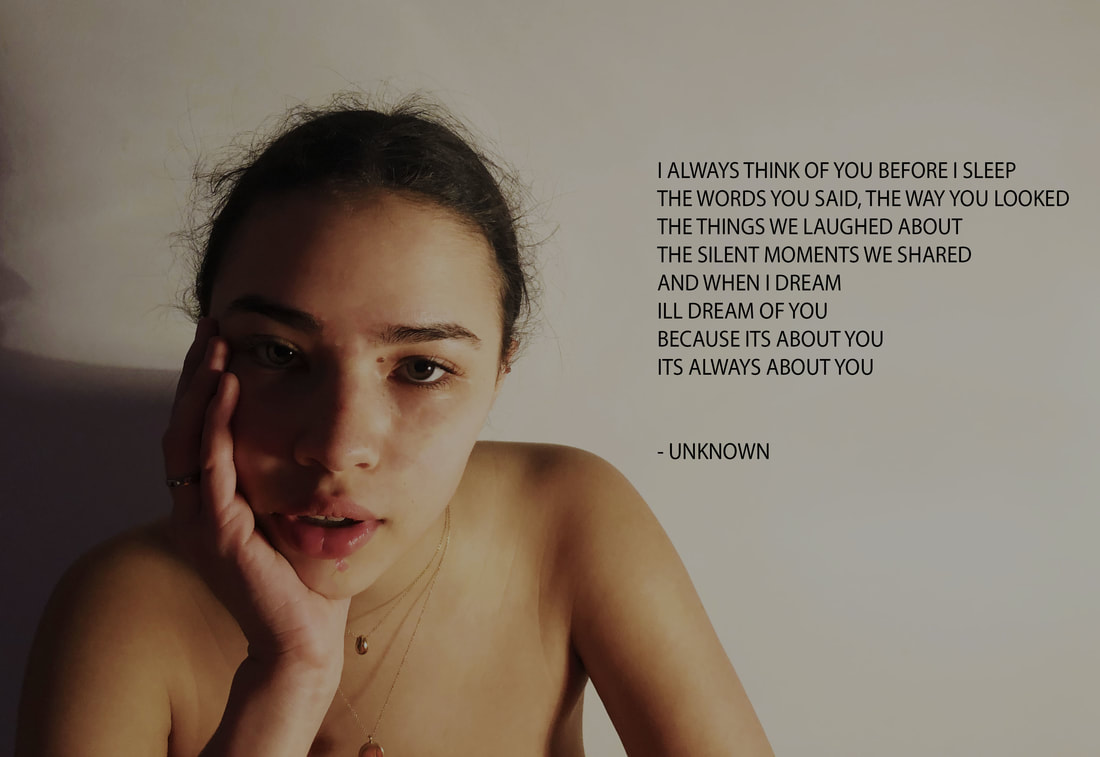
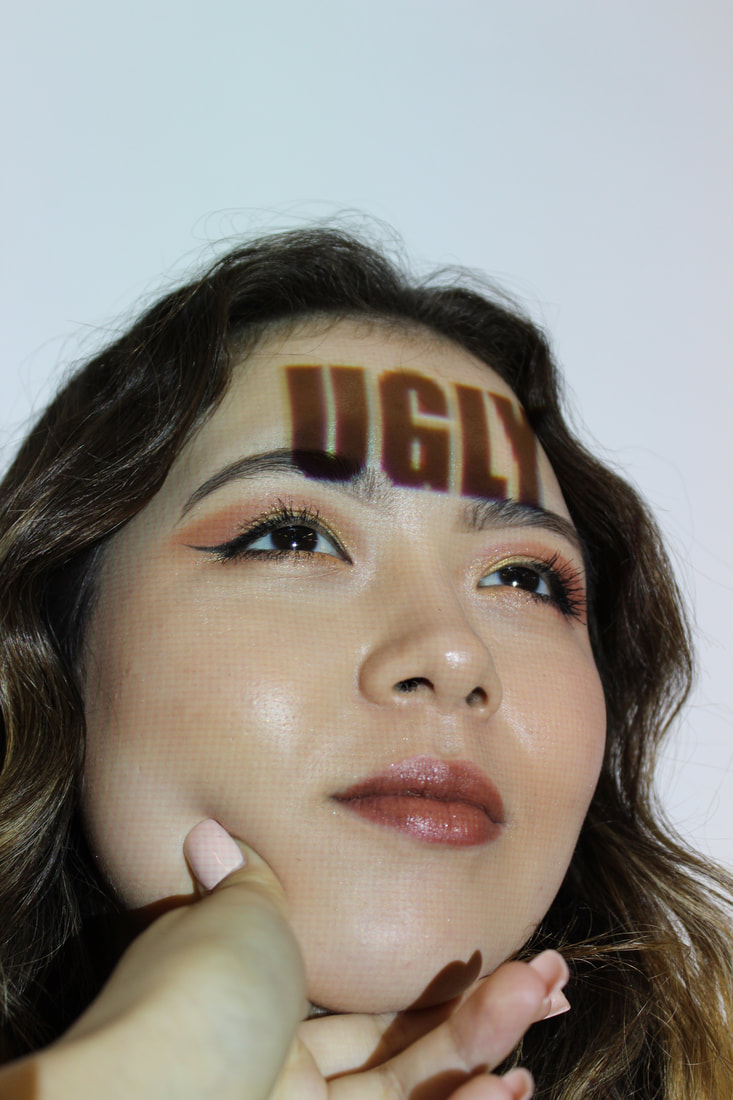
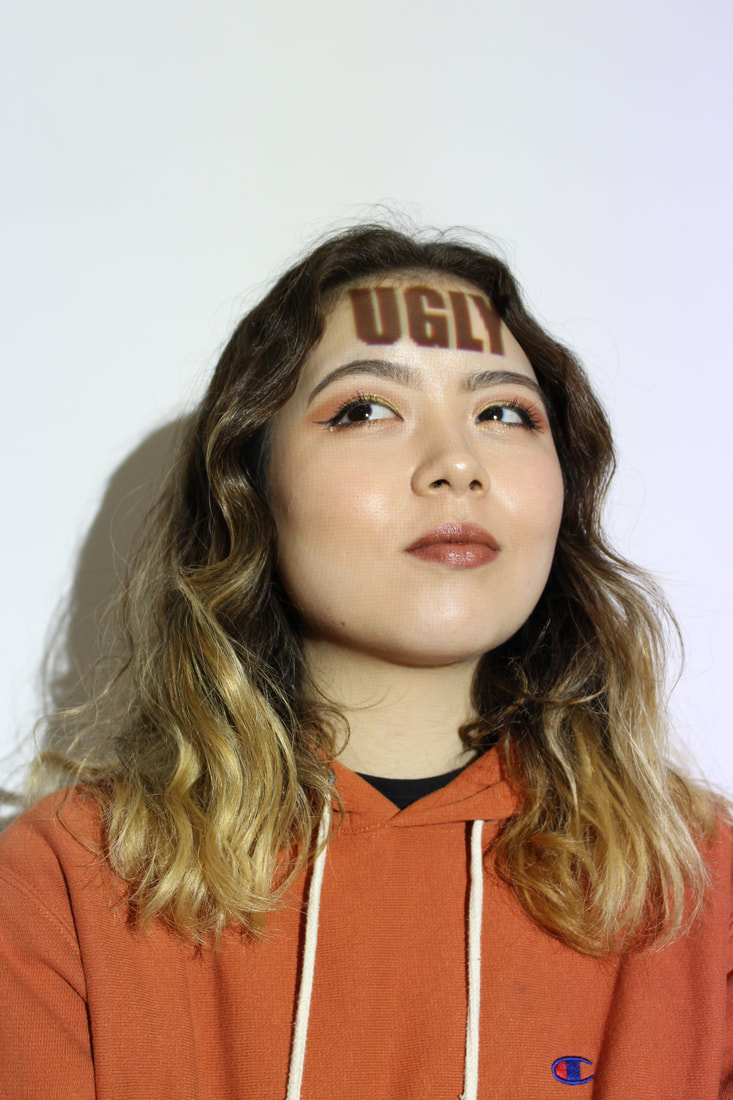
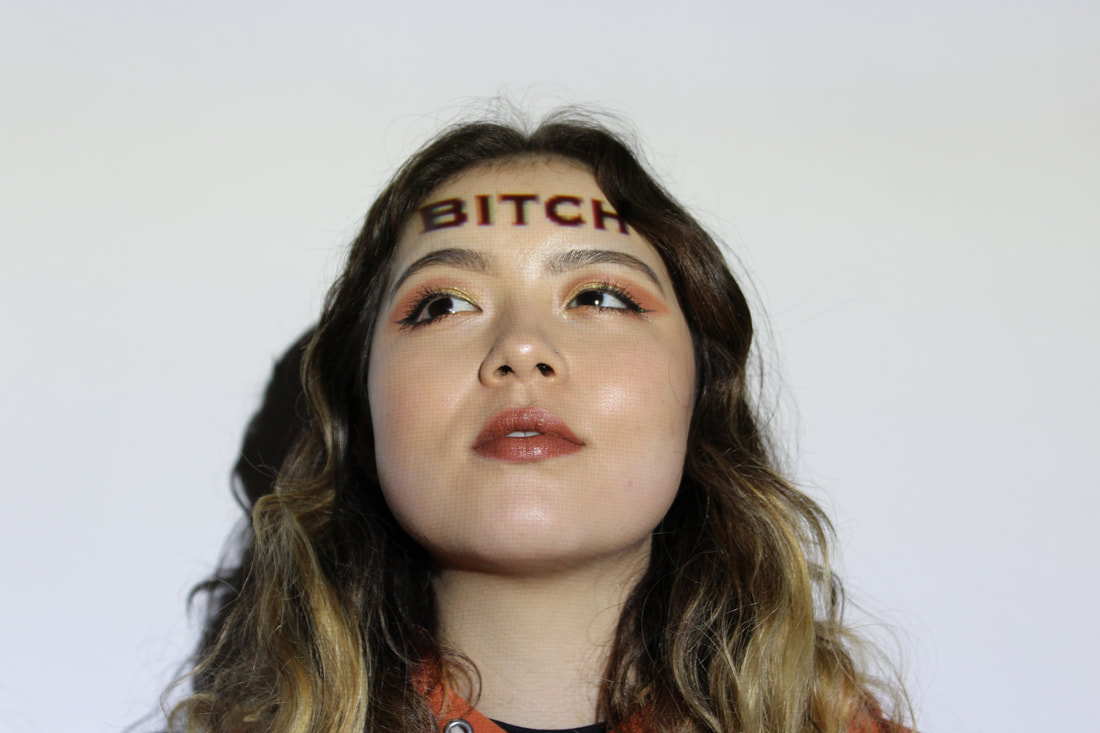
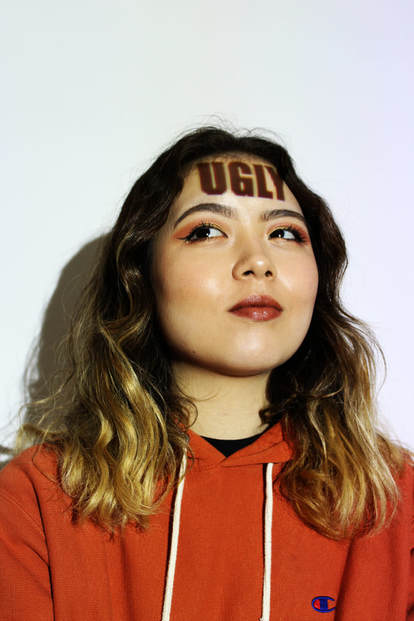
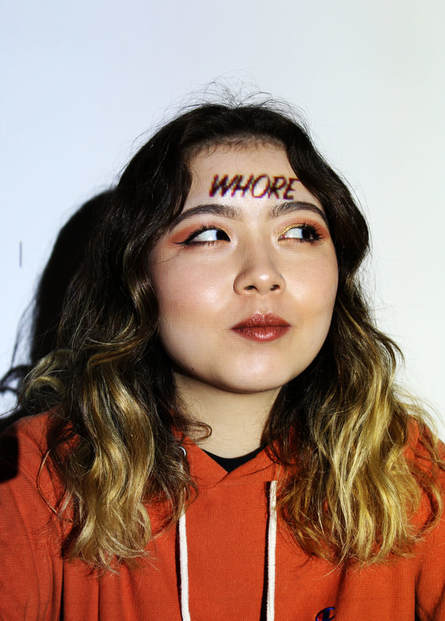
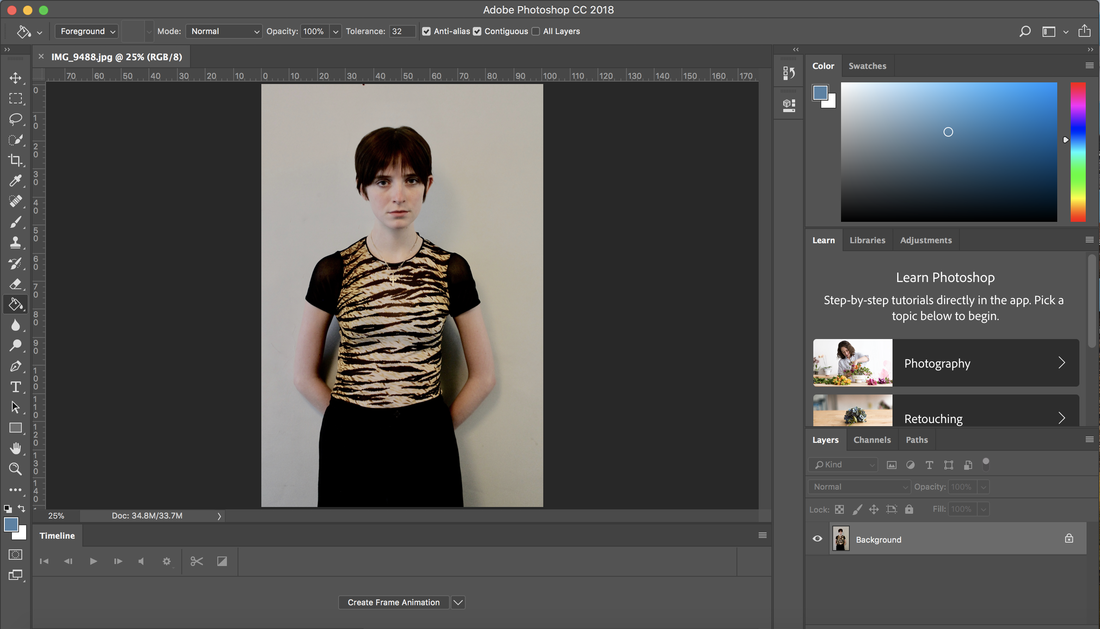
The idea behind this development is just to explore different ways I could present people's inside thought's and fears onto their faces/bodies. I thought it would be interesting to take portraits and see what it would look like to edit the quotes/words onto them using Adobe Photoshop. In the photo below you can see I experimented with relating the facial expression they are pulling to the quote printed on their face.
Idea behind this Development:
The idea behind this development is just to explore different ways I could present people's inside thought's and fears onto their faces/bodies. I thought it would be interesting to take portraits and see what it would look like to edit the quotes/words onto them using Adobe Photoshop. In the photo below you can see I experimented with relating the facial expression they are pulling to the quote printed on their face.
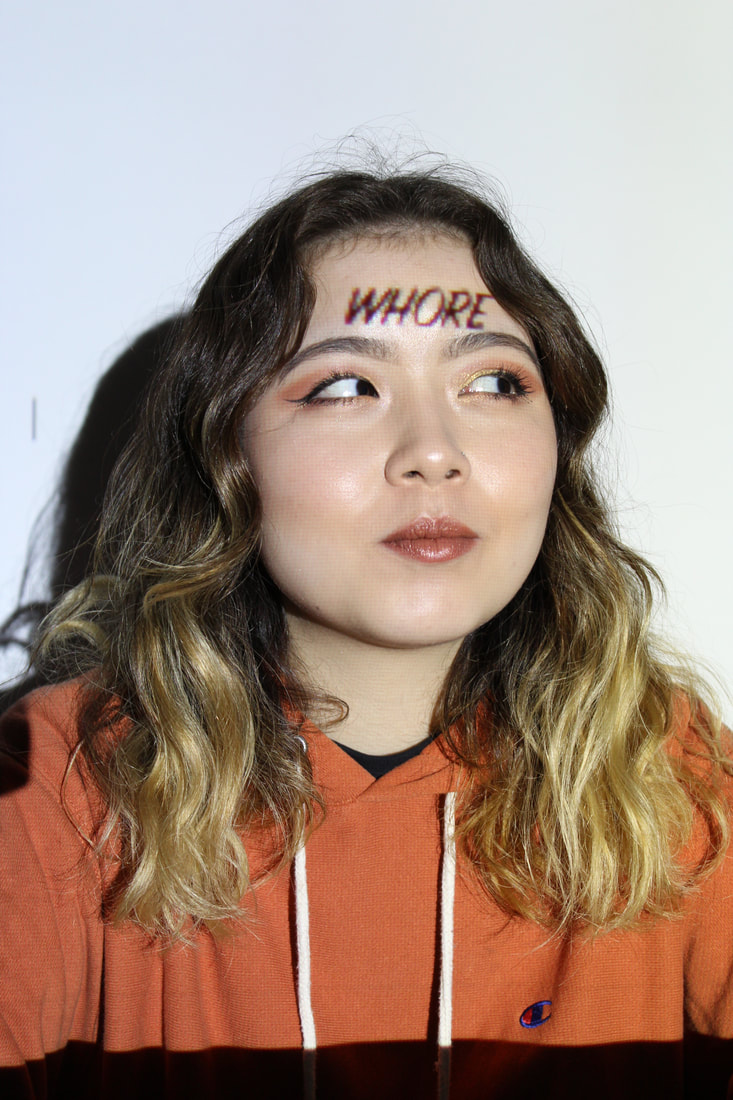
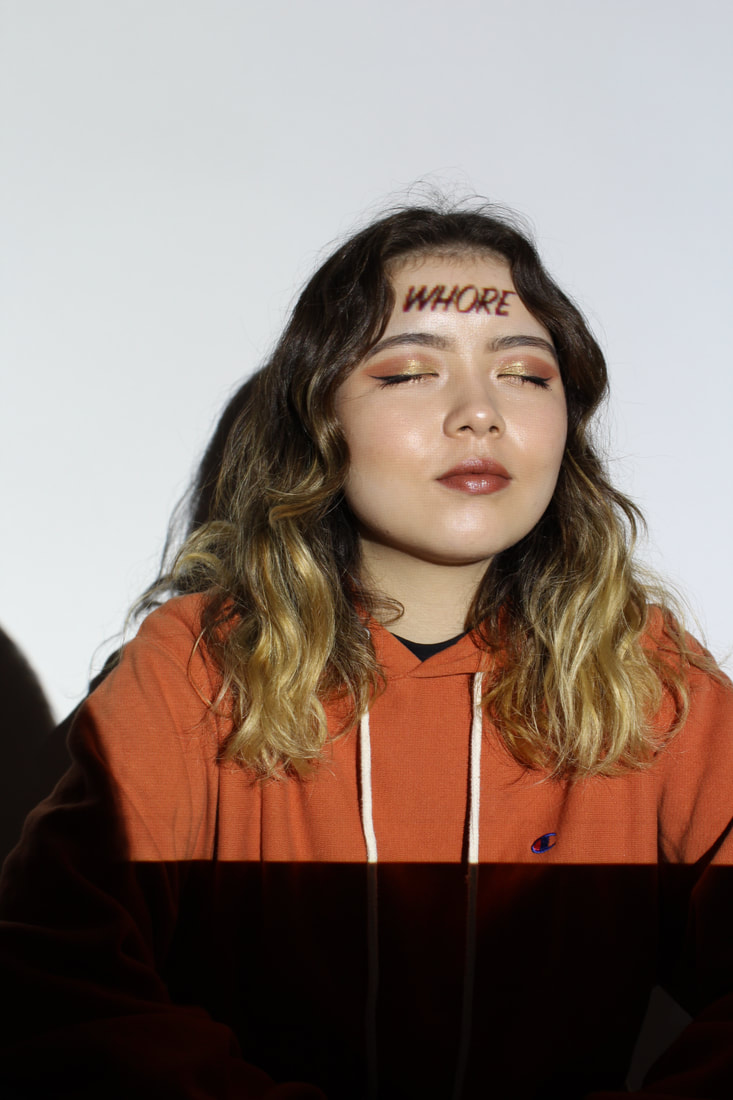
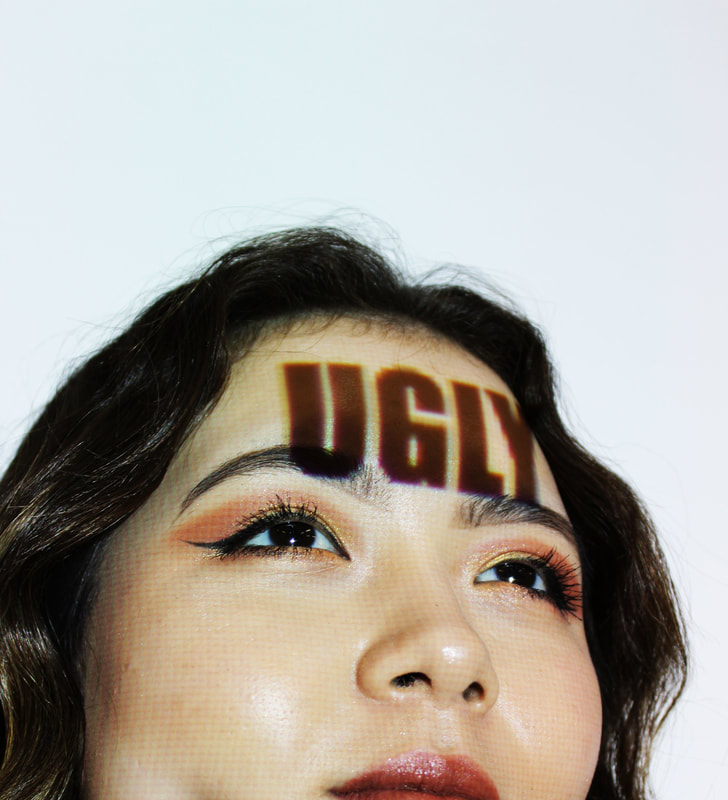
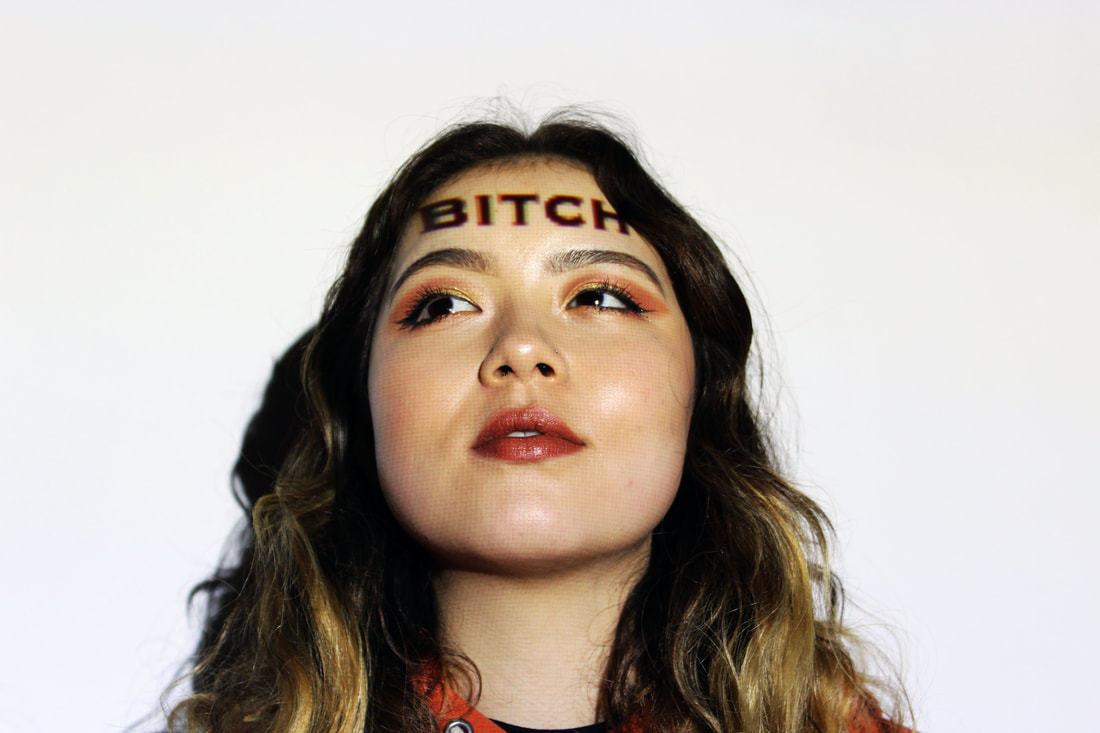
Shoot 3 - Experimenting using the Projector.
Artist Inspiration: Tracy Martin
Martin's ongoing project evolved from a 1995 photography class where she had to take two full body self portraits. One, how she saw herself and the second how she wanted other people to see her. She said it seemed like a simple self examination but it struck a chord deep inside her. For Martin's project she submitted the first image of herself naked(no bits were showing) – that was how she saw herself – open and naked to the world. For her second submission she wanted to be seen as intellectually strong. She wanted to be seen as smart, not pretty. Self love & acceptance among society. Then she wanted to be accepted by my peers but now as Martin grows older she says her priorities have changed and she need to practice more self love.
Out of this self awareness and questioning came her projection project as a way to explore how other people grapple with their own identity.
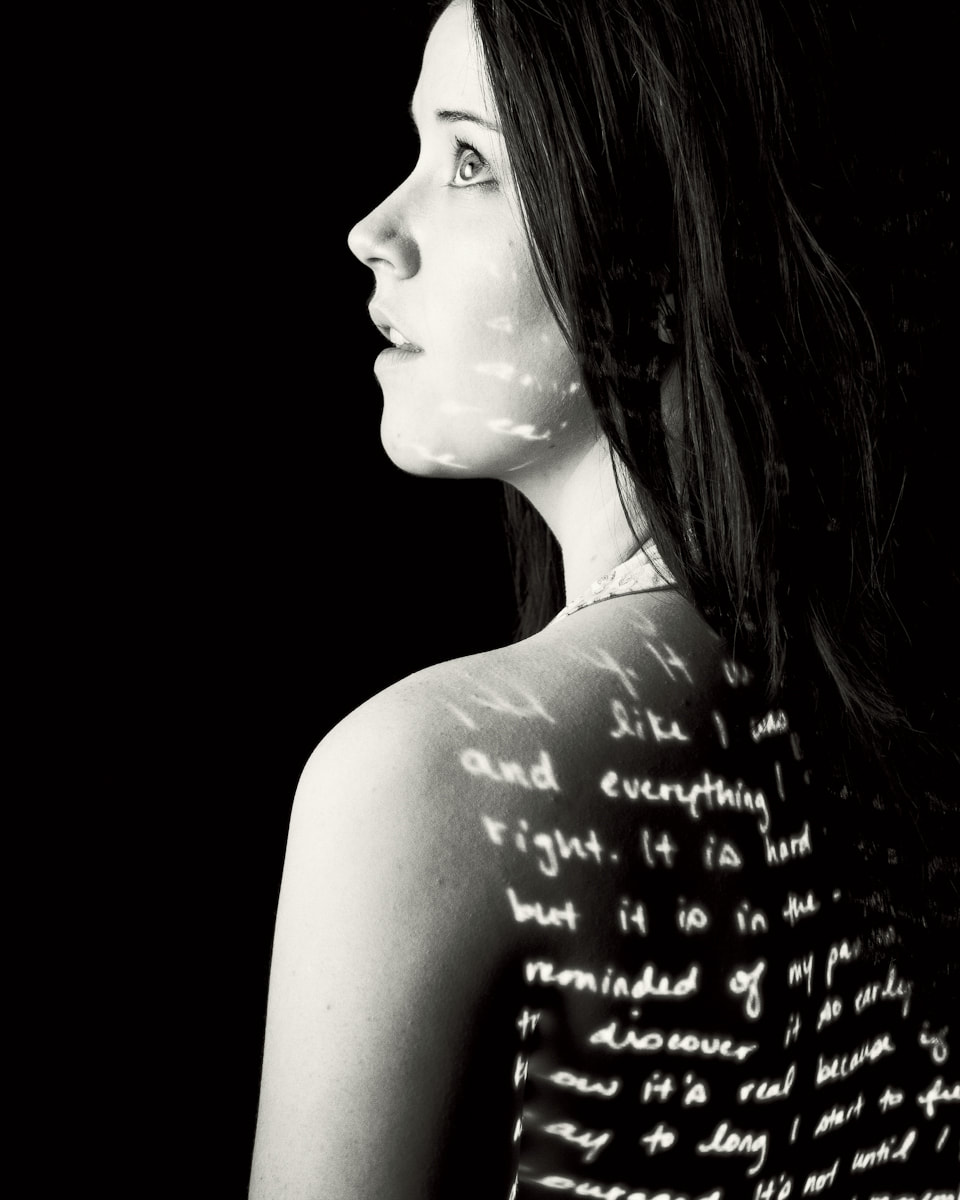
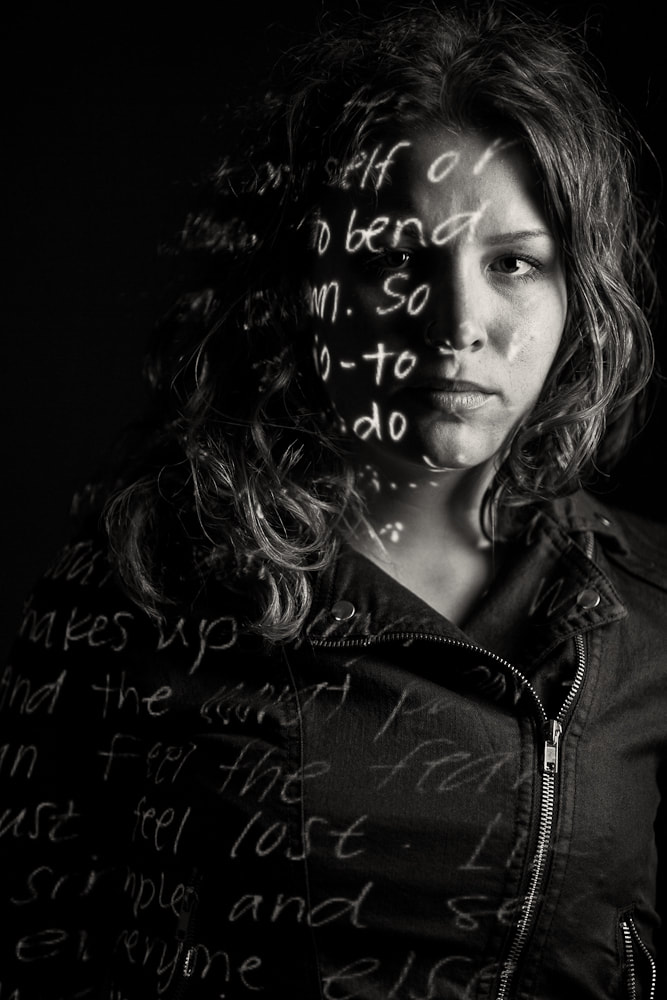
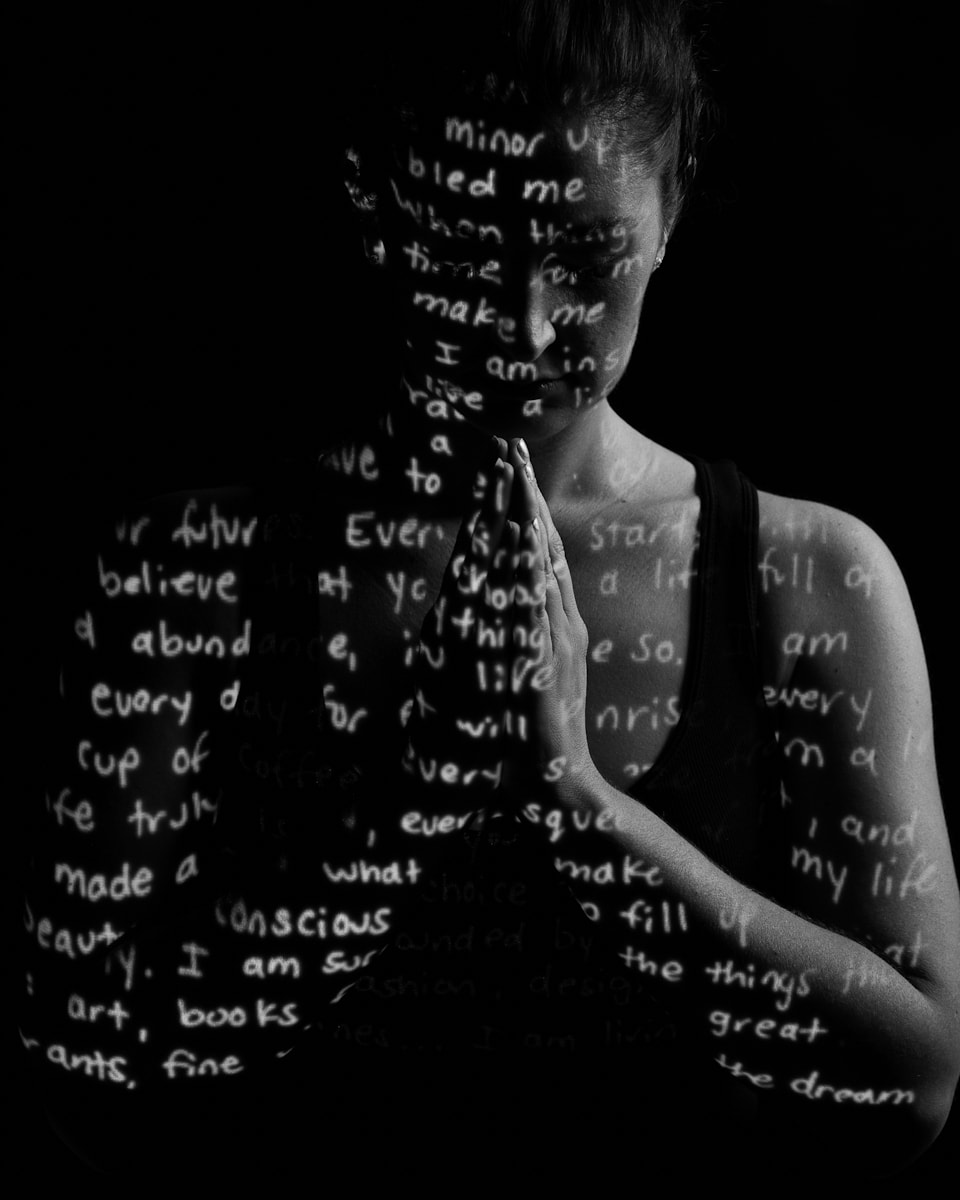
After Martin explained the project she ask people to write about something personal, it could be anything from their experiences that particular day to something larger going on in their lives. Invariably the pre-shoot discussion steers them towards self identity and exploration. She then photograph what they wrote and project it back onto them producing the final image. Martin says that this experience that I can only describe a profound.
CONTACT SHEET
Artist Inspiration: Tracy Martin
Martin's ongoing project evolved from a 1995 photography class where she had to take two full body self portraits. One, how she saw herself and the second how she wanted other people to see her. She said it seemed like a simple self examination but it struck a chord deep inside her. For Martin's project she submitted the first image of herself naked(no bits were showing) – that was how she saw herself – open and naked to the world. For her second submission she wanted to be seen as intellectually strong. She wanted to be seen as smart, not pretty. Self love & acceptance among society. Then she wanted to be accepted by my peers but now as Martin grows older she says her priorities have changed and she need to practice more self love.
Out of this self awareness and questioning came her projection project as a way to explore how other people grapple with their own identity.
After Martin explained the project she ask people to write about something personal, it could be anything from their experiences that particular day to something larger going on in their lives. Invariably the pre-shoot discussion steers them towards self identity and exploration. She then photograph what they wrote and project it back onto them producing the final image. Martin says that this experience that I can only describe a profound.
CONTACT SHEET
|
|
|
Final Images:
|
|
What I think turned out well was the vibrance and colours in these photographs, the words are clearly projected and you are able to see what they say easily. However, if I was to do this shoot again I would experiment by projecting the writing onto different parts of the face/body to make the photographs more abstract and to show the viewer that a projection is clearly being used here.
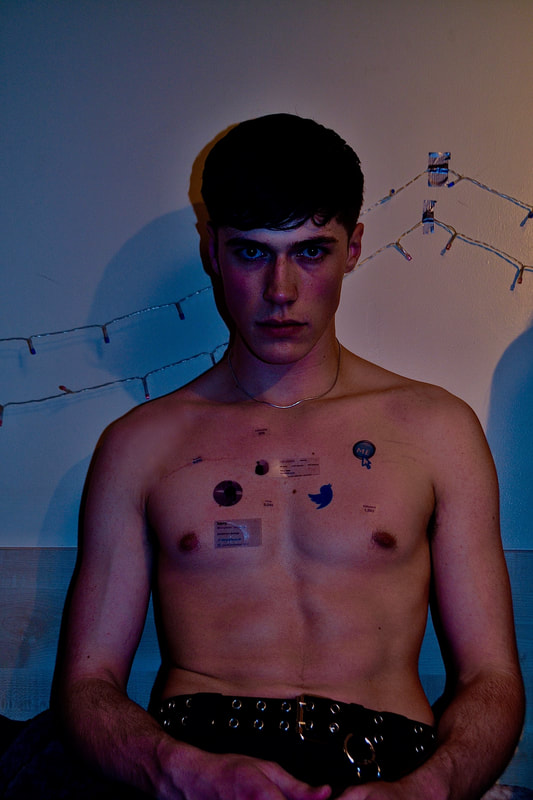
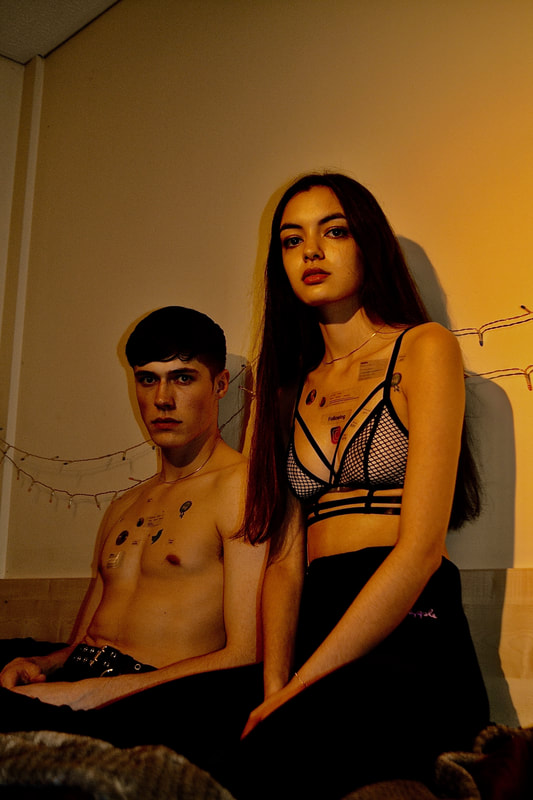
Shoot 4 - Social Media Project
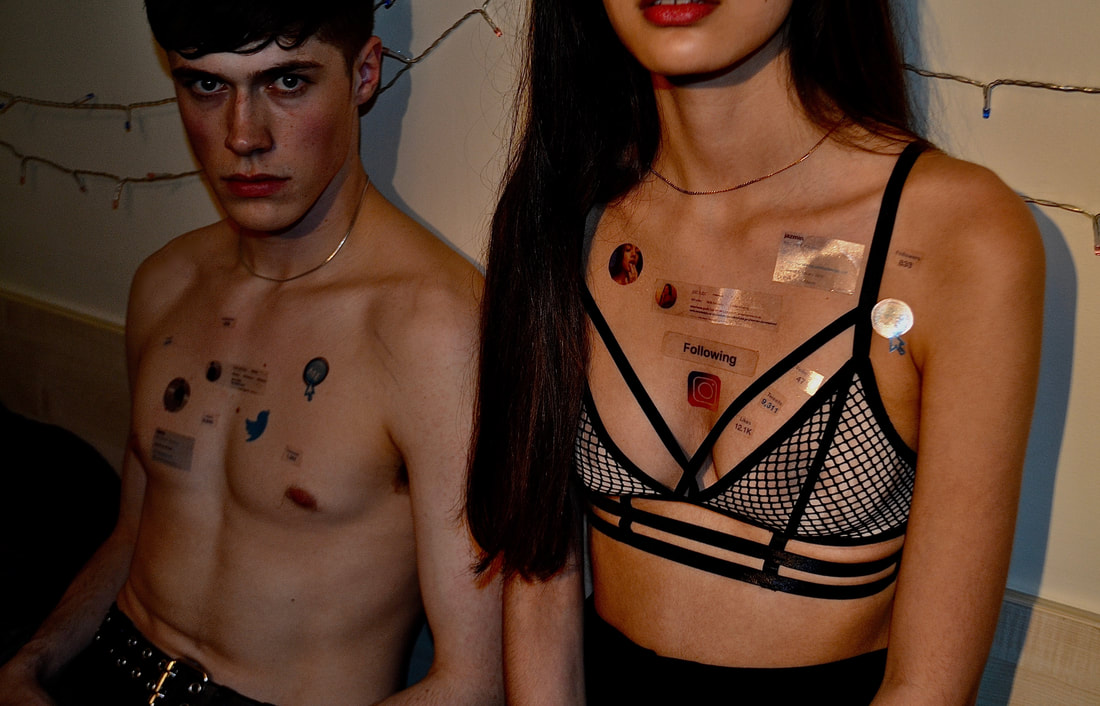
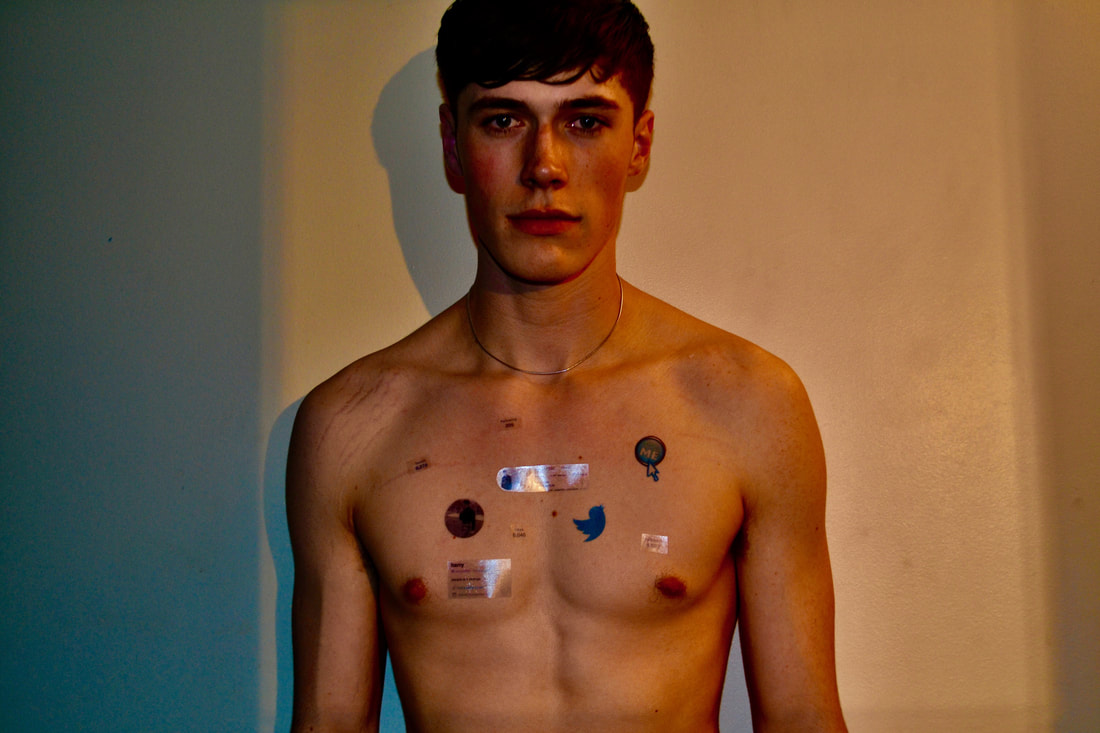
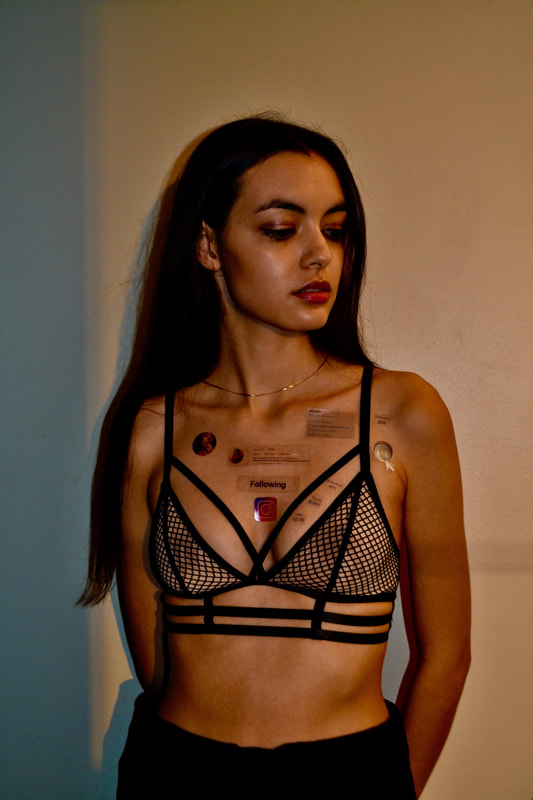
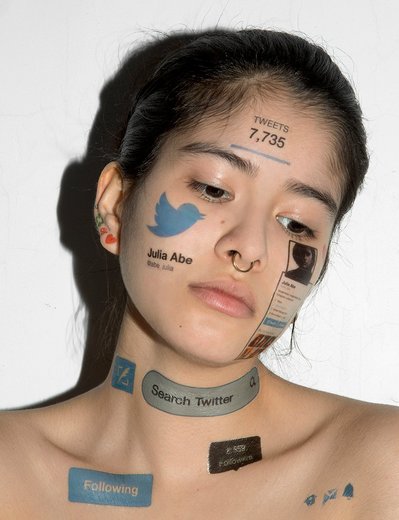
Artist Inspiration: John Yuyi
Yuyi was born in Taiwanese and is a NYC- based artist. She made temporary face tattoos of social media bios. After studying Fashion Design in Taipei, Yuyi lent her home country for NYC and a three month spell in the city began with an internship at Joshua Wu before evolving into a permanent move when she styled for Vogue and exhibited at the Bowery's Open Gallery Space, and is now planning a show curated by Art Baby's Grave Miceli in Alt Space called Why Didn't You Like My Pic?
Yuyi inspired me to use a projector to create portraits with people's inner insecurities reflecting on their faces.

|

|
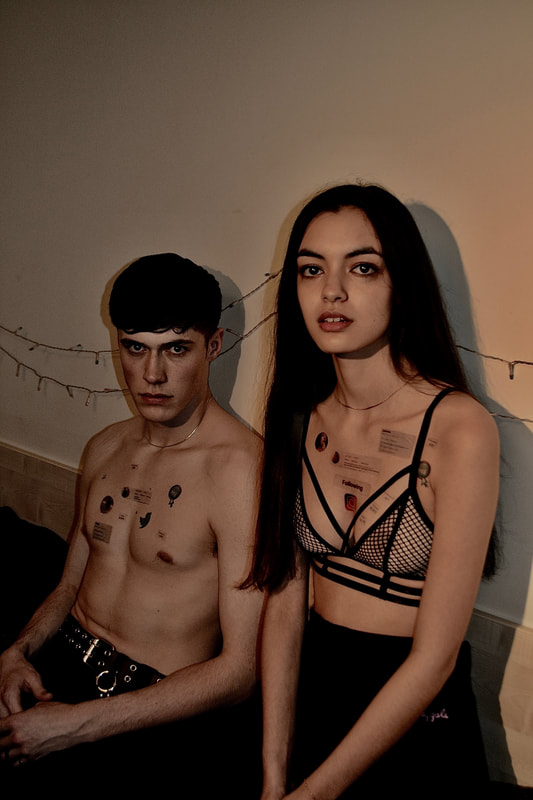
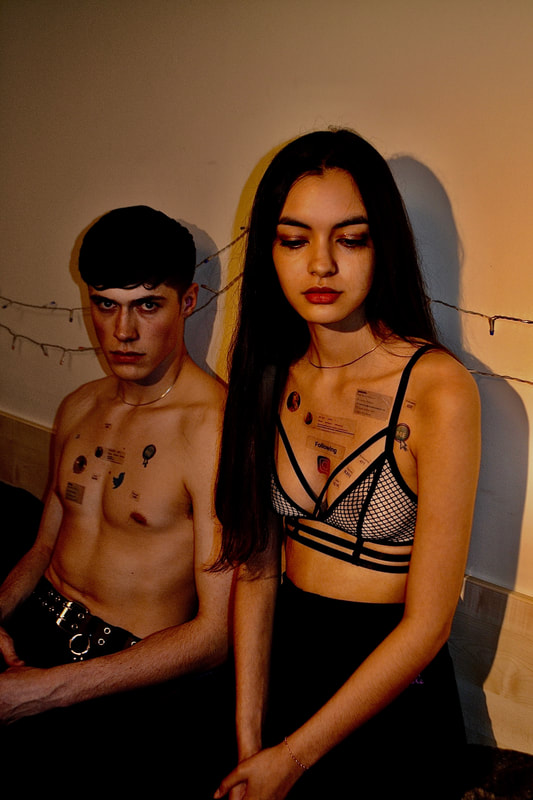
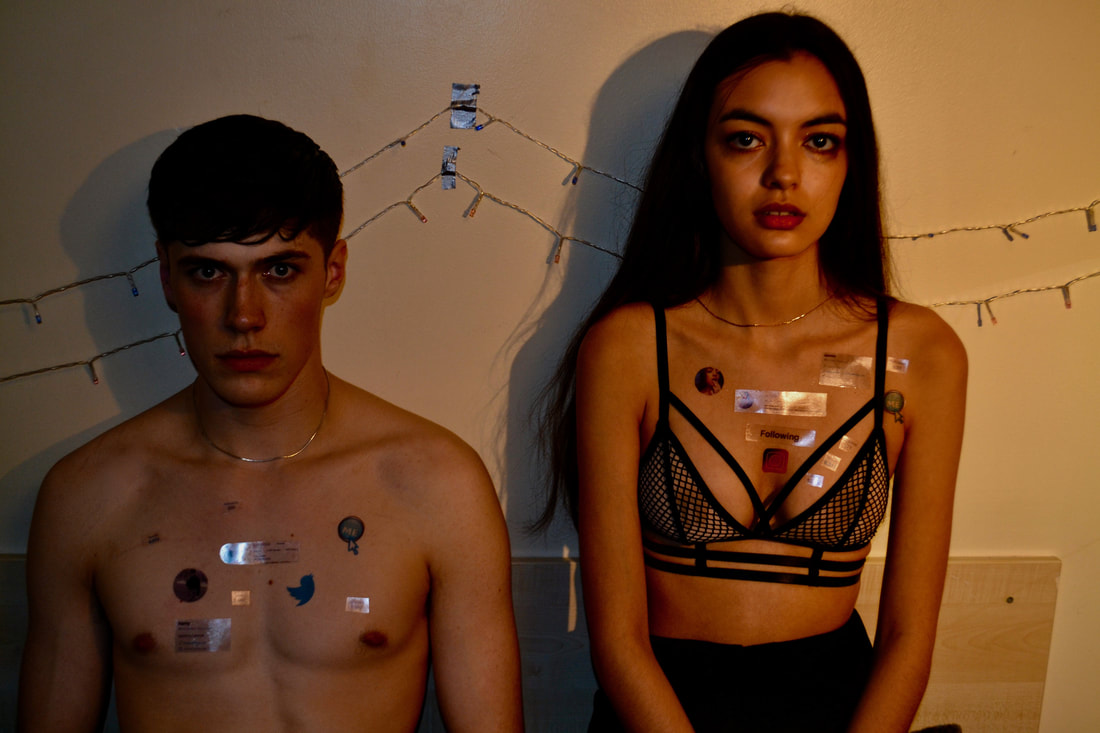
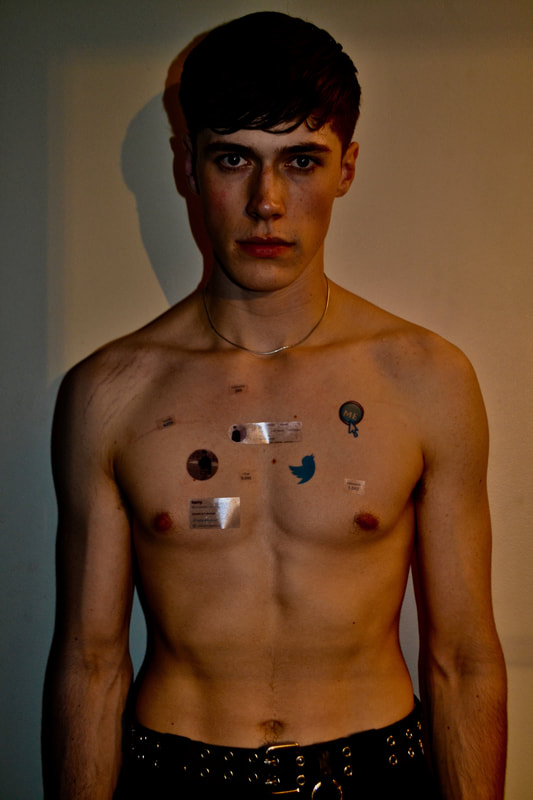
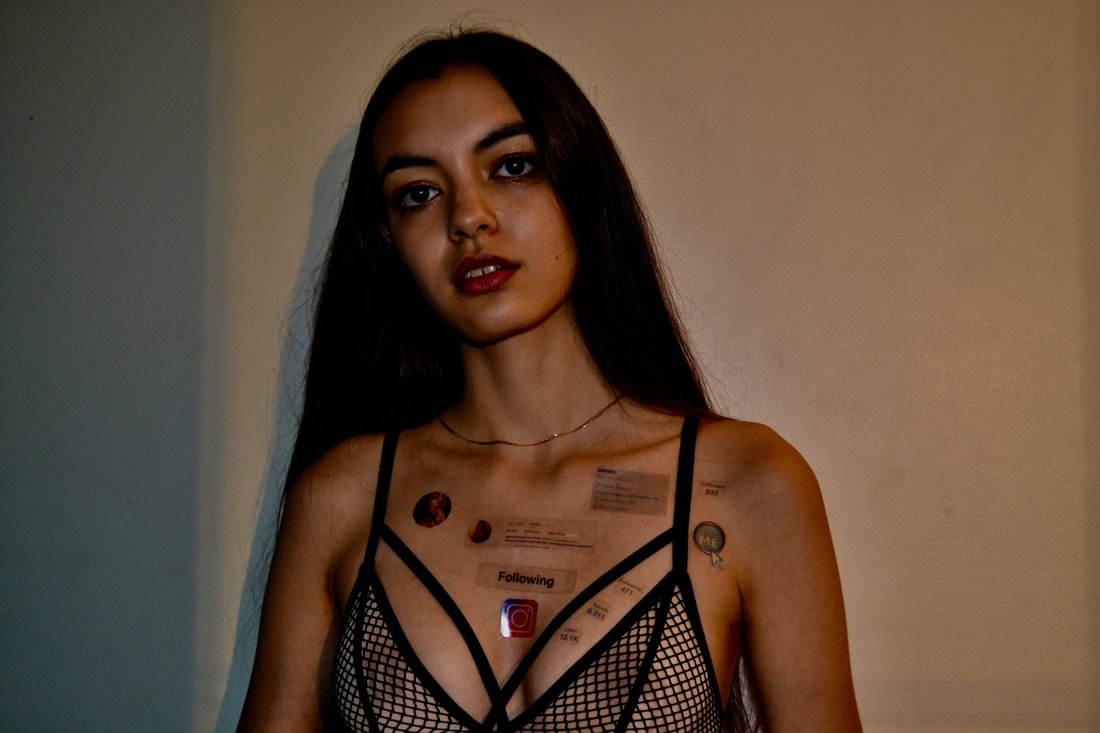
Final Images
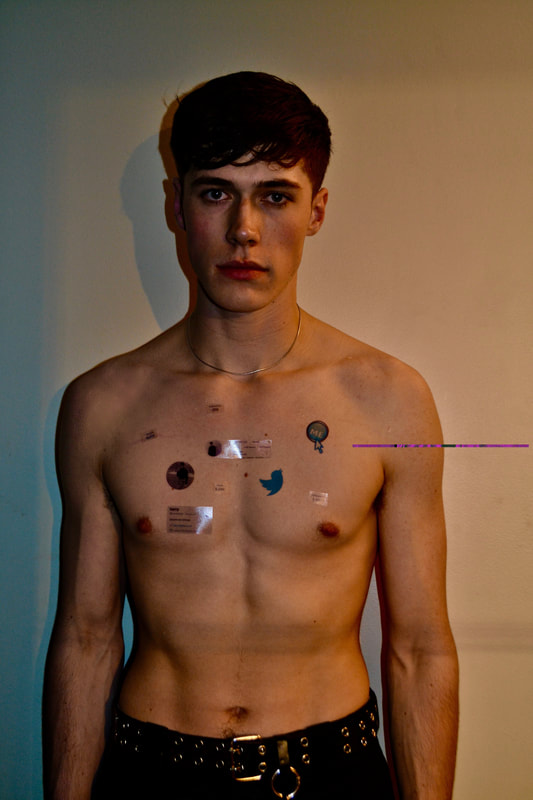
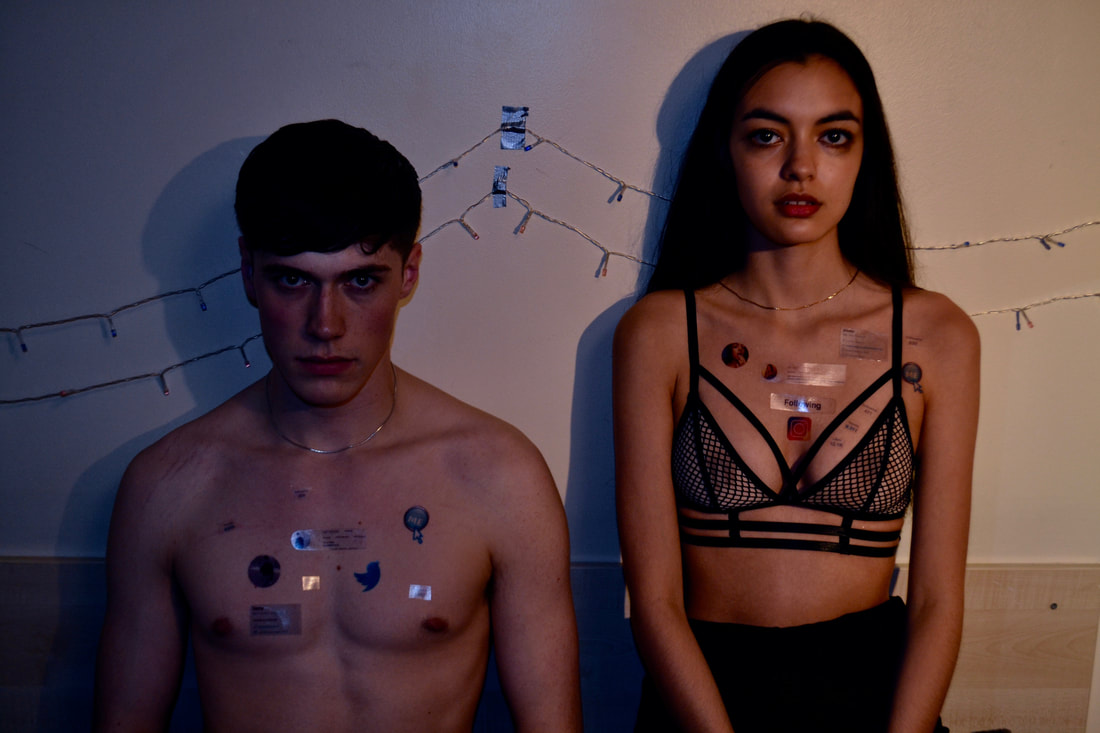
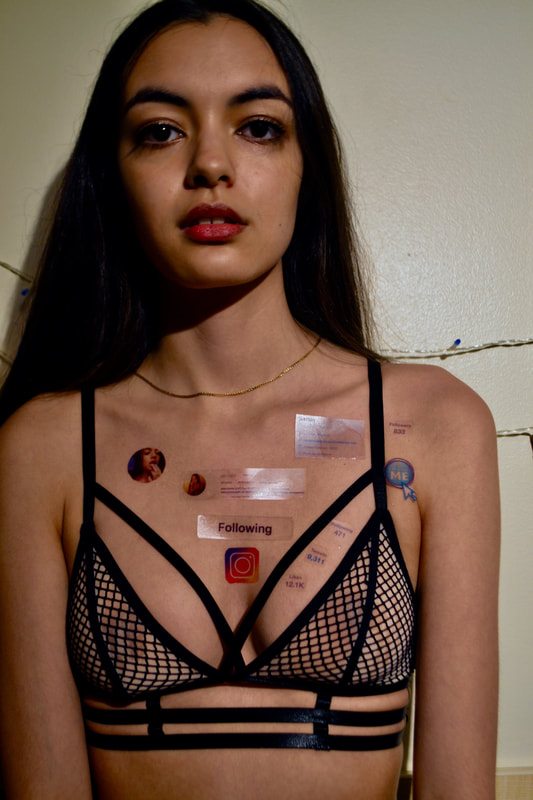
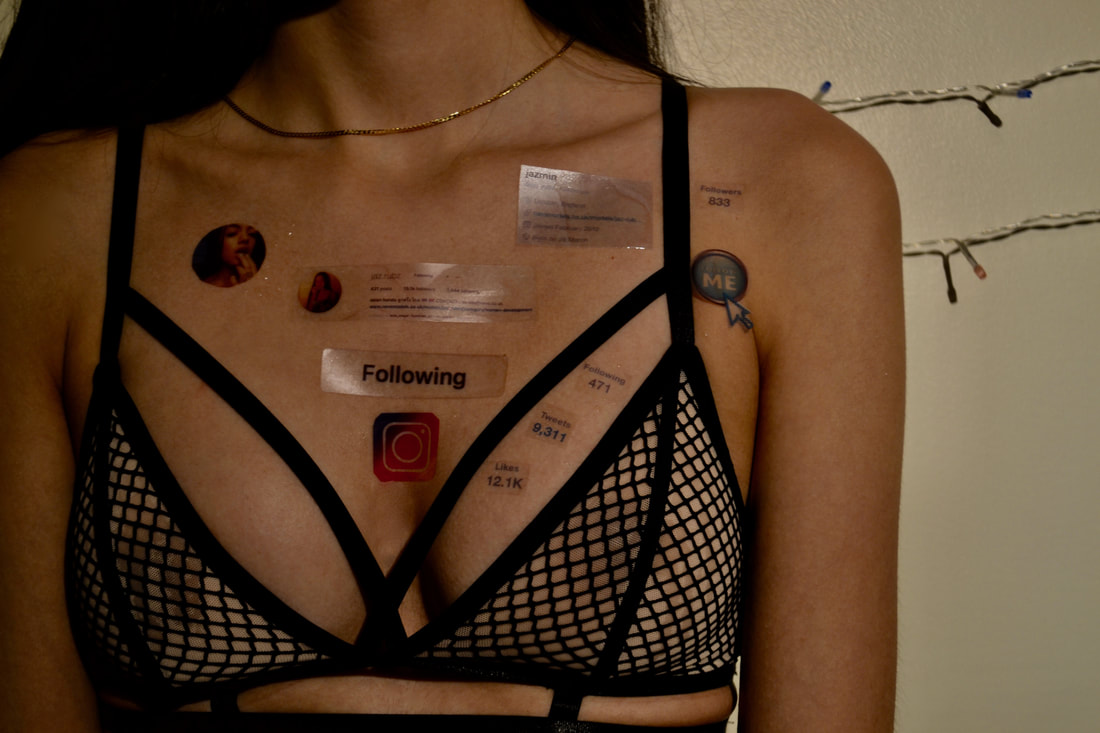
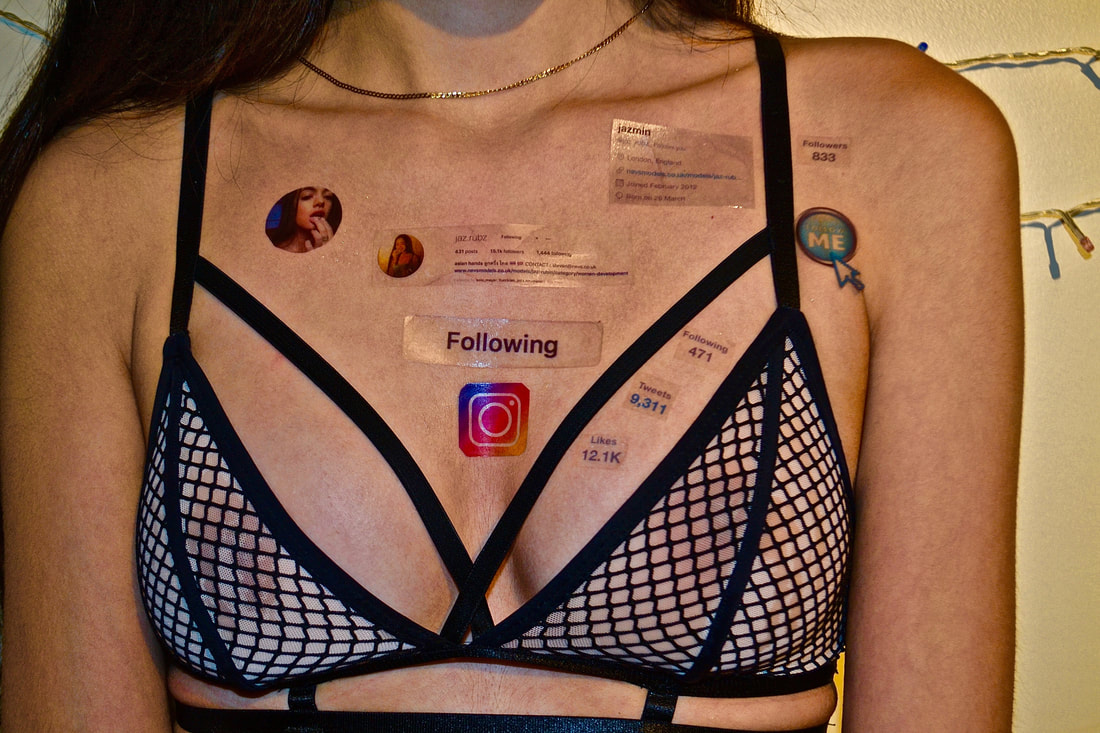
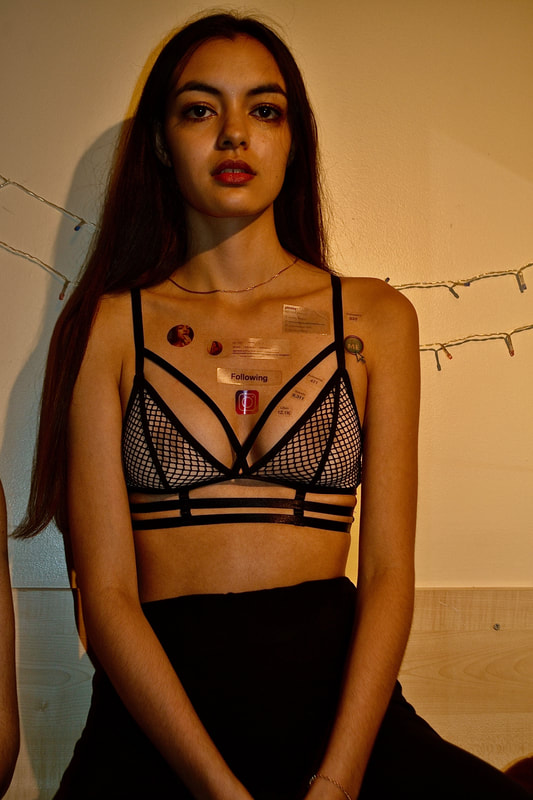
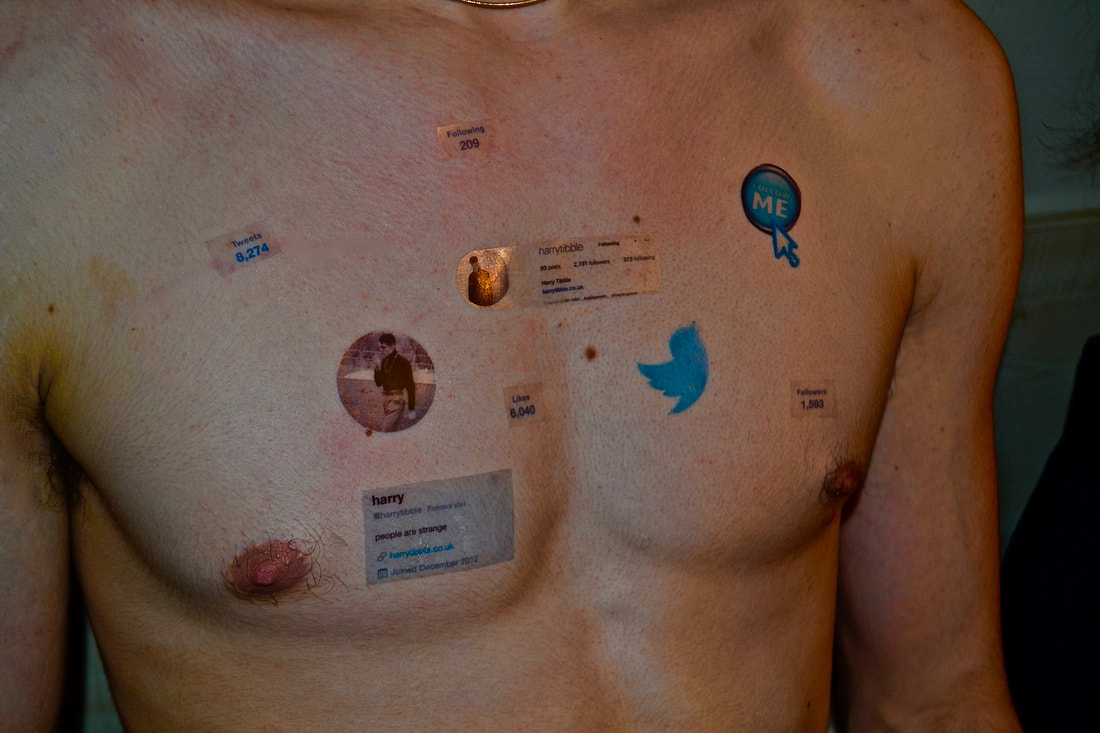
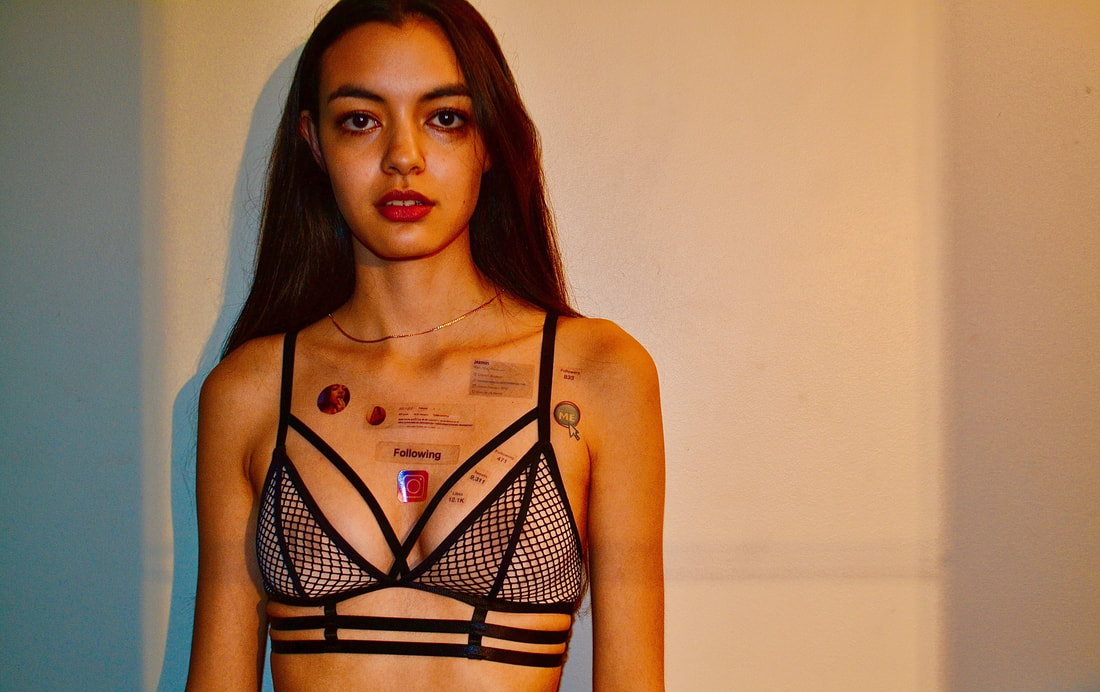
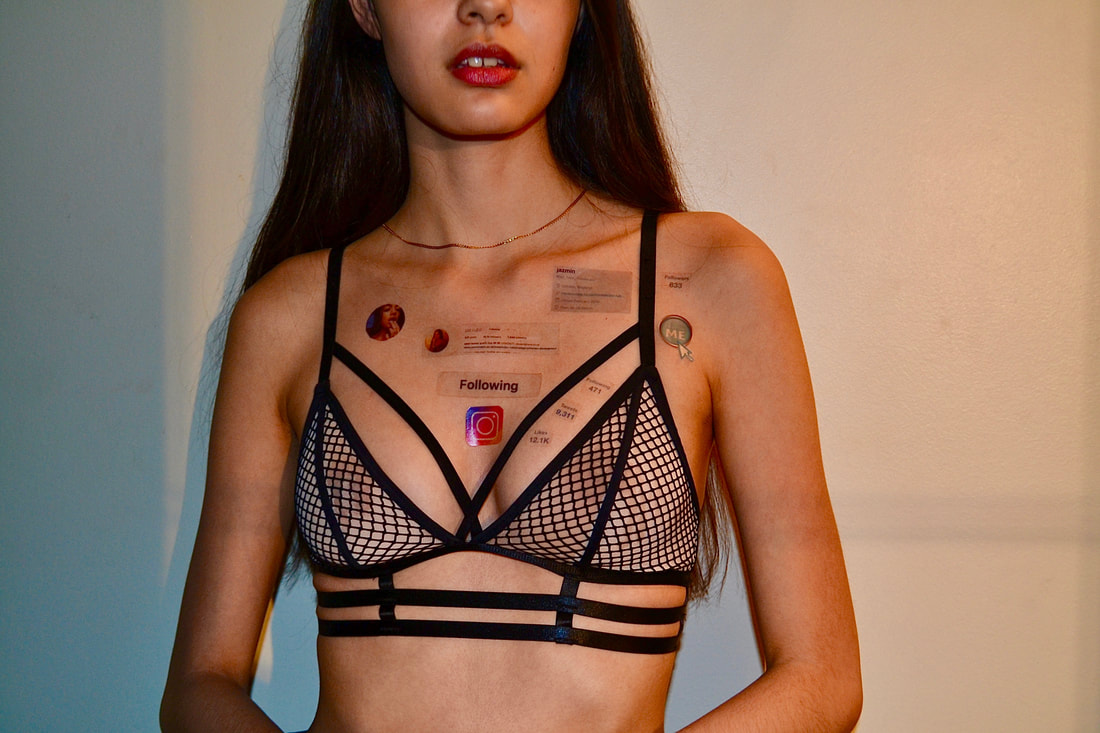
I selected screenshots of two people's social media account and used a website online to convert them into temporary tattoos and then ordered them.
The idea I had for this development came after I watched the Black Mirror Episode, "Nosedive" Season 3 Episode , which is a disturbing extrapolation of the way we use social media and exaggerates our obsession with 'likes', showing just how unhinged we can get when our online profile loses popularity.It depicts a similarly social media-obsessed society, where people are rated out of five after every single interaction. People's ratings can dictate where they can live, who they can be friends with and how they can travel.
After watching this episode and looking at the work of John Yuyi, I decided that this concept interests me, the idea where some people's lives are fixated around their instagram, the amount of followers they have and the likes they get on their photos. All these elements can come together to build or knock a person's confidence, and create the persona they have today. The tattoos represent the way social media is overtaking people's lives and the risks and opportunity advanced digital technology have.
The way this links to my theme of 'Mental Stability' is due to the mental health impact social media has on people's lives. A number of studies have found an association between social media use and depression, anxiety, sleep problems, eating issues, and increased suicide risk, warn researchers from the University of Melbourne’s National Centre of Excellence in Youth Mental Health, in an article on The Conversation.
Two studies involving more than 700 students found that depressive symptoms, such as low mood and feelings of worthlessness and hopelessness, were linked to the quality of online interactions. Researchers found higher levels of depressive symptoms among those who reported having more negative interactions.
A similar study conducted in 2016 involving 1,700 people found a threefold risk of depression and anxiety among people who used the most social media platforms. Reasons for this, they suggested, include cyber-bullying, having a distorted view of other people’s lives, and feeling like time spent on social media is a waste.


ARTIST AND ME
|

|
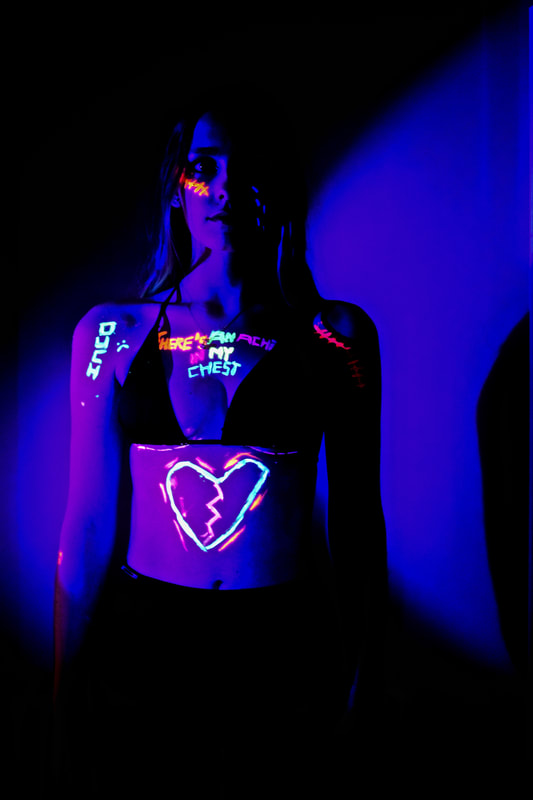
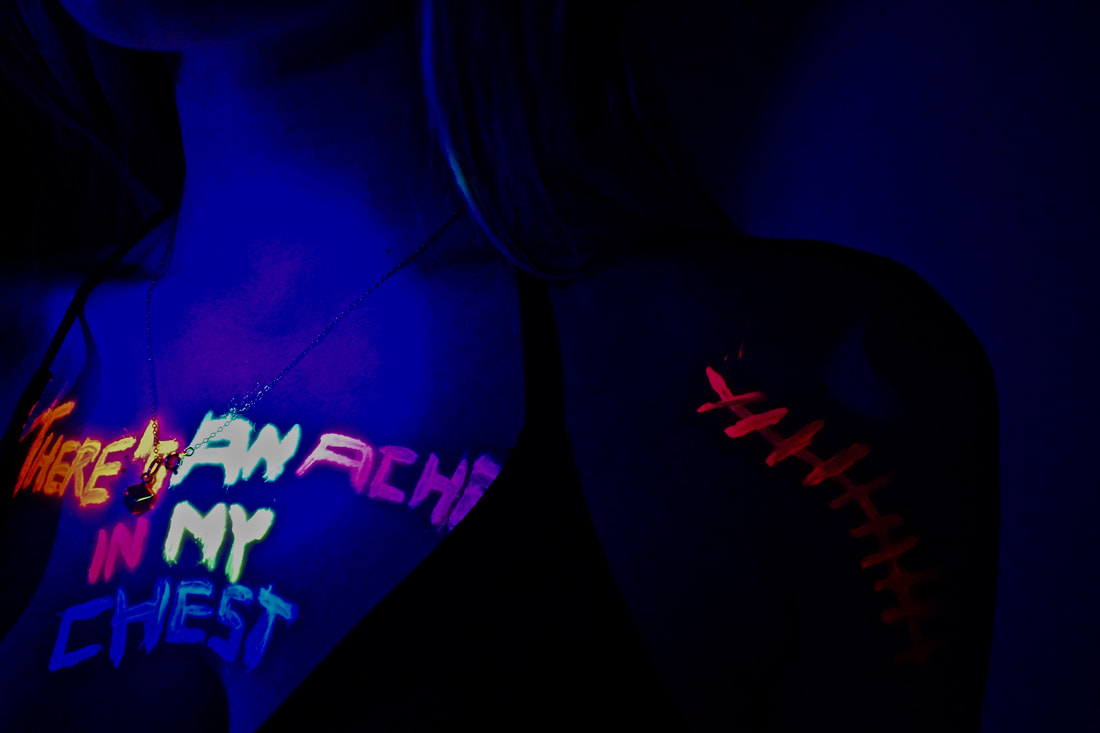
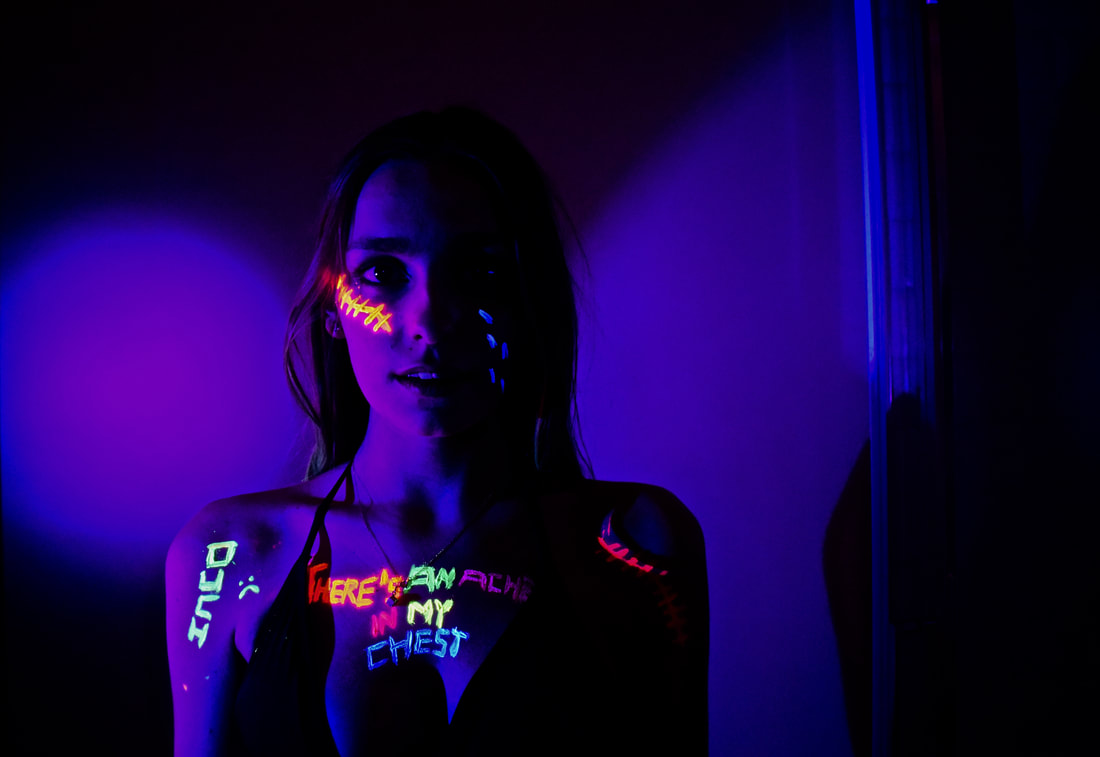
Experimenting with UV Paint
THE CONCEPT BEHIND THIS DEVELOPMENT :
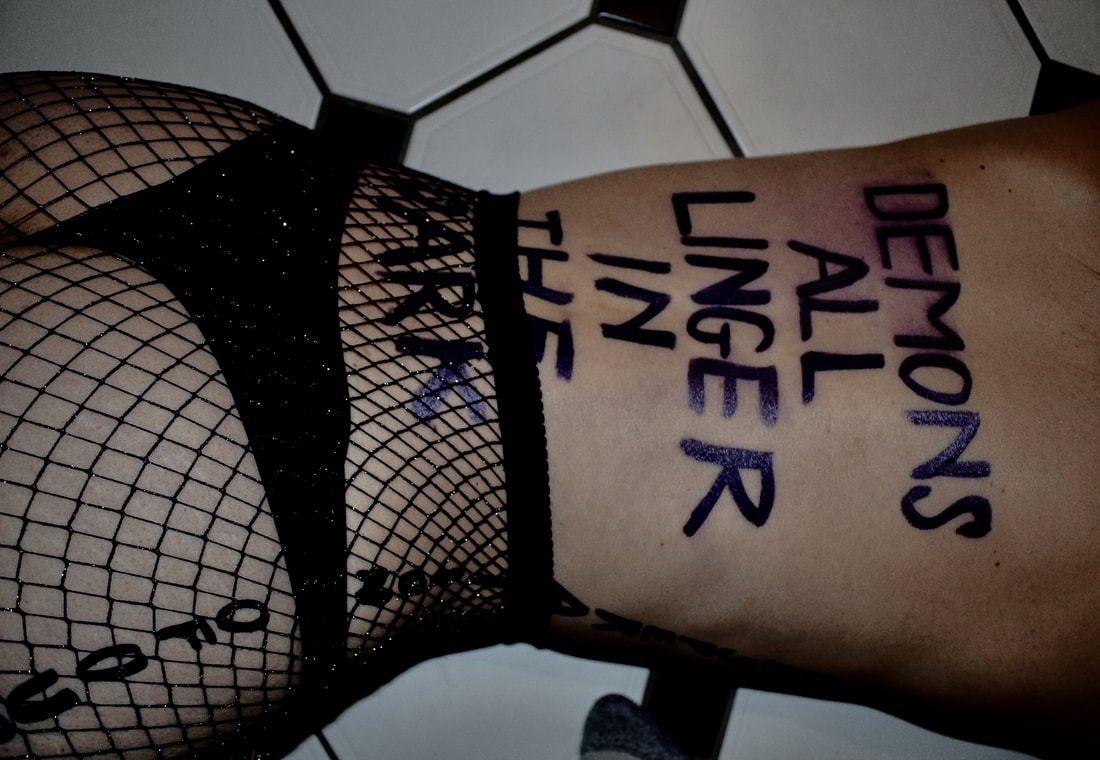
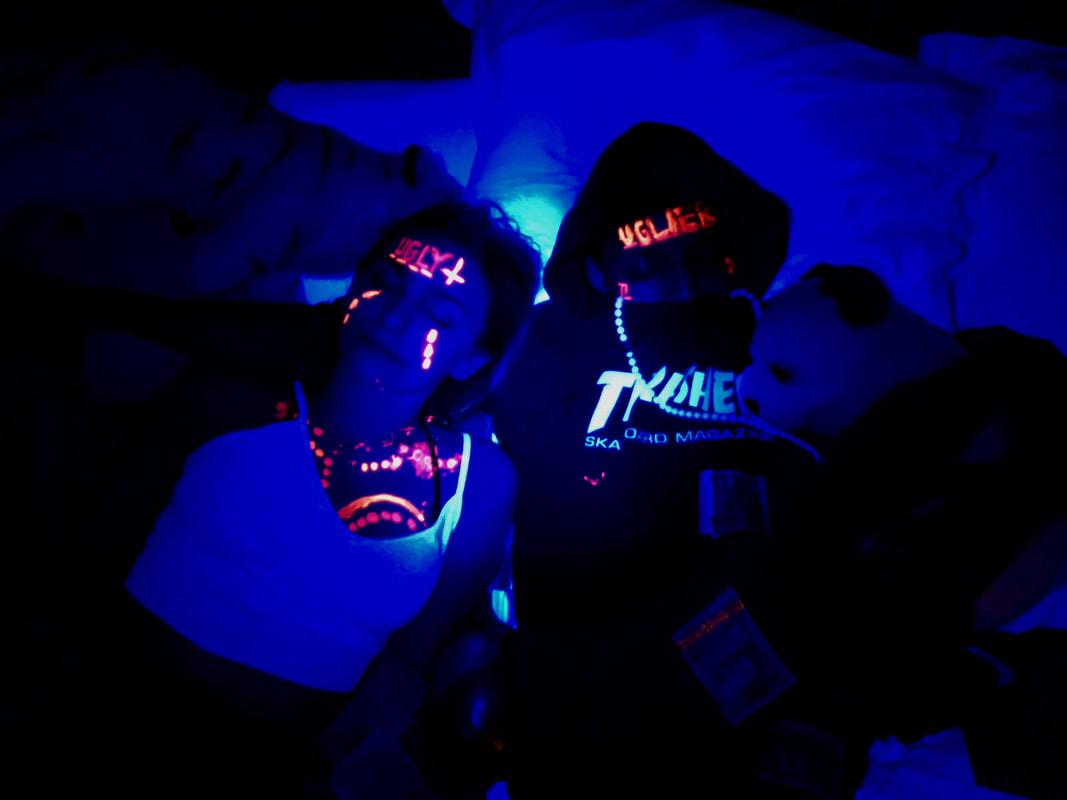
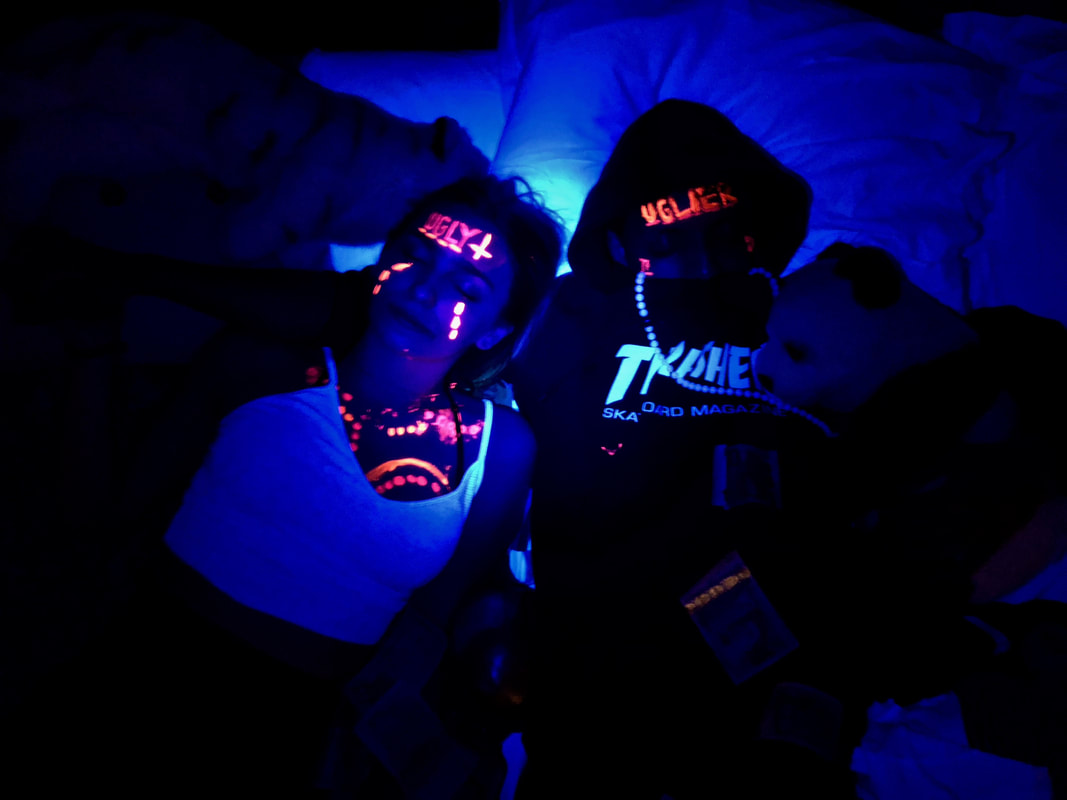
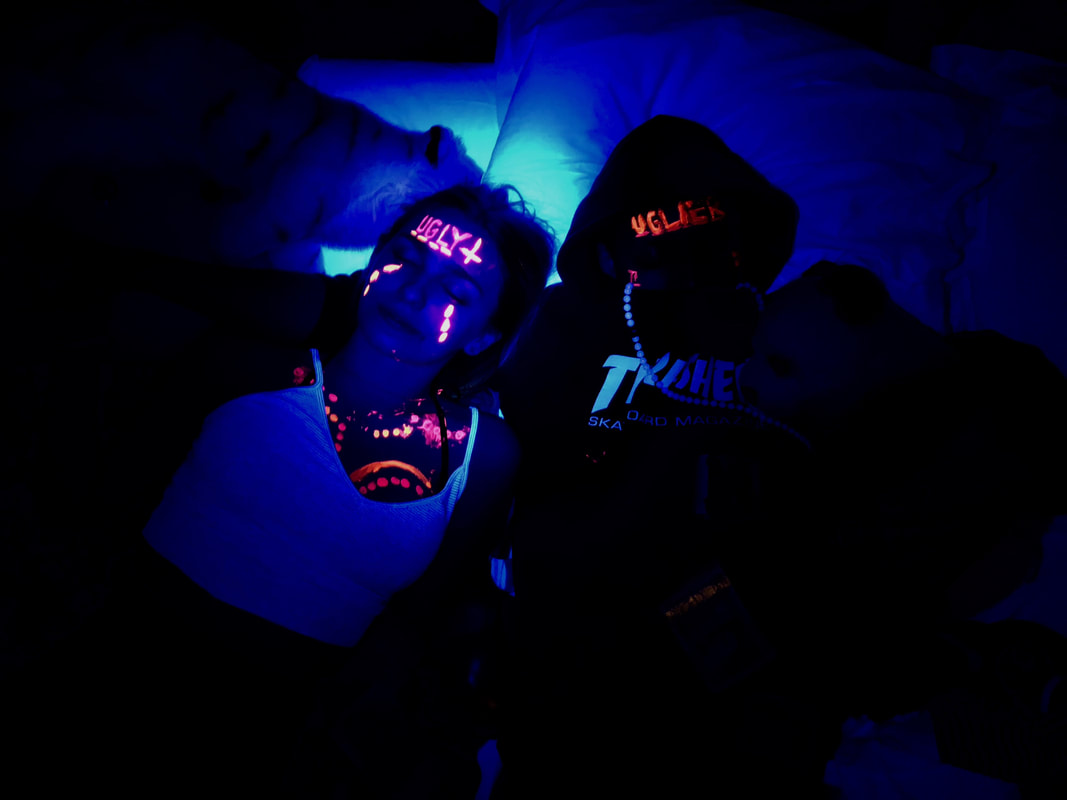
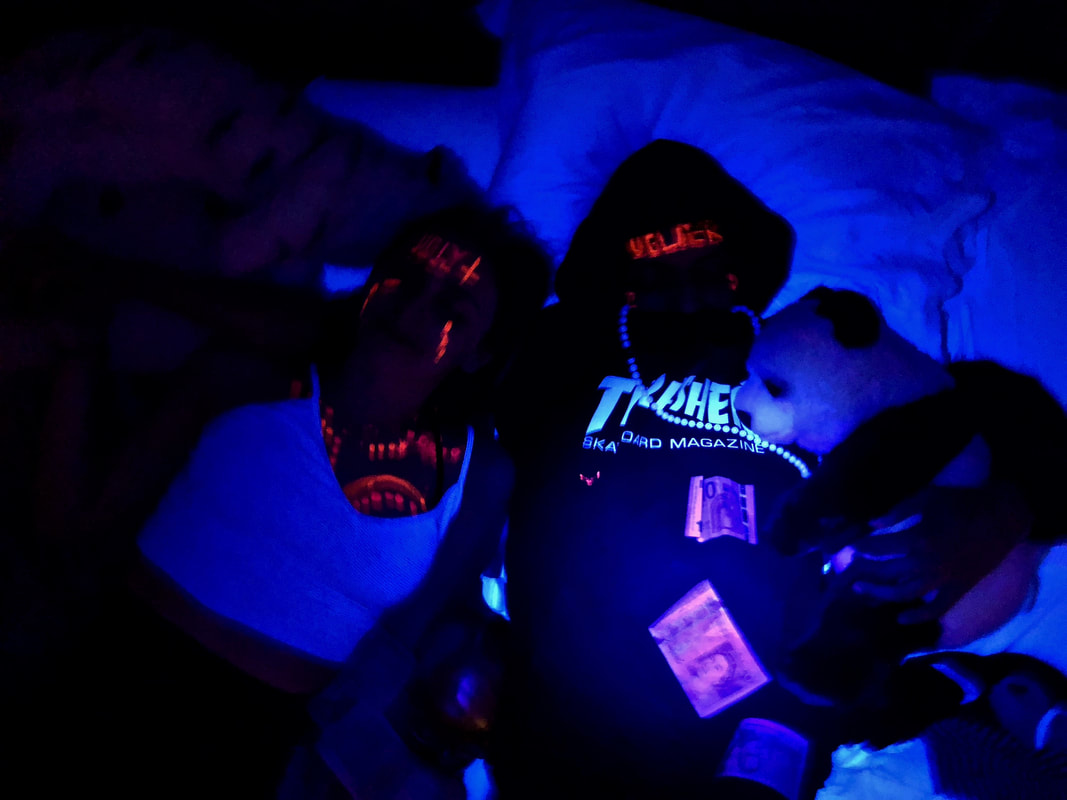
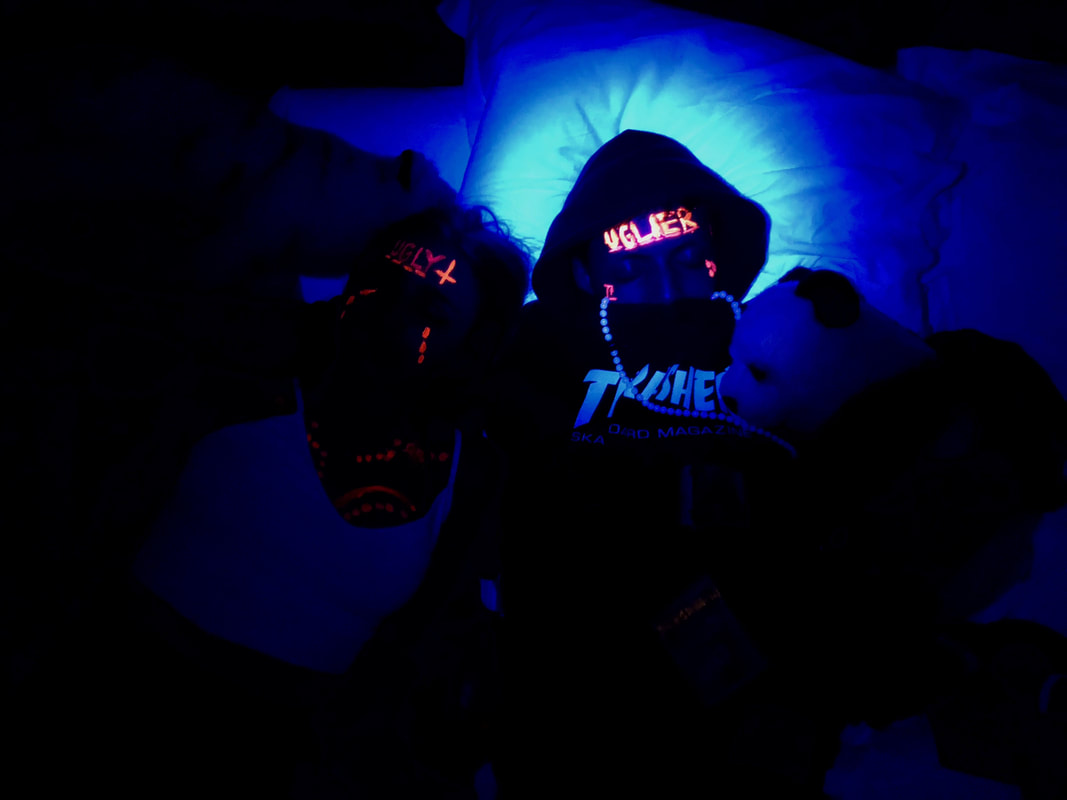
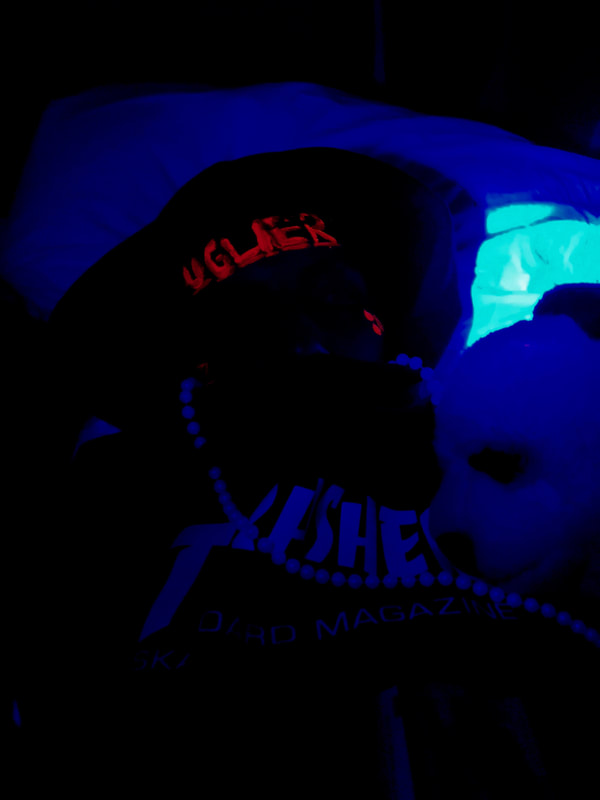
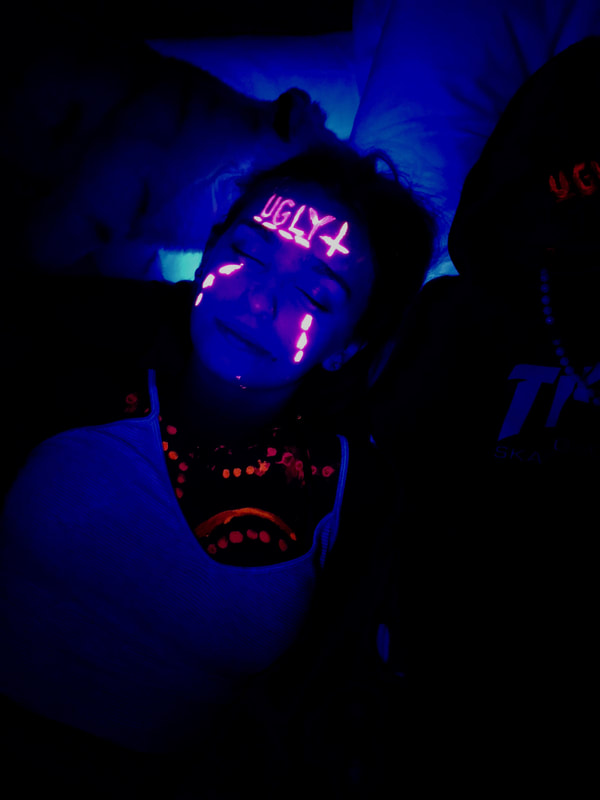
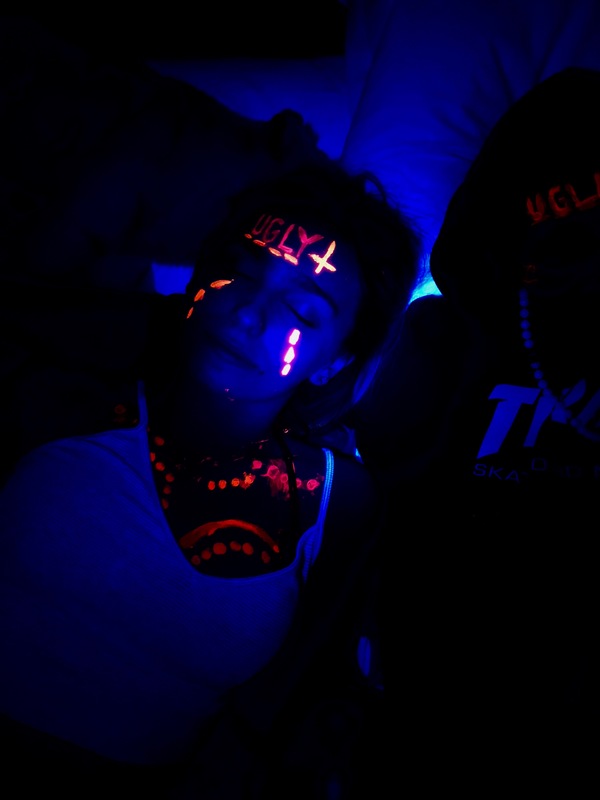
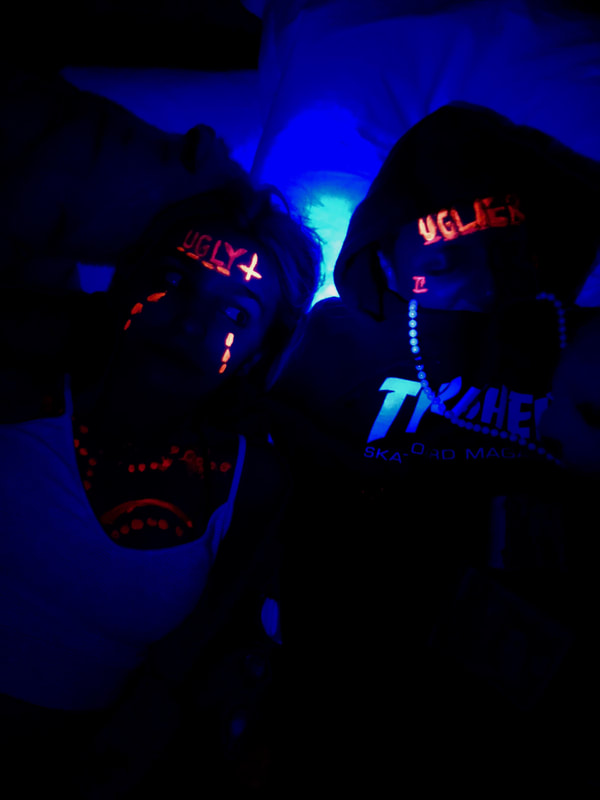
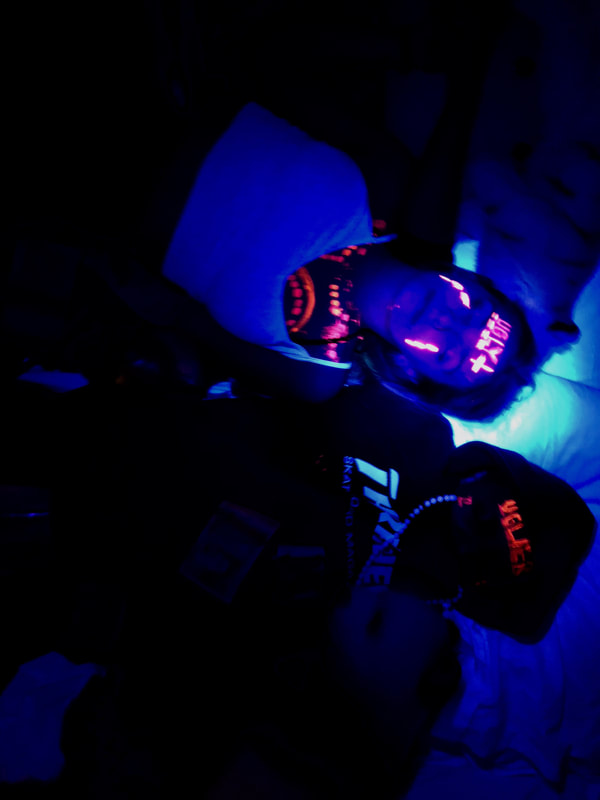
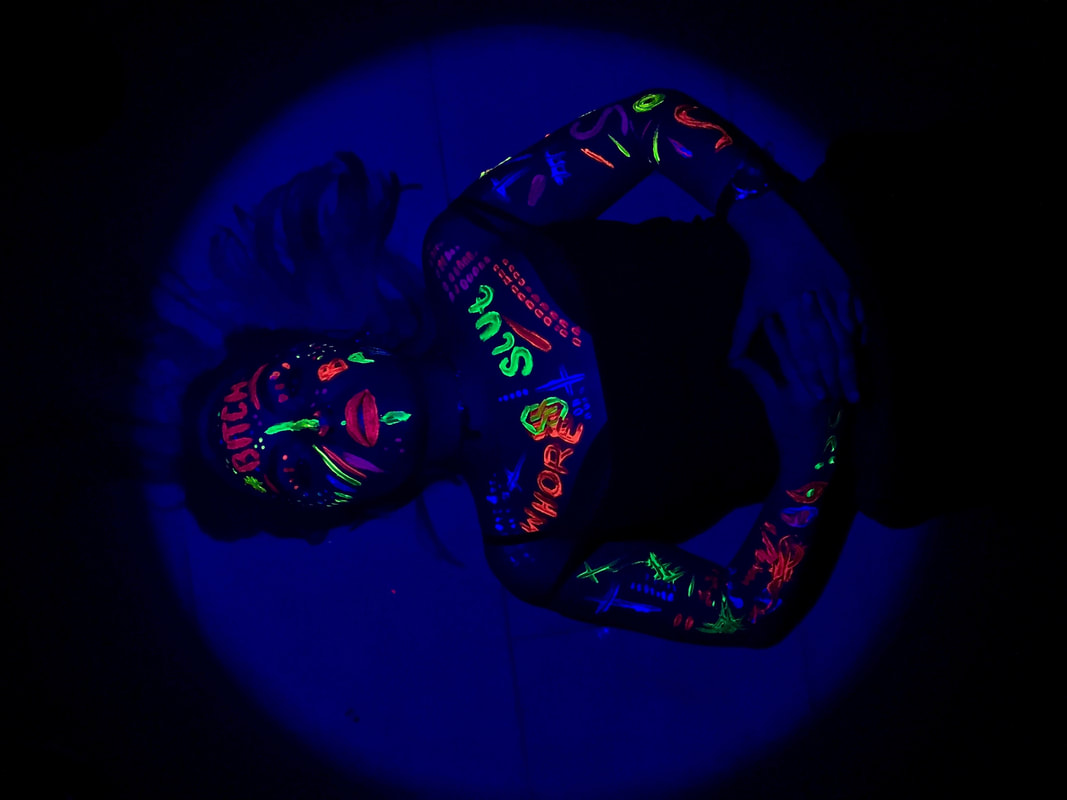
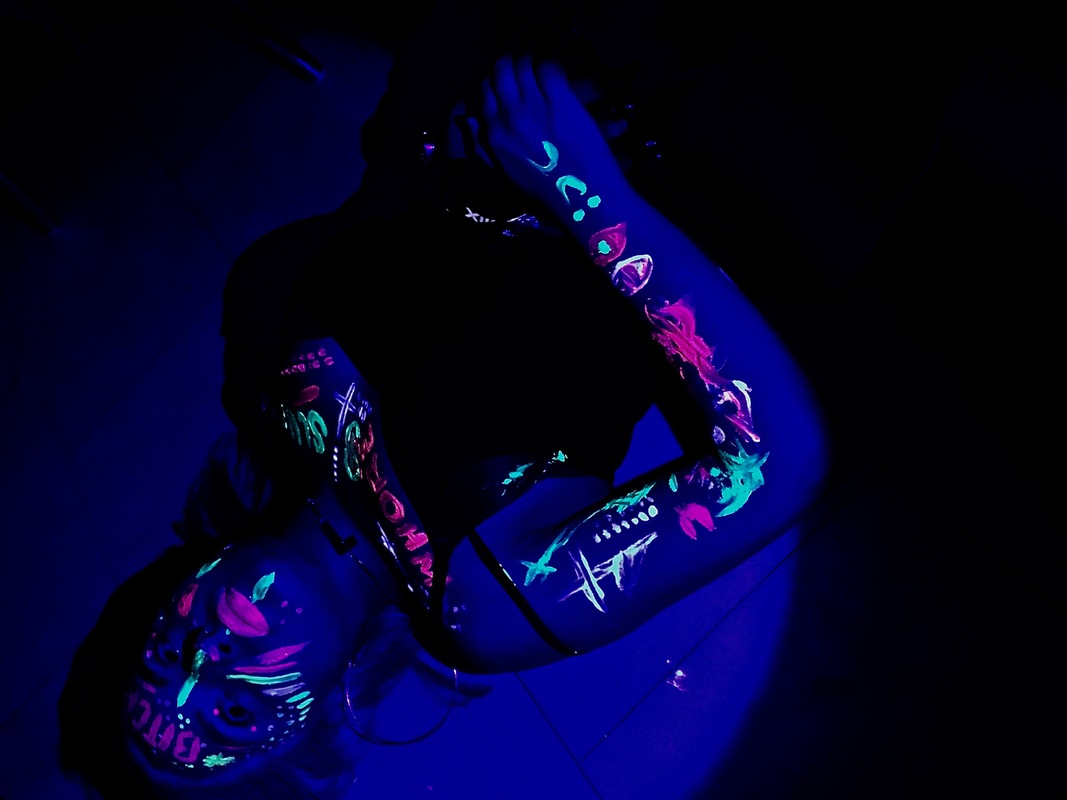
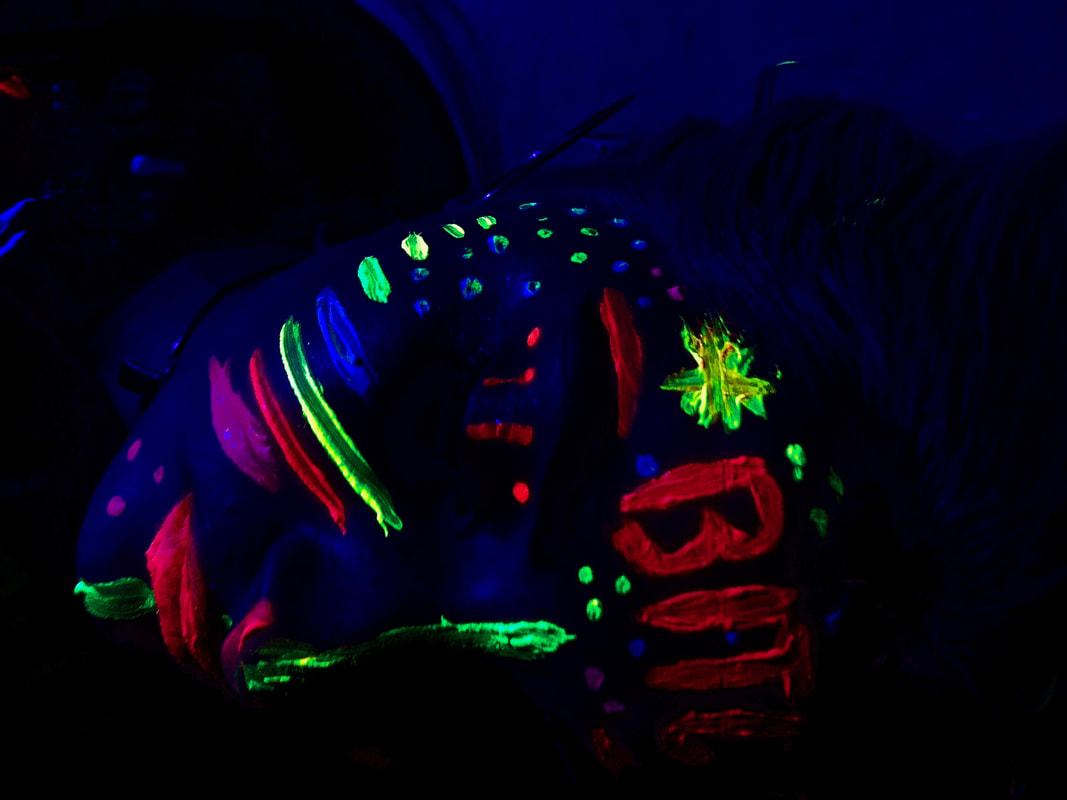
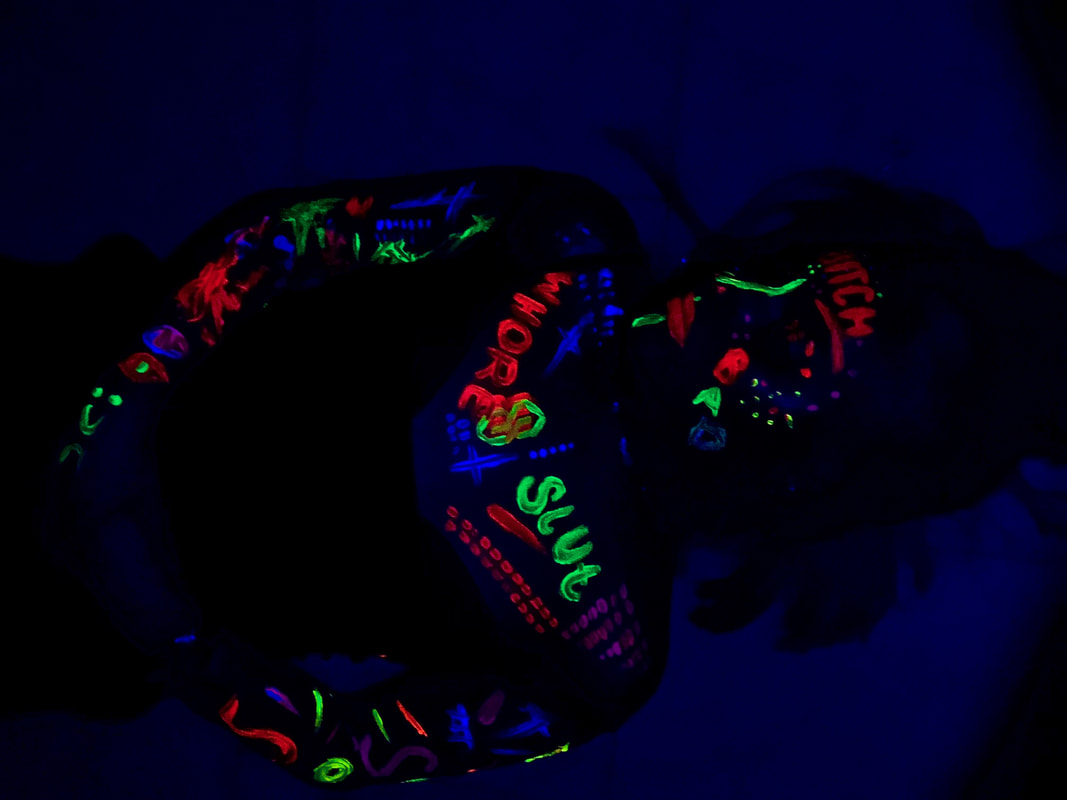
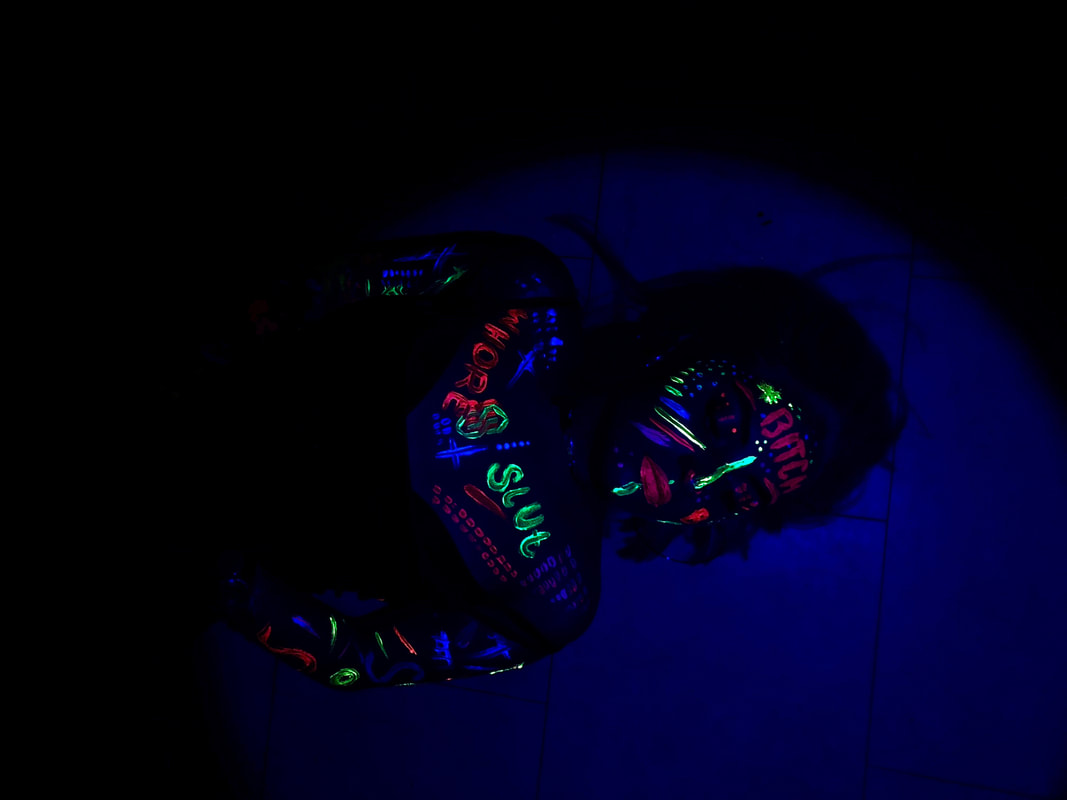
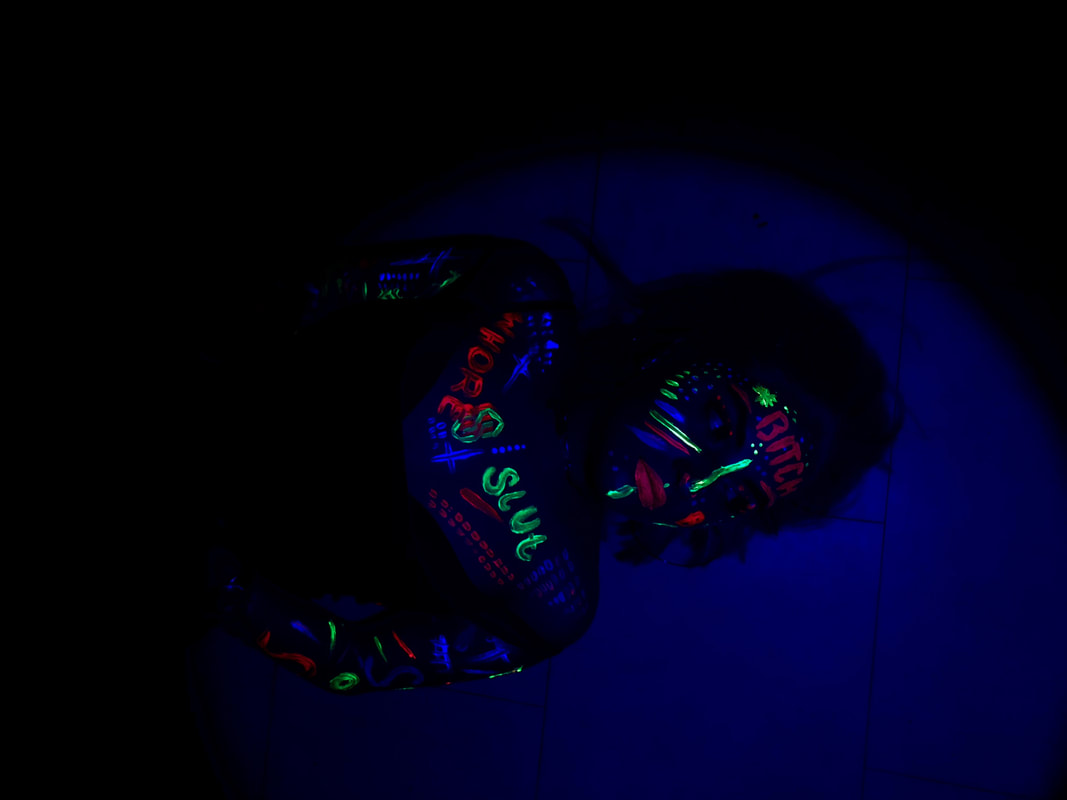
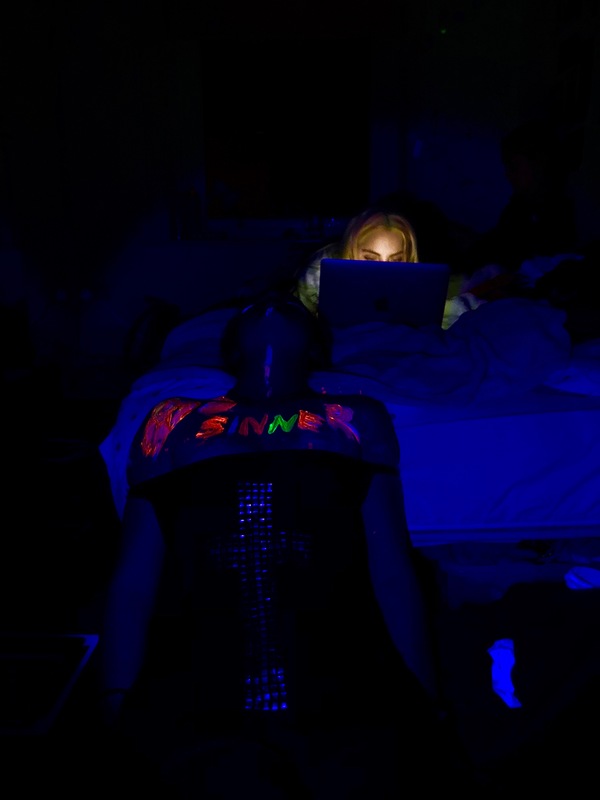
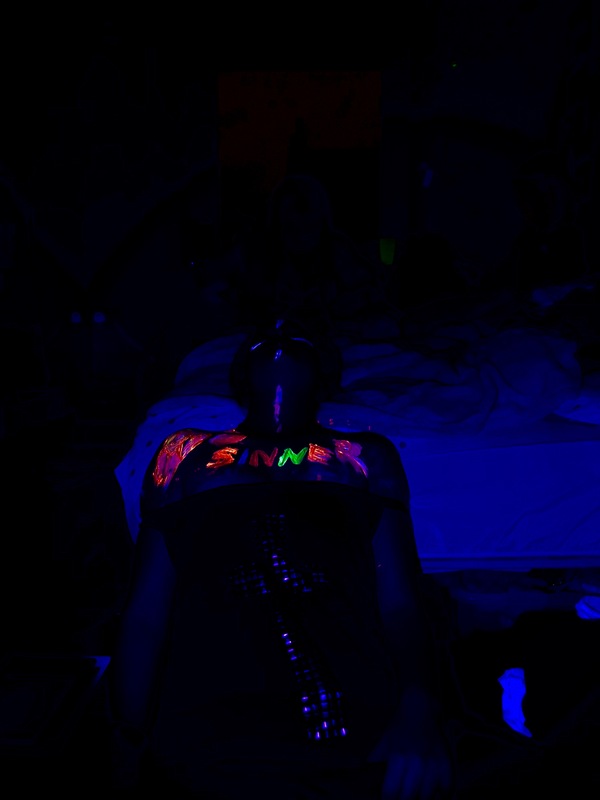
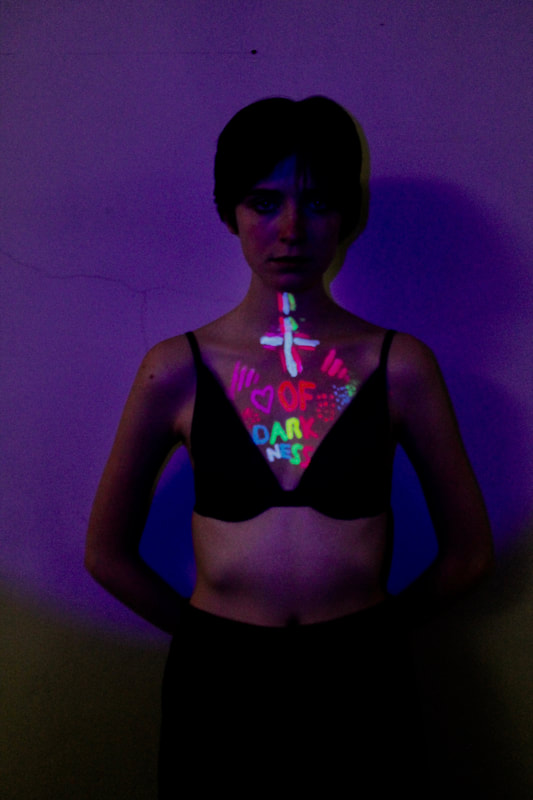
My concept behind this development came from the idea that in the light the UV paint will not show up, so the inner thoughts/ fears that have been painted on them will not be visible. However, when you shine the UV torch on them in the dark it will reveal these words and art designs. This is the concept that when people are alone in the dark, their fears and anxieties are revealed.
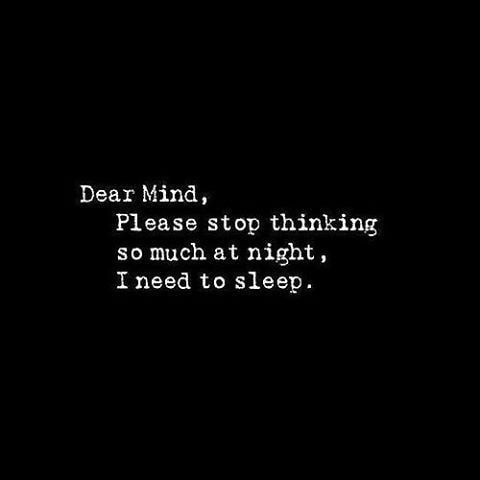
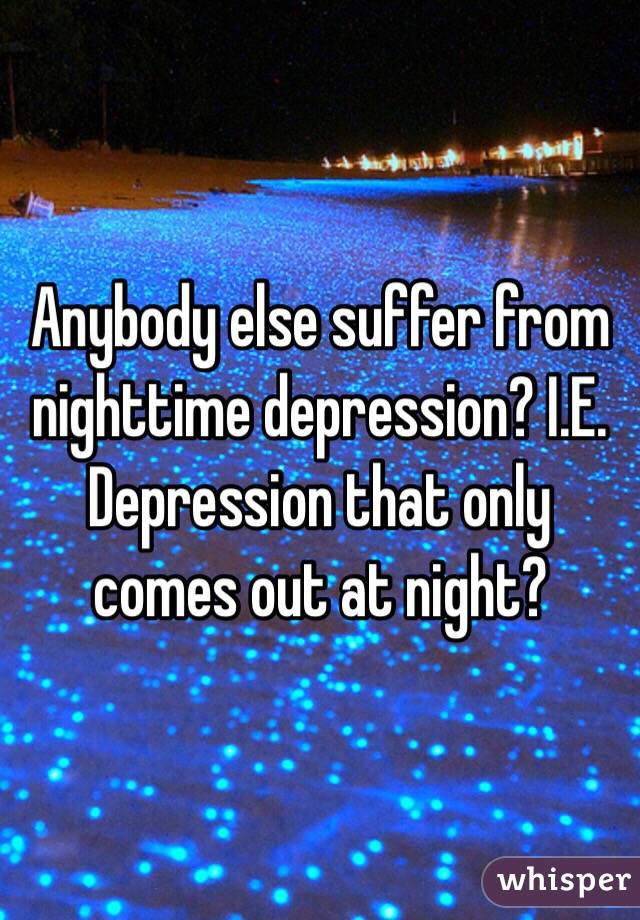
Here are some quotes I found on Tumblr that supports the idea of people overthinking in the darkness:
My concept behind this development came from the idea that in the light the UV paint will not show up, so the inner thoughts/ fears that have been painted on them will not be visible. However, when you shine the UV torch on them in the dark it will reveal these words and art designs. This is the concept that when people are alone in the dark, their fears and anxieties are revealed.
Here are some quotes I found on Tumblr that supports the idea of people overthinking in the darkness:

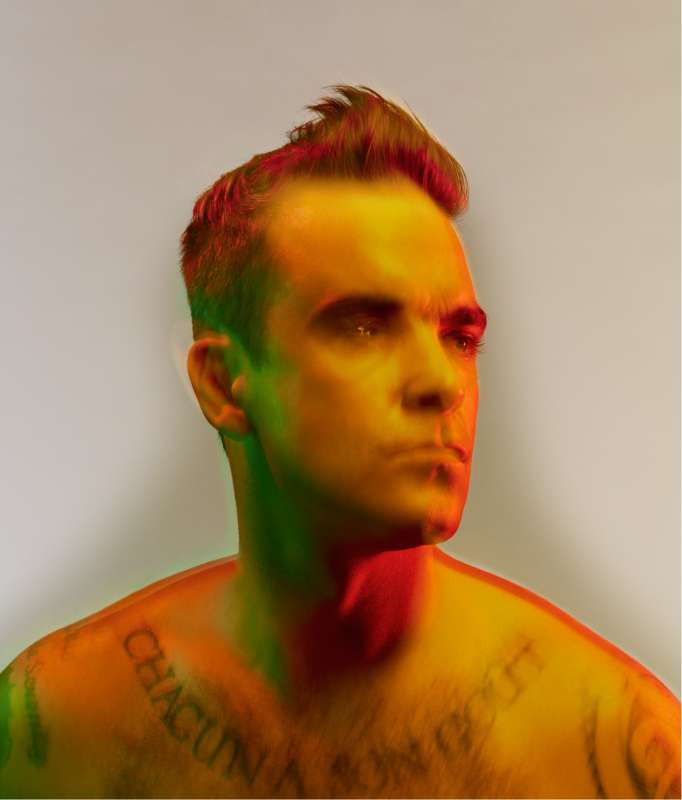
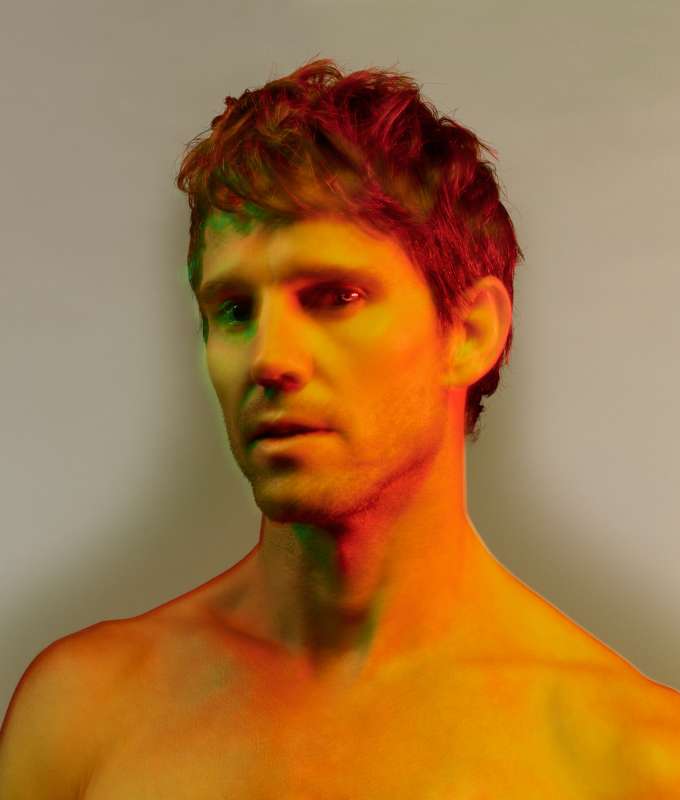
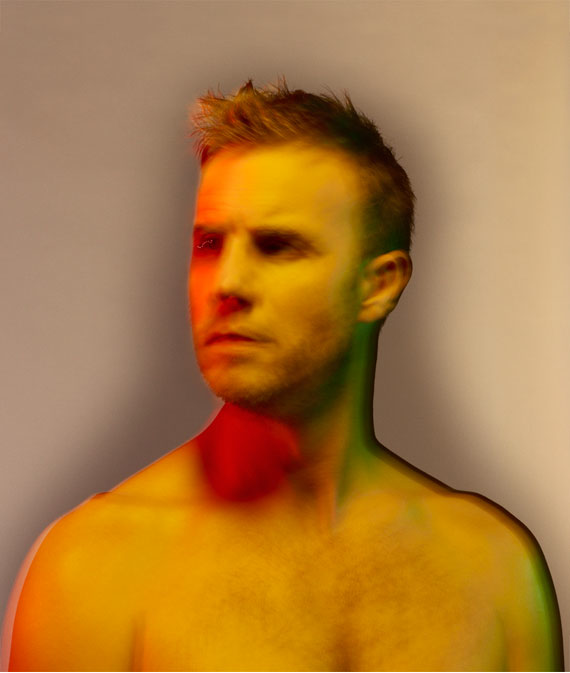
Artist Inspiration : Nadav Kander
Nadav Kander (born December 1, 1961) is a London-based photographer, artist and director, known for his portraiture and landscapes. Kander has produced a number of books and has had his work exhibited widely; he received an Honorary Fellowship from the Royal Photographic Society in 2015, won the Prix Pictet and a World Press Photo award. His work is included in the collections of the National Portrait Gallery, the Société Générale, Paris, Pictet & Cie’s Art Collection and other museums and galleries
Kander was born in Tel Aviv, Israel. His father flew Boeing 707s for El-Al but lost his eye and was unable to continue flying. His parents decided to start again in South Africa and moved to Johannesburg in 1963. Kander began taking pictures when he was 13 on a Pentax camera. He states the pictures that he took then and until he was 17, although unaccomplished, have the same sense of quiet and unease that is part of his work today. After being drafted into the South African Air Force, Kander worked in a darkroom printing aerial photographs. It was there he became certain he wanted to be a Photographer. He moved to London in 1986, where he still resides with his wife Nicole and their three children.
Kander is best known for his Yangtze - The Long River series, for which he earned the Prix Pictet Prize. Kander made several voyages along the course of China's Yangtze River, travelling upstream from mouth to source over a period of three years.
|
|
|
Kander's neon portraits of Take That inspired me to explore into neon and the use of neon colouring, after searching the internet for a while to look for more inspiration, I came across people using neon paint in the dark, which inspired me to purchase some and start exploring painting phrases I found on Tumblr or by listening to songs, on people's faces/bodies.
Robyn and Nine - "Ugly and Uglier"


Lara - "Whore, Slut, Bitch"


Roberta - "Sinner"


Short UV Paint Film Draft 1
I took a numerous amount of still shots, but found that the quality and atmosphere I was aiming to create came out better on video, so I merged clippings together using iMovie from the three shoots I did and created a short film. This is my first draft, I am pleased how it turned out, and I like the atmosphere it brings and how well the music fits in. When I re look at this movie, I want to work on not making it look so polished and making it look more edgy. Also, I don't feel like my true message is being presented here as you can not see any clips of the face/body without any UV paint in the light so I was to work on merging that concept back into the film, so you can see it clearly.
GIFS
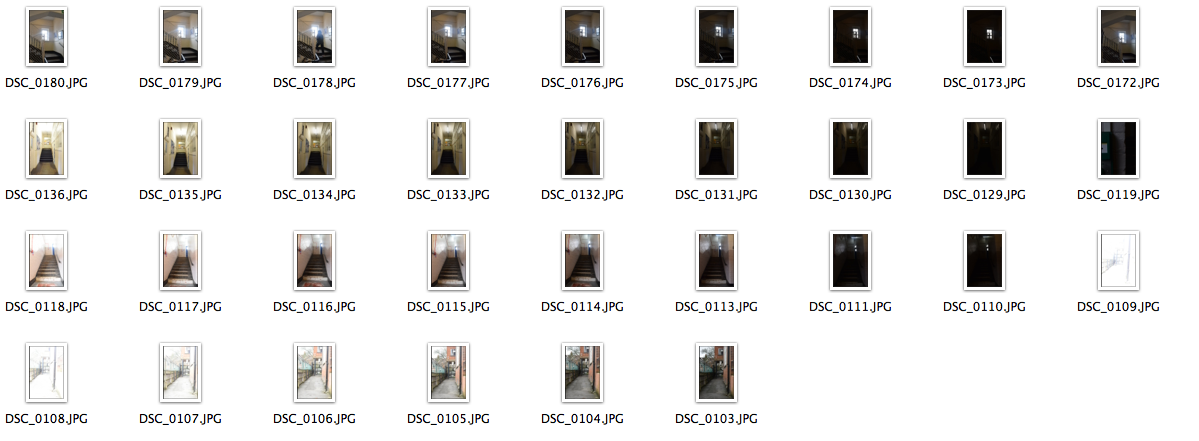
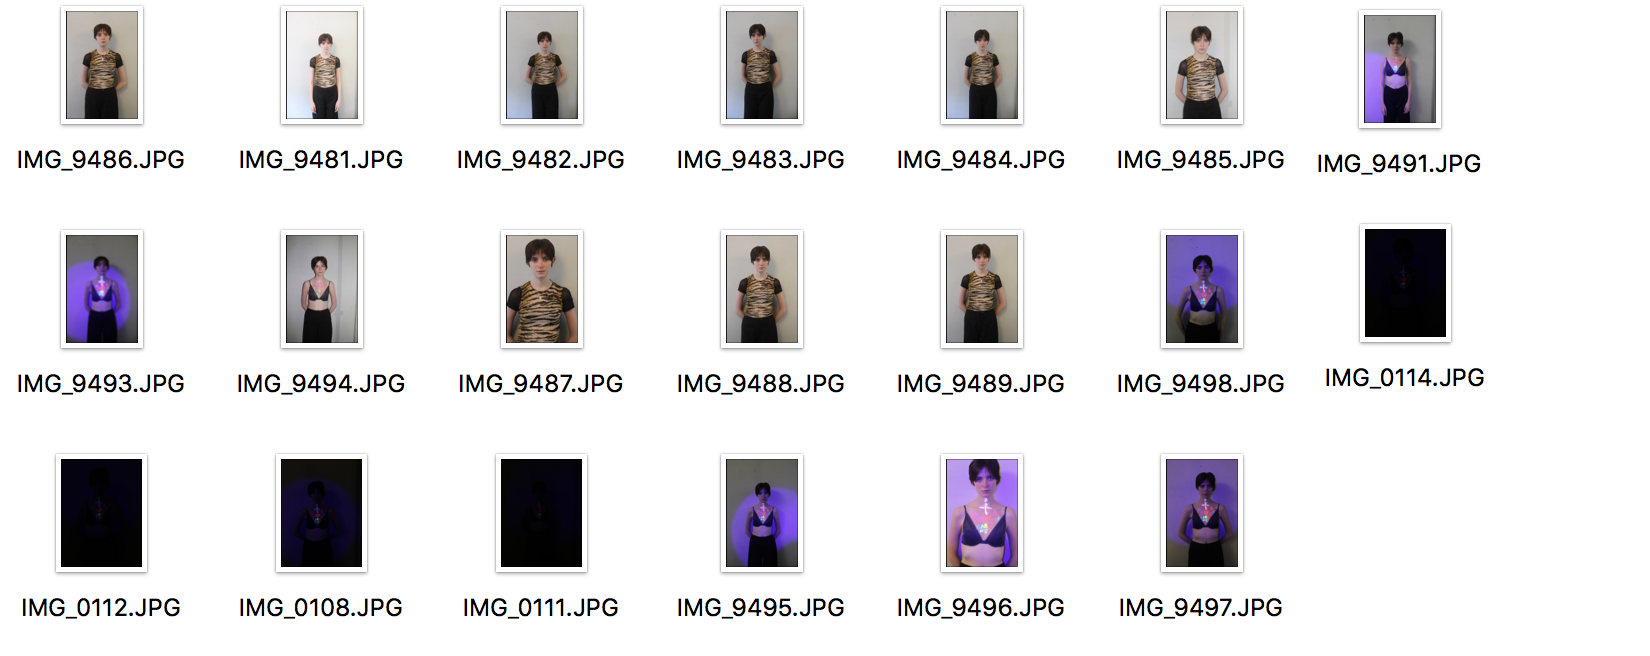
CONTACT SHEET
WHY I MADE GIFS
I made GIFS because I felt an element that was missing in the draft of my final video was the initial concept that your thoughts come alive/ present in the dark/night. Due to their being no clips of the body/face in the light without UV paint, I felt like the GIFS were needed to reinforce my initial message to the audience.
I did one set of GIFS [Heart of Darkness] and then emerged it into my final video, I decided I also wanted to use another person to add more interest the the movie, in the first set of GIFS wasn't completely happy with the quality of them, so I made it my aim to develop them into better quality and more accurate GIFS.
I did one set of GIFS [Heart of Darkness] and then emerged it into my final video, I decided I also wanted to use another person to add more interest the the movie, in the first set of GIFS wasn't completely happy with the quality of them, so I made it my aim to develop them into better quality and more accurate GIFS.
HOW I MADE MY GIFS
|
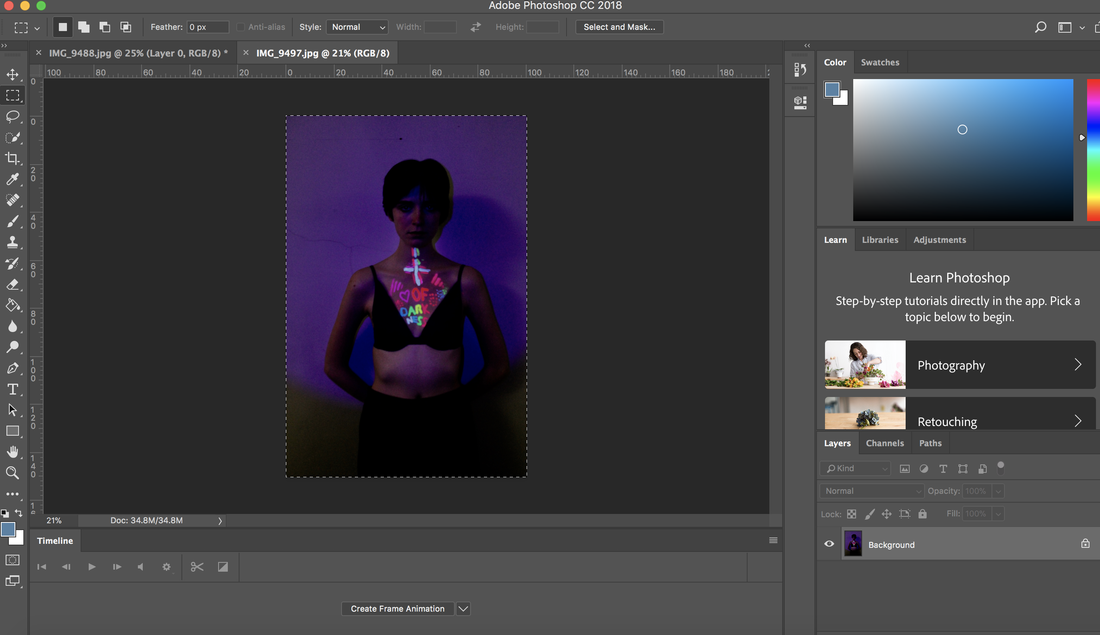
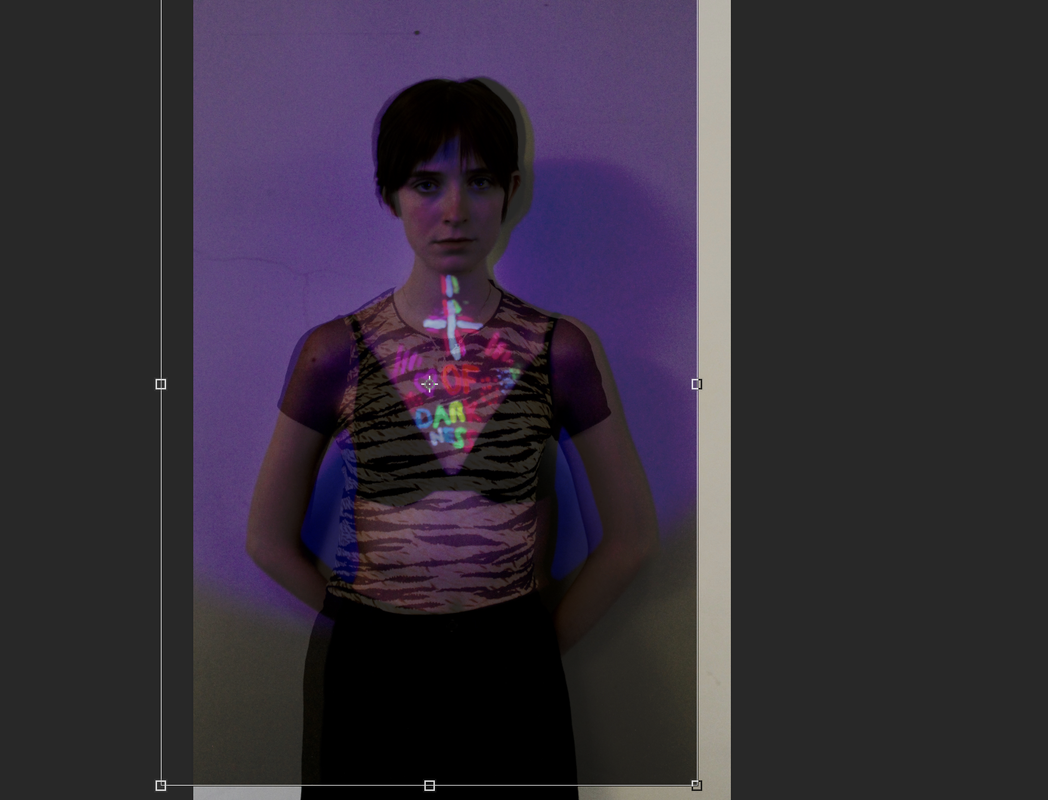
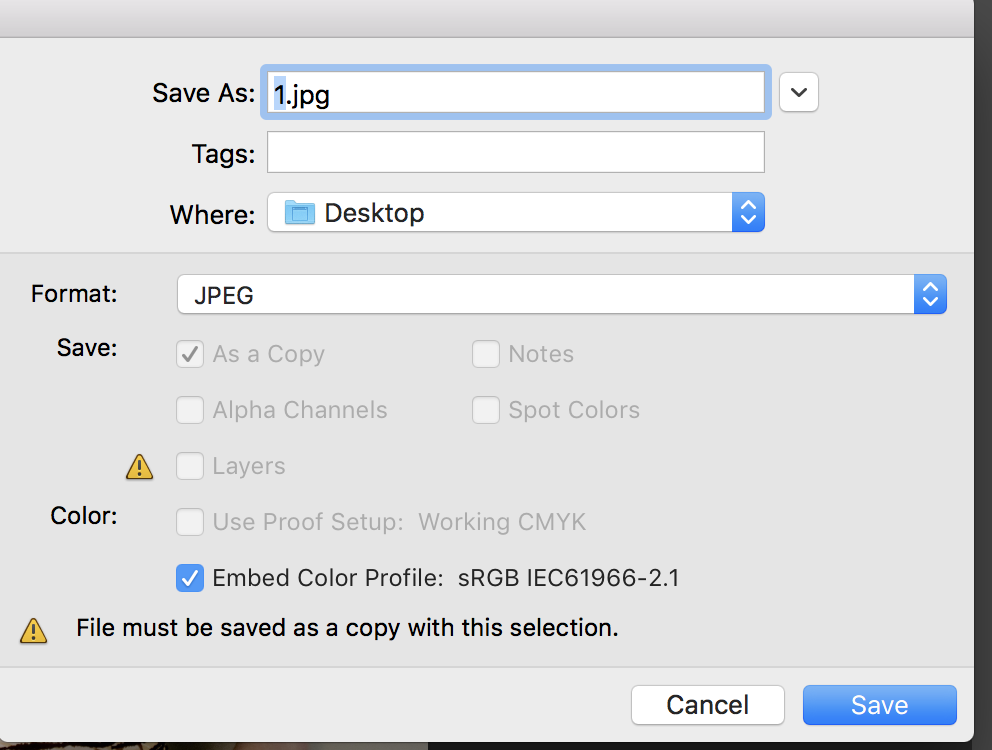
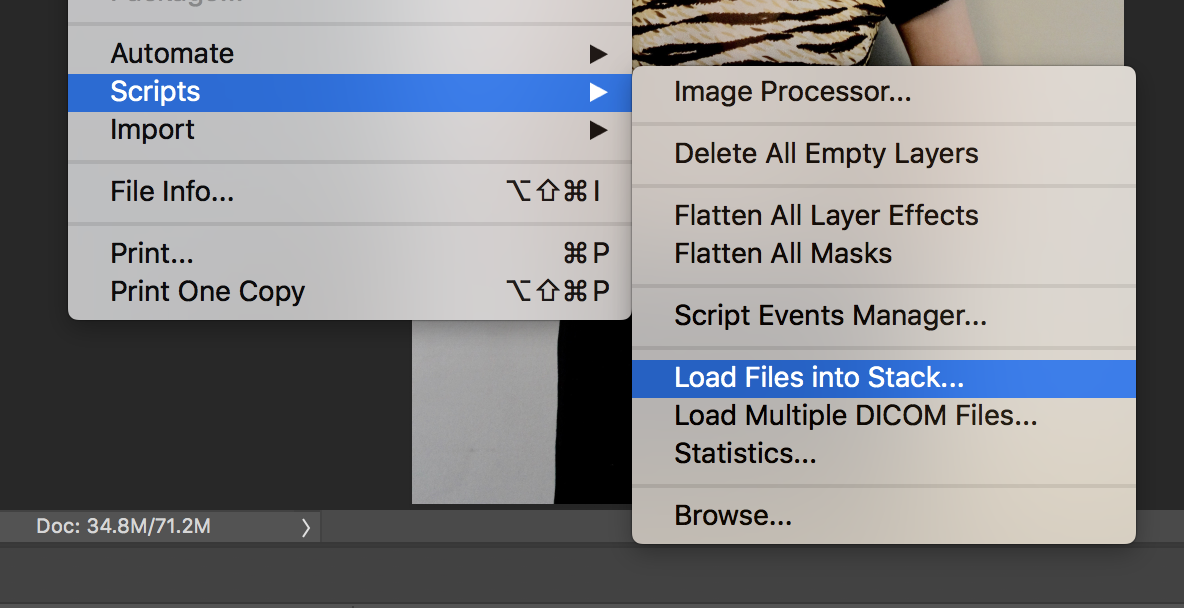
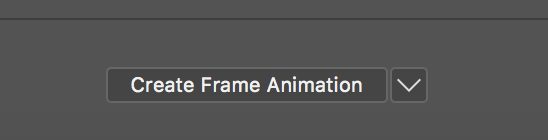
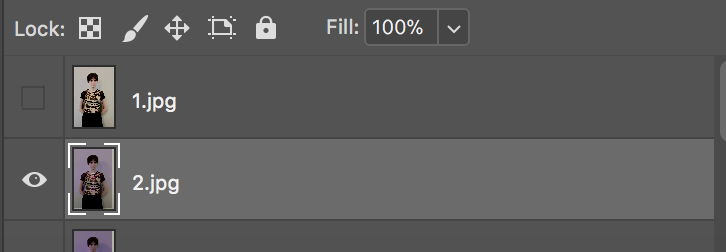
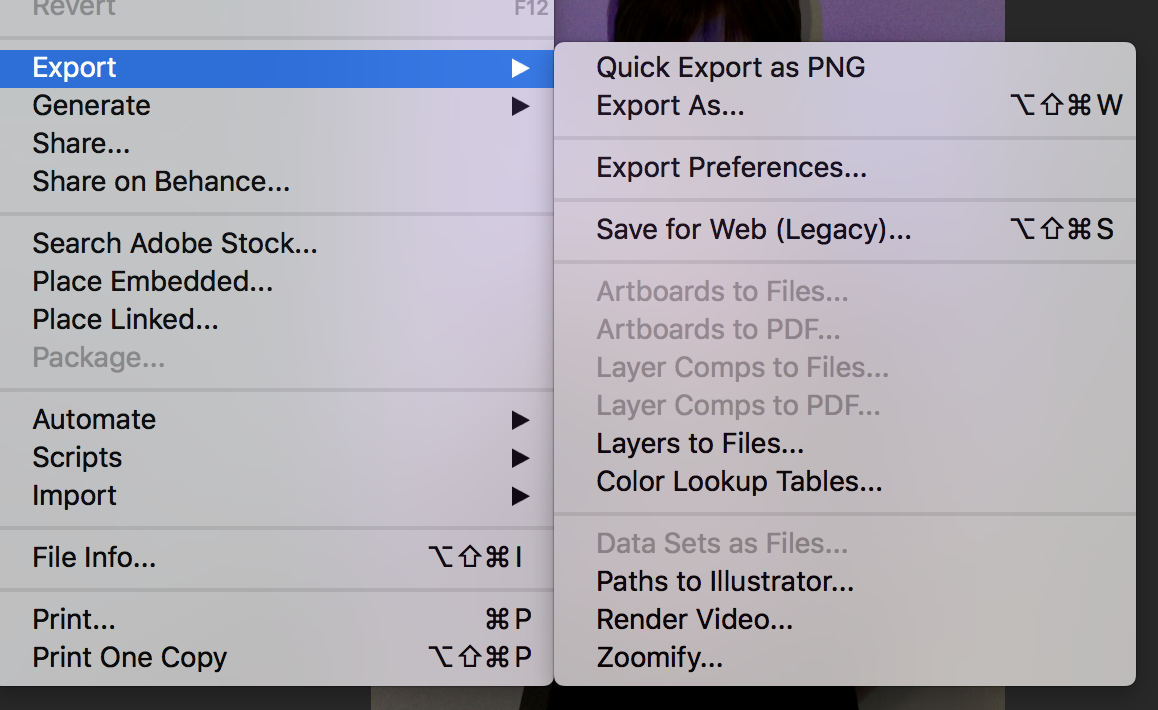
First Select your main image that is your 'Background' Imagine. Load it onto photoshop Second Select the image that you are going to be overlapping your background image with and copy it as a layer so you can paste it onto the central image. Third Select a lower opacity on the layer image so you can match up the two images, so they match and all the body images are in place, you can use Command T to do this. Fourth Select a low opacity and save one image as '1' twice, in formats 'JPEG' as well as 'Photoshop'. Repeat this, increasing the opacity gradually and saving the image each step of the way in both formats. Fifth Go on Image and select 'Scripts' then 'Load Files into stack'. Load the JPEG versions of all the images you gradually saved. This will load them in your Sidebar. Sixth Press 'Create Frame Animation' in your tool bar to start creating your animation. Seventh As you add each layer to the animation, hide the layer above and then add it to create a slide in your animation. After you do all this, your animation will be created, and you can crop your image, change the pace of your animation etc.. Eighth Finally, to upload your GIF to the internet and keep it as a working gif. Press File - Export - Save for Web (Legacy).. And then save it. |
FINAL GIFS
|
|

|
|
|

|
|
|
|
|

|

FINALLY...
After I finished creating the GIFS up to the standard I was happy with, I revisited my first draft of my short film. I merged the GIFS in with the film footage and experimented in iMovie, using split screen, green/blue screen/, cutaway etc.. to create a more abstract and rough feel to the film. Once, all the footage and GIFS were in the form I wanted them to be in, I had gone off my original song choice ['Watch Me' by Jaden Smith'] I felt that the lyrics in the movie didn't relate to my content and distracted the viewer from the photography and message given in the film [that people's worse fears/ thoughts come alive in the dark and are hidden in the light]. I did some research to find a song which still had that dramatic up- beat feel to it but without distracting the audience.. eventually I chose 'Enter the Void' by the Prototypes. I am pleased with the feel the short film gives when watching it and it gives off the dramatic feeling I wanted it to have.. keeping the viewer enticed through the duration of it.
MY FINAL PRODUCT:
MY FINAL PRODUCT:
Photography UV Paint Final from Bella Bloom on Vimeo.
Presentation Ideas/ Inspiration :
Reasoning for my Presentation:
1. The Chalkboard wallpaper, to explore the idea of writing and scribbles, like the marks/ quotes in the photos.
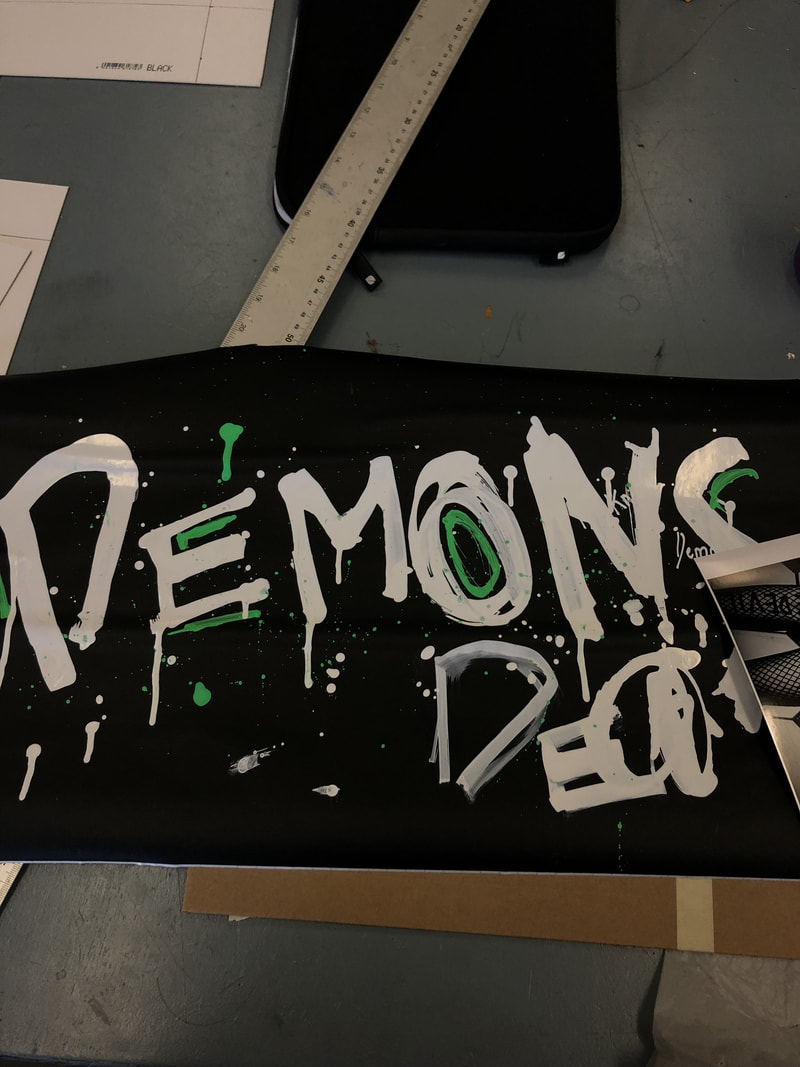
2. Writing Anarchic and Shocking words, bold, will stand out like the meanings of the photographs.
3. Rough and messy, to create the atmosphere in the photographs.
4. Gothic and Edgy.
1. The Chalkboard wallpaper, to explore the idea of writing and scribbles, like the marks/ quotes in the photos.
2. Writing Anarchic and Shocking words, bold, will stand out like the meanings of the photographs.
3. Rough and messy, to create the atmosphere in the photographs.
4. Gothic and Edgy.
|
|
